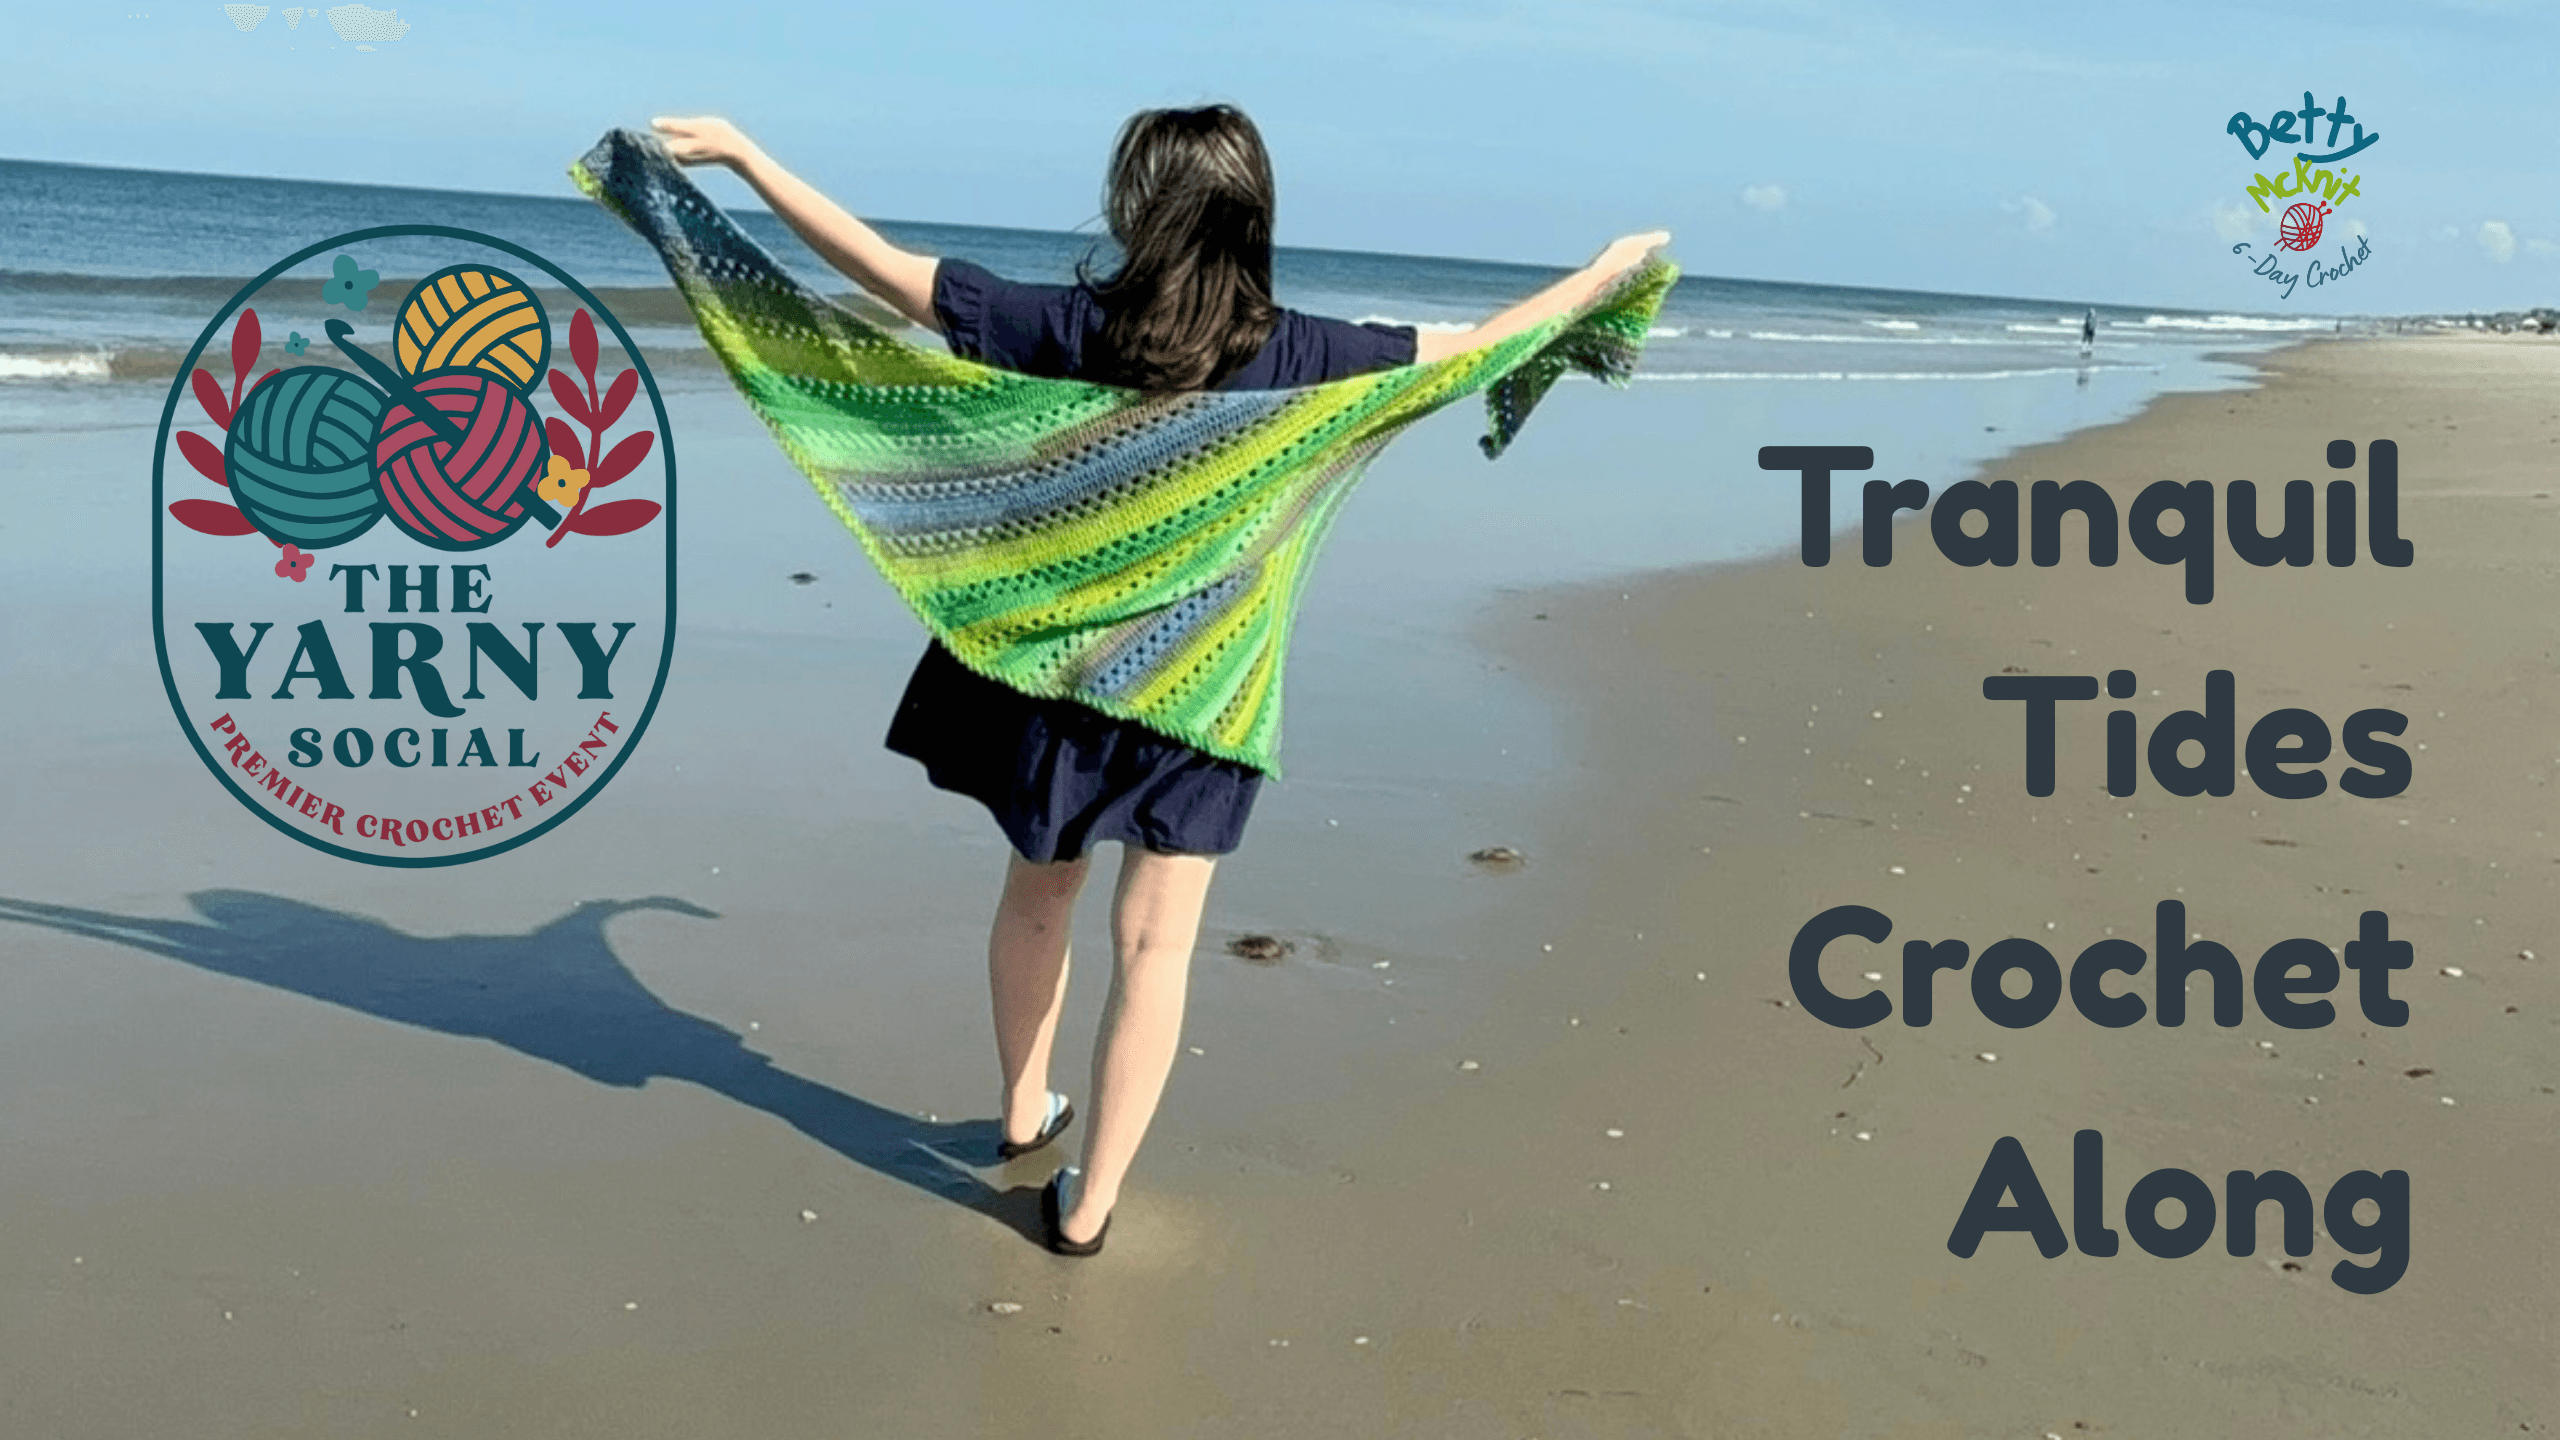
Tranquil Tides
Introduction
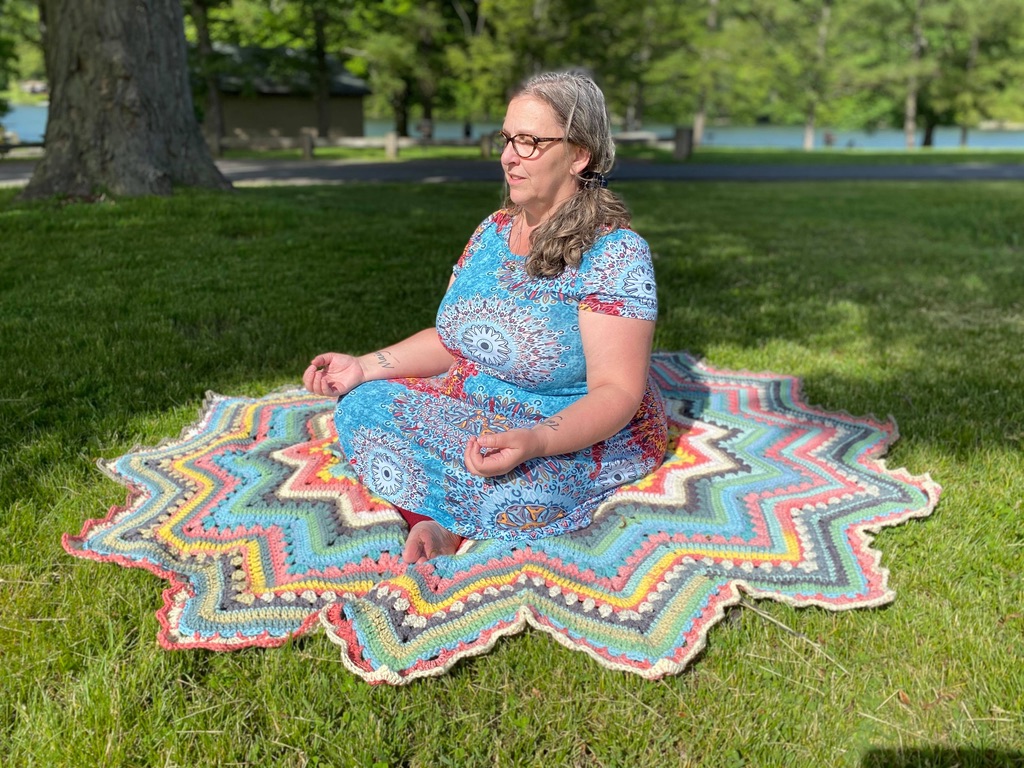
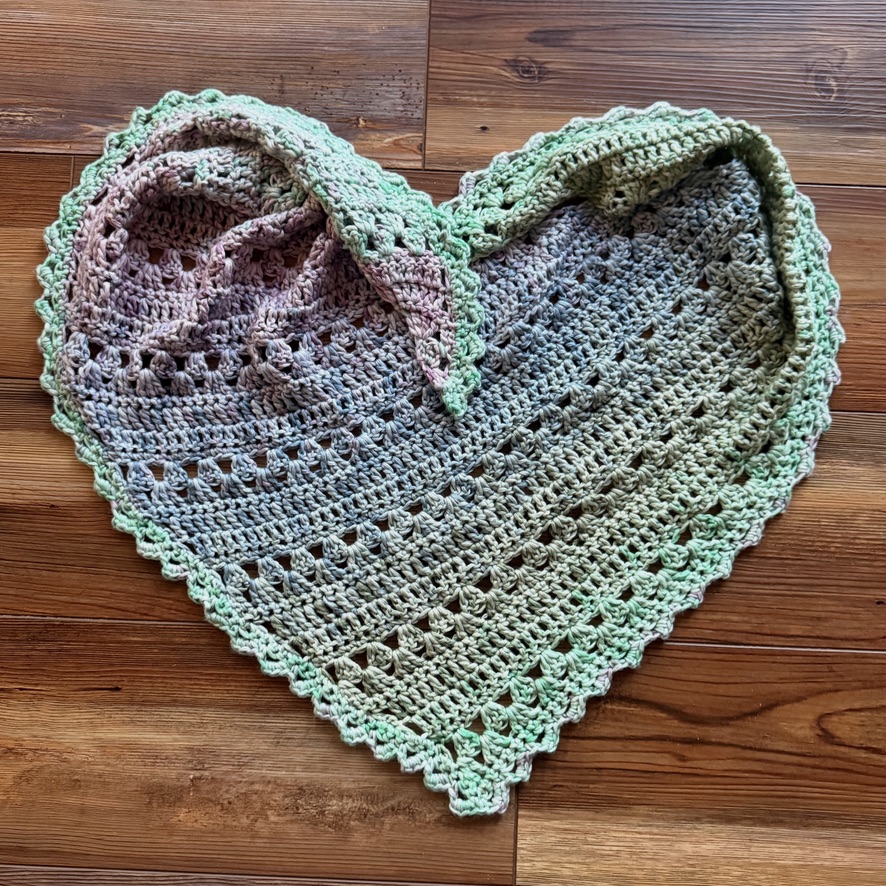
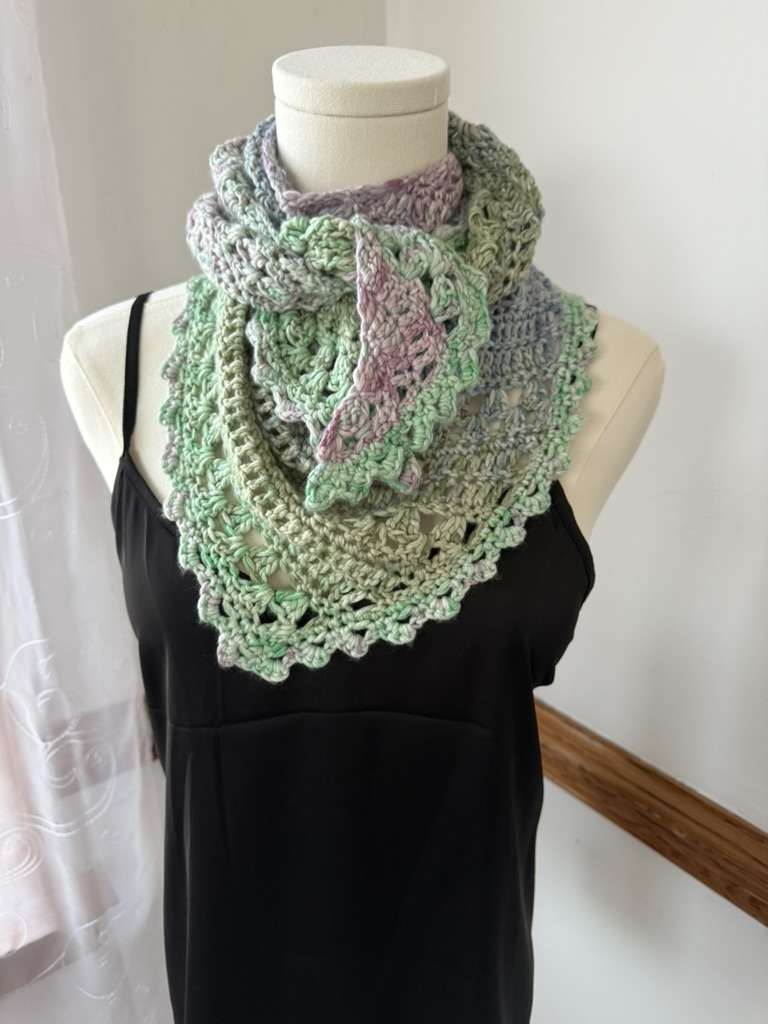
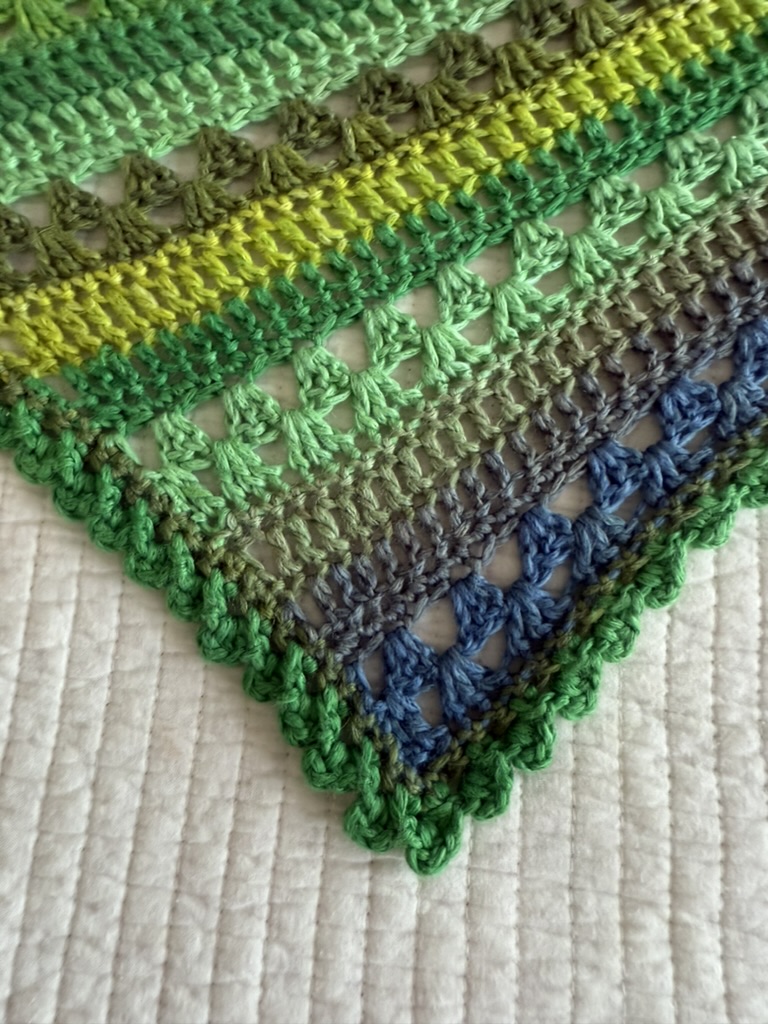
The Tranquil Tides Wrap is a journey into creativity and tranquility. This boomerang-style triangular scarf, crafted in my signature 6-Day Crochet Tranquility Stripe, begins at one corner and gracefully expands to the opposite side, with the increasing edge forming the longest side. Designed to be versatile, this wrap can be made in a variety of sizes and finished with your favorite edge. In this pattern, I’ve provided options for three sizes and three edges because, like all 6-Day Crochet creations, no two are ever alike, and no one can make just one.
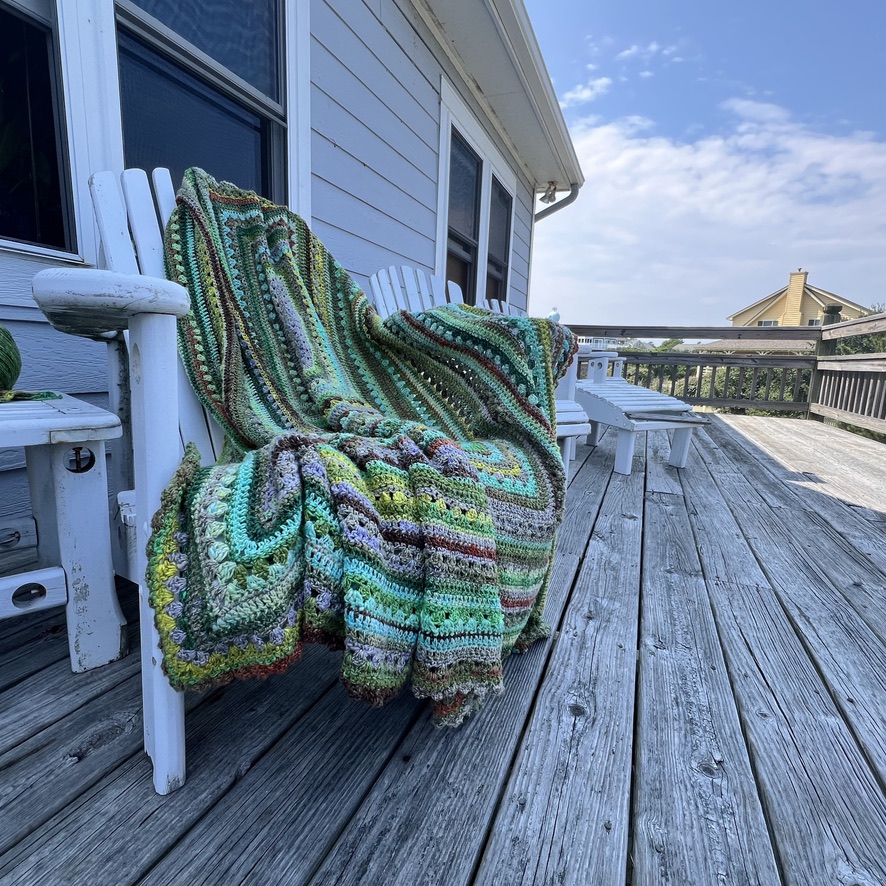
Working on this simple yet meditative project is a peaceful experience. I made all three samples while soaking in the sun and salty air on the beach in the Outer Banks, savoring every stitch. The gorgeous yarns from Juniper Moon Farms washed up beautifully afterward, making them an excellent choice for a stunning beach project that you can enjoy year-round.
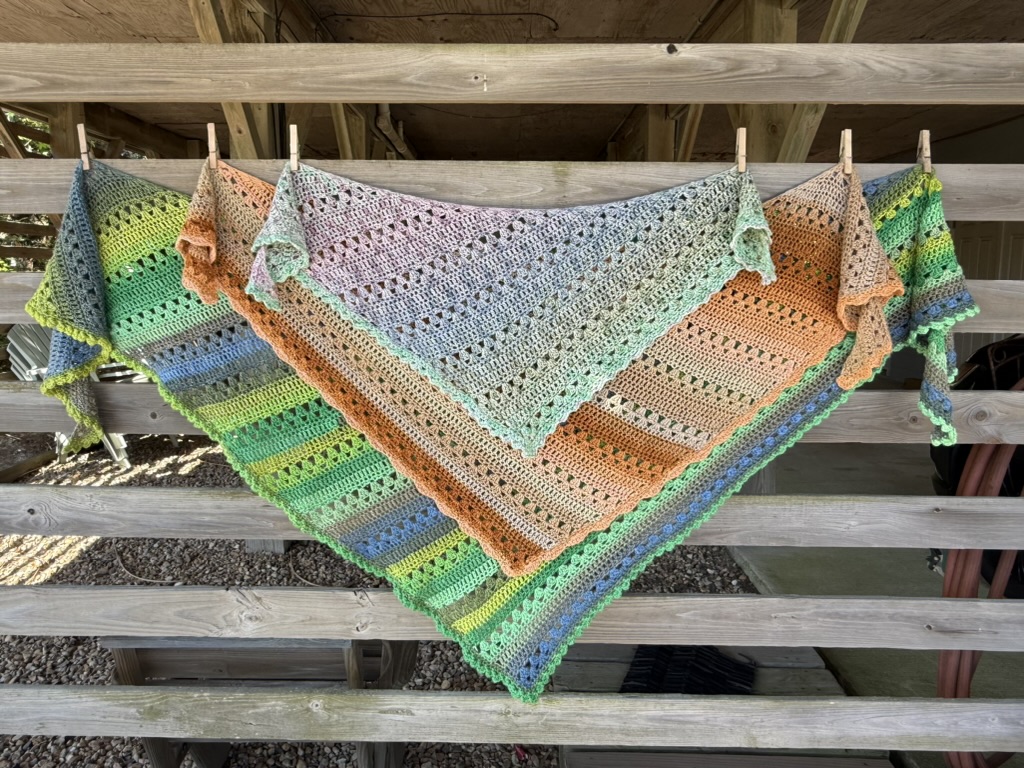
The Tranquil Tides Wrap truly shines when made with self-striping yarn, showcasing those beautiful hand-dyed skeins. Versatility is at the heart of this design; feel free to experiment with any DK weight yarn or lighter, adjusting the size to suit your style. Embrace the tranquility of the process and create something uniquely yours.
This page contains affiliate links. If you click these links and buy something on the page they take you to, I may, at no additional cost to you, earn a commission. I only affiliate with products and companies I feel good about. Thank you for your support!
This pattern is provided free with advertisements on this page. If you would like an ad-free .pdf, you can purchase one at the bottom of the page. The .pdf is the same as this pattern, with the exception of the ads.
Details
US Terminology with UK Conversions
Finished Size: Variable
Sizes shown
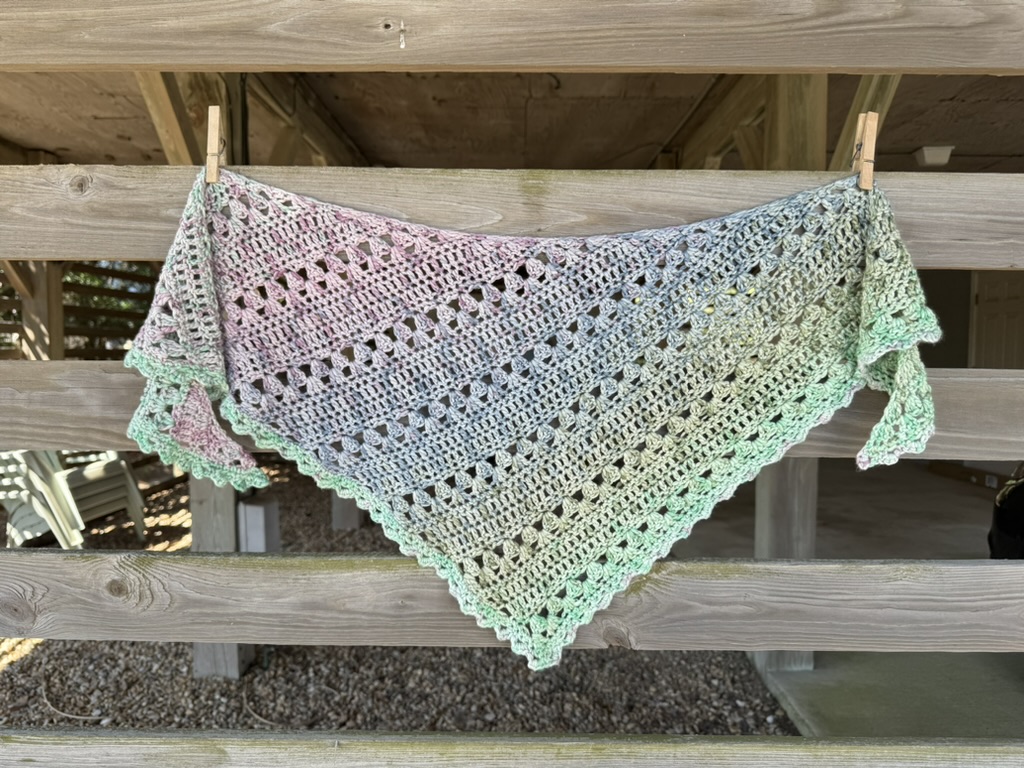
Small: 47” w x 16” l
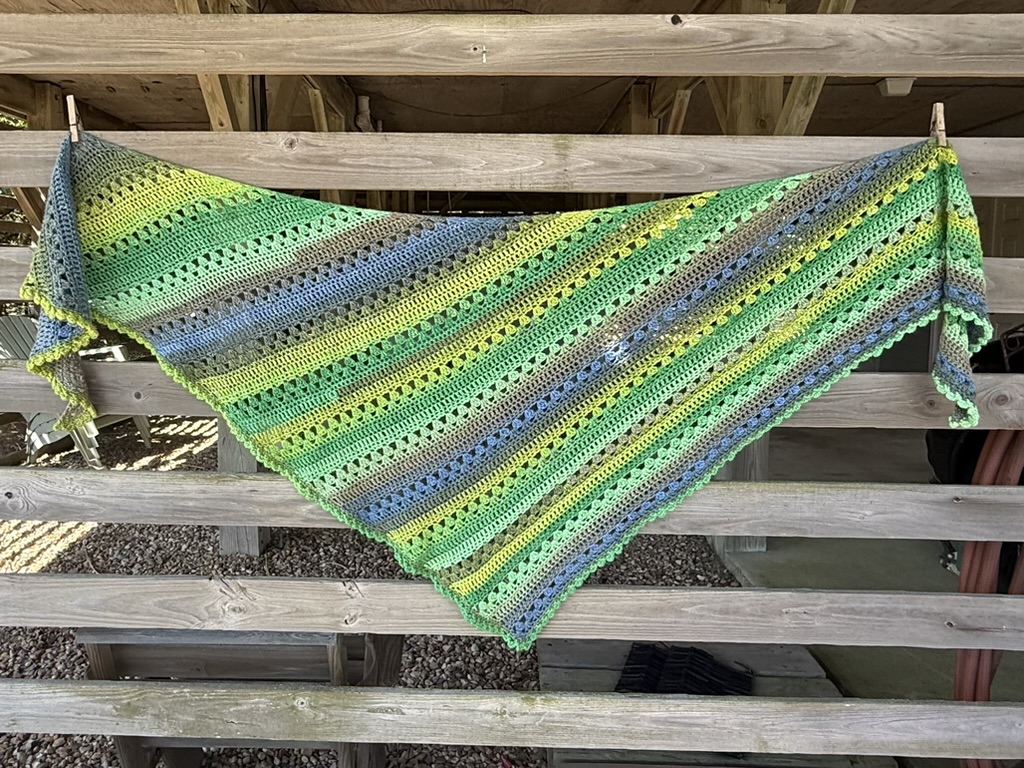
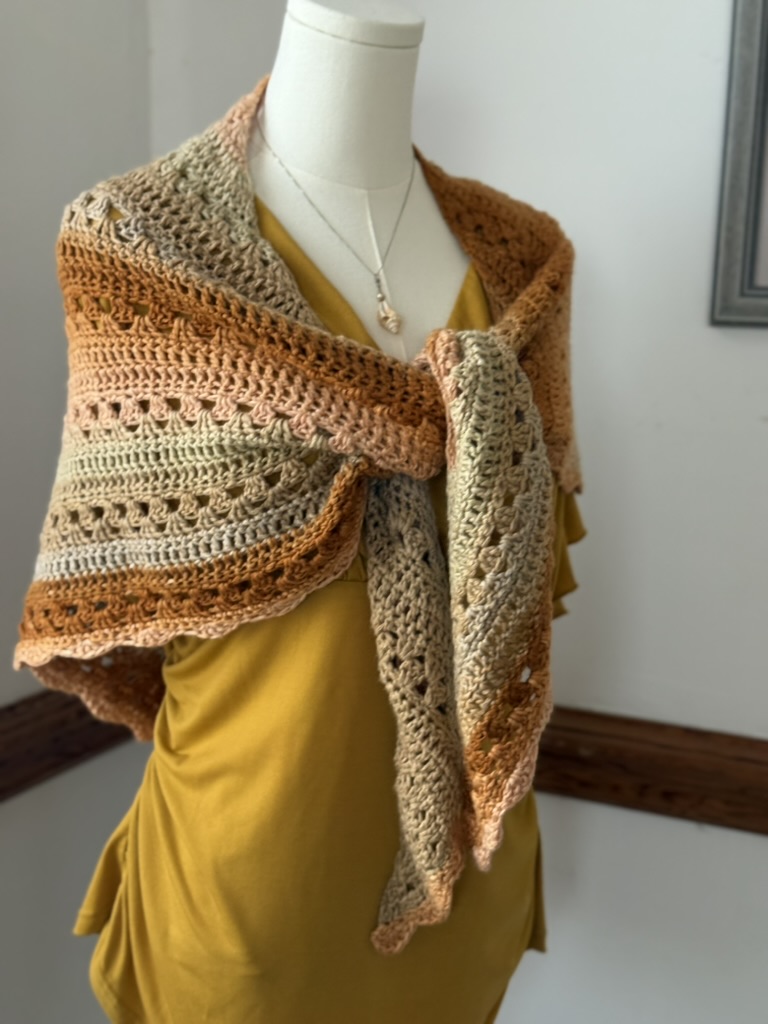
Medium: 66” w x 19” l
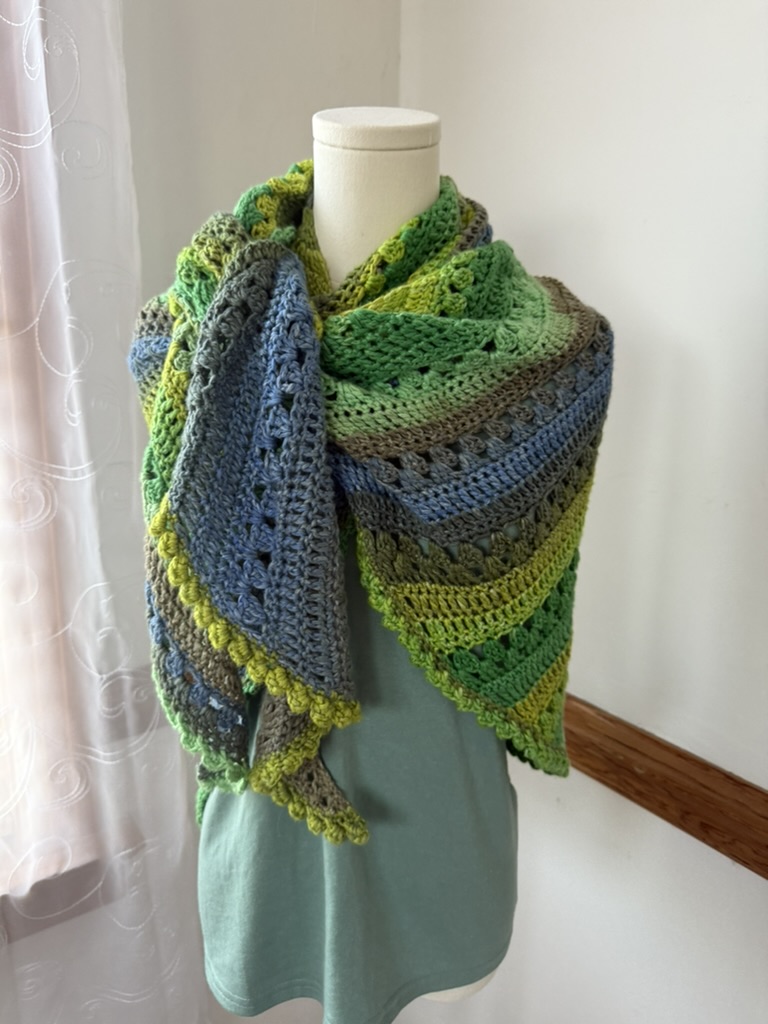
Large: 92” w x 22” l
Skill Level: Easy
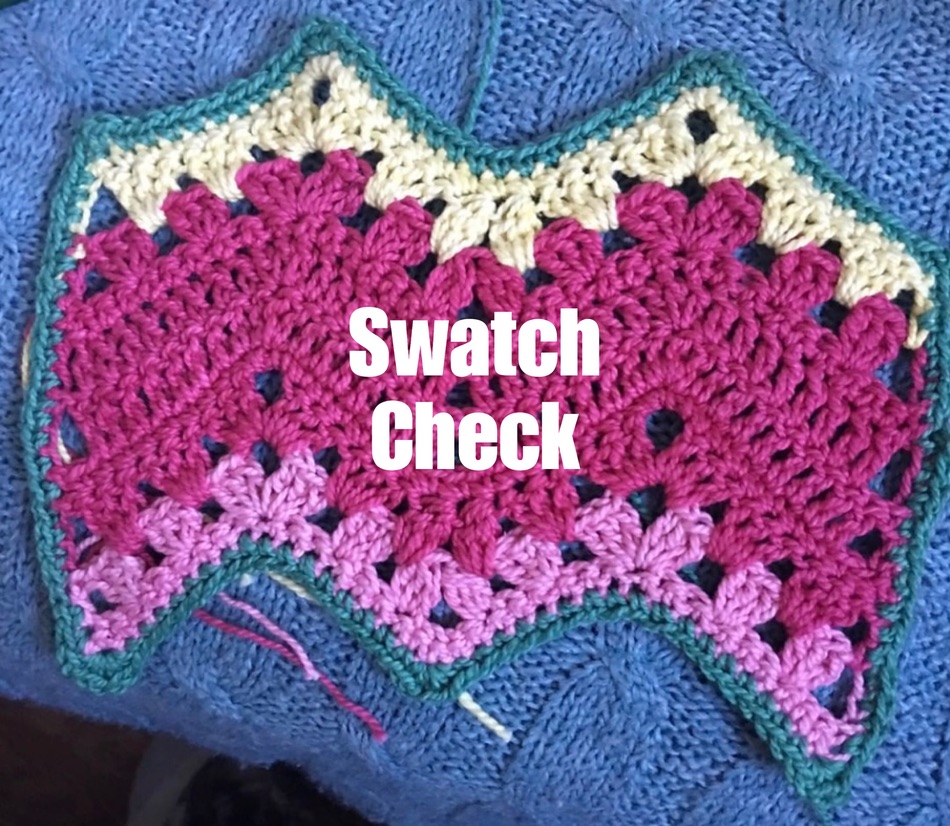
Gauge: 12 sts and 11 rows in pattern.
(it is not important to match my gauge)
Materials
Small: 328 yards of #3 DK weight or lighter yarn
Shown in Juniper Moon Farm Cirrus Rainbow, Color #307 November Afternoon
3/Light, 100% Cotton
1 Ball
Medium: 700 yards of #3 DK Weight or lighter yarn
Shown in Juniper Moon Farm Iridescence, Color #601 Grand Canyon
3/Light, 85% Organic Cotton, 15% Silk
2 Balls
Large: 1050 yards of #3 DK Weight or lighter yarn
Shown in Juniper Moon Farm Iridescence, Color #606 Cyprus
3/Light, 85% Organic Cotton, 15% Silk
3 Balls
Hook: H/5 mm (or size appropriate for your yarn)
Yarn needle for weaving in ends
Scissors
Stitch markers
Abbreviations
ch: chain
dc: double crochet
edc: extended double crochet
hdc: half double crochet
rep: repeat
sc: single crochet
sl st: slip stitch
st(s): stitch or stitches
st3sc: stacked single crochet x 3
yo: yarn over
| US terms abbreviation | UK terms abbreviation |
| single crochet sc | double crochet dc |
| half double crochet hdc | half treble crochet htr |
| double crochet dc | treble crochet tr |
Special Stitches
edc: yo, pull up a loop in the next st, yo and pull through one loop on the hook, [yarn over and pull through two loops on the hook] twice.
st3sc: stacked single crochet x 3 (counts as 1 st): work sc into stitch or space indicated, work sc into left side loop of sc just made. Work a third sc into side of second sc for 3 stsc.
Repeats
( ) Work stitches in parentheses in the same st or sp.
[ ] Repeat everything within the brackets as indicated.
Stitch Counts
- Stitch counts between < >
- Counts for subsequent rounds are given in parentheses like so: first repeat (second repeat, third repeat) etc.
Notes
- st3sc counts as one stitch
- st3sc can be replaced by ch 4
- I’ve given stitch counts for three sizes:
- Small: 7.5 repeats,
- Medium: 11.5 repeats
- and Large: 15.5 repeats
- This pattern is completely adaptable so you can do as few or as many repeats as you like.
- The edge is optional, so if you want to, you can stop whenever you run out of yarn.
- The pattern is meant to end on Row 4, but ending on Row 7 will also work.
Does it Really Only Take Six Days?
6-Day Crochet is the name of my signature stitch. While most 6-Day Crochet patterns can be done in six days or less, “6-Day Crochet” refers to alternating rows or rounds of sc, dc, and clusters, sometimes with and sometimes without chevrons. The name of the pattern came from the the original 6-Day Kid Blanket, which was toddler sized and made with chunky yarn, and just happened to take me an easy six days to make.
For more information please see my article, Why is it Called the 6-Day Kid Blanket?
Most 6-Day Crochet patterns are designed to be completed in six days; this pattern, Tranquil Tides, can easily be completed in six days or less. I encourage you to take your time, crochet somewhere relaxing, and enjoy the process.
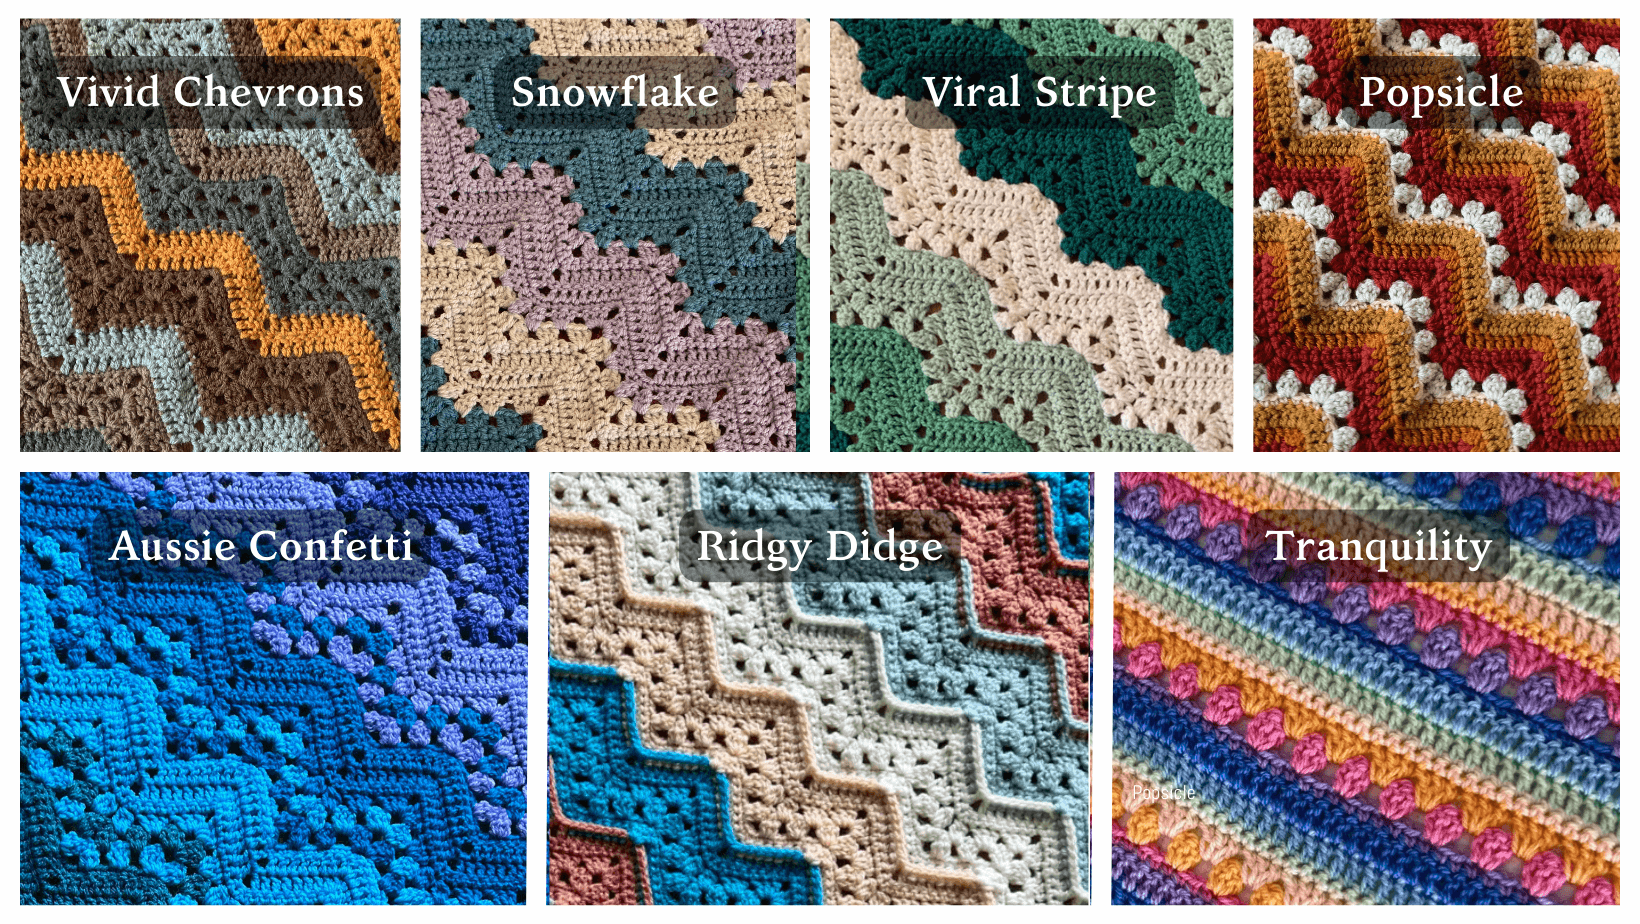
There are many ways to adapt 6-Day Crochet by changing colors on different rows or adding texture to create a completely different look with the same stitches. Some of the different stripes are referred to as Vivid Chevrons (the original), The Snowflake Effect, Viral Stripe, Sweetheart Stripe, Popsicle Effect, and Ridgy Didge. This chevron-less version of the 6-Day Crochet stitch is referred to as the Tranquility Stripe.
Row Numbering
All 6-Day Crochet patterns have a consistent numbering for the characteristic 6 rows of the signature stitch. Rows 2 and 3 are always cluster rows, Rows 5 and 6 are always dc rows, and rows 4 and 7 are always sc rows. Row numbering is a little unconventional and begins with a series of Setup Rows, then advances to Rows 2-7 which are repeated to the end. Once you complete the Setup Rows and move on to the repeating rows 2-7, do not repeat the Setup Rows.
Community Support
The best way to get support is through my Facebook community dedicated to helping crocheters with the 6-Day Crochet Projects, loaded with free resources and people to answer your questions.
Join my membership community The Betty McKnitiverse and ask questions directly during one of my many community zoom calls.
Juniper Moon Farms Cirrus Rainbow

Begin
Setup Row 1: ch 3 (counts as dc), 2 dc in first ch. <3 sts>
Turn
Setup Row 2: st3sc (counts as 1 st, here and throughout), (edc, dc) in same st, sk 1, edc in top of ch 3. <4 sts>
Mark the side of the work with the st3sc, edc, dc in same st as the “increase side” and the side with the edc in the top of the turning ch as the “decrease side.” You can use different sizes of stitch markers, or use 2 markers on the increase side and one marker on the decrease side of the work.
Turn
Setup Row 3: st3sc, edc in next sp (between the last edc of row 2 and first 3 dc cluster), sk 2, (2 dc, 2 edc) in last st. <6 sts>
Turn
Setup Row 4: ch 1, (2 sc) in same st, (2 sc) in next st, sc in next 2 sts, sk 1, sc in last st <7 sts>
Turn
Setup Row 5: st3sc, sk 1, dc in next 2 sts, (2 dc) in each of next 2 sts, (2 edc) in last st. <9 sts>
Turn
Setup Row 6: (st3sc, edc) in same st, (2 dc) in each of next 2 sts, dc in next 4 sts, sk 1, edc in last st. <11 sts>)
Turn
Setup Row 7: ch 1, sc in same st, sk 1, sc in next 7 sts, (2 sc) in each of last 2 sts <12 sts>
Turn
Setup Rows Complete. Proceed to Row 2. Do not repeat the Setup Rows.

Row 2: st3sc, (edc, dc) in same st, [sk 2, 3 dc in next] to last 2 sts, sk 1, edc in last st.
Turn
<13 (22, 31, 40, 49, 58, 67, 76, 85, 94, 103, 112, 121, 130, 139, 148, 157) sts>
<4 (7, 10, 13, 16, 19, 22, 25, 28, 31, 34, 37, 40, 43, 46, 49, 52) clusters>
Row 3: st3sc, edc in first sp (between the last edc of row 2 and first 3 dc cluster), (3 dc) in each sp to end, sk 2, (2 dc 2 edc) in last st.
Turn
<15 (24, 33, 42, 51, 60, 69, 78, 87, 96, 105, 114, 123, 132, 141, 150, 159) sts>
<4 (7, 10, 13, 16, 19, 22, 25, 28, 31, 34, 37, 40, 43, 46, 49, 52) clusters>
Row 4: ch 1, (2 sc) in same st, (2 sc) in next st, sc to last 2 sts, sk 1, sc in last st.
Turn
<16 (25, 34, 43, 52, 61, 70, 79, 88, 97, 106, 115, 124, 133, 142, 151, 160) sts>
Row 5: st3sc, sk 1, dc in each st to last 3 sts, (2 dc) in each of next 2 sts, (2 edc) in last st.
Turn
<18 (27, 36, 45, 54, 63, 72, 81, 90, 99, 108, 117, 126, 135, 144, 153) sts>
Row 6: (st3sc, edc) in same st, (2 dc) in each of next 2 sts, dc in each st to last 2 sts, sk 1, edc in last st.
Turn
<20 (29, 38, 47, 56, 65, 74, 83, 92, 101, 110, 119, 128, 137, 146, 155) sts>
Row 7: ch 1, sc in same st, sk 1, sc in each st to last 2 sts, (2 sc) in each of last 2 sts.
Turn
<21 (30, 39, 48, 57, 66, 75, 84, 93, 102, 111, 120, 129, 138, 147, 156) sts>
Repeat rows 2-7 seven times more for a small wrap, 11 times more for a medium wrap, and 15 times more for a large wrap as shown, OR to your desired size.
Repeat rows 2-4 once more. Do not fasten off or turn. Proceed to Edge.
Edge
This project is really completely fine without an edge, in fact, if you want to just keep crocheting until you run out of yarn you can. This project works like that.
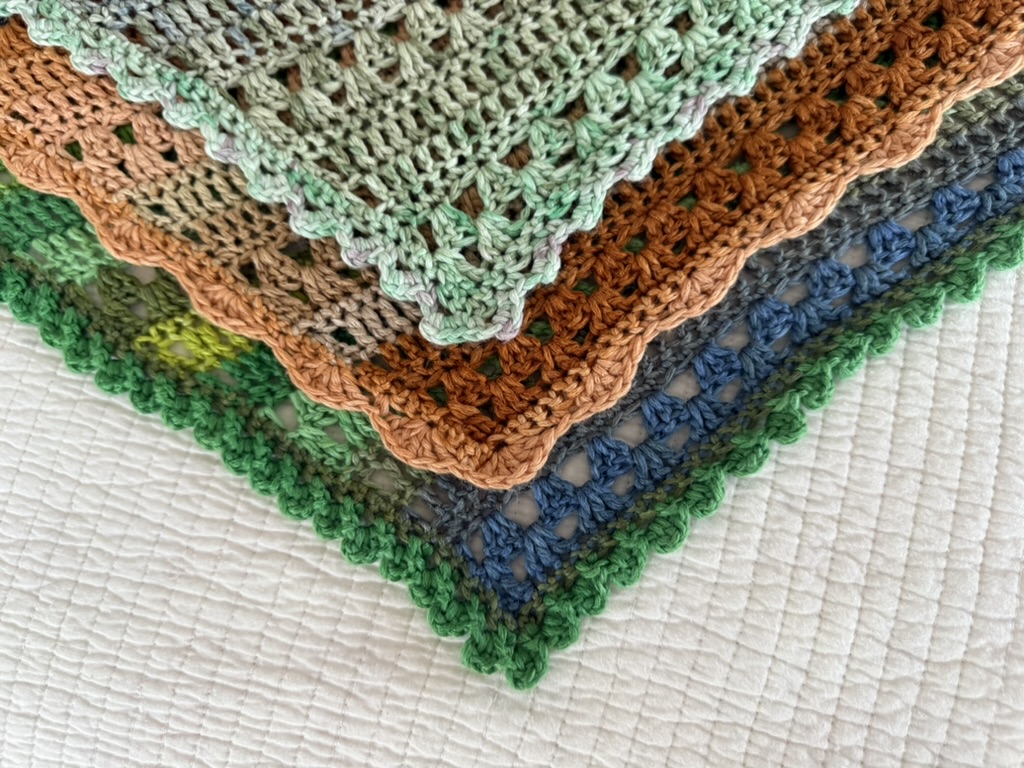
I have three edges for you to choose from. The yardage I provided in the pattern is based on the edge that I chose for each project. Option 1 uses the least amount of yarn, and Option 3 uses the most. Plan accordingly!
Each border starts with the same Edge Row 1. From there, choose Row 2 from one of the three options.
I noticed that my Edge Row 2 for all three versions acted a little differently worked along the side than they did along the top. You have my permission to adjust the number of skips you do in this (and any) edge in order to make your border row lay flat with no ruffling or puckering.
Edge Row 1: (for all edge options): Continuing from Row 4 on same side, ch 2 and sc in same st as last st of Row 4. Rotate the work and sc along the sides of rows, working approximately 3 sc into the sides of each edc and st3sc, and 1 st into the sides of sc stitches. Treat the sides of the stitches as foundation chains, working under two threads and leaving one thread below the sc stitches you are working. It is not crucial that you work precisely the same number of stitches into each stitch. Lay your work down often and check that it is neither ruffling nor puckering. Adjust by skipping accordingly for a perfect even edge. There is no exact stitch count that will be required. When you reach the corner, turn.
Proceed to Edge Option 1, 2, or 3.

Edge Option 1 – Tiny Slanty Points (shown on small size)
This edge was suggested by Maura at Mother of Yarns in Chesapeake, VA.
Edge Option 1 Row 2: *sk 1, hdc in next st, ch 1, (3 sc around hdc just made), sc in next st, repeat from * to corner, rotate the work ¼ and continue Edge Row 2 along the top of the work, ending with sc.
Fasten off. Weave in all ends.
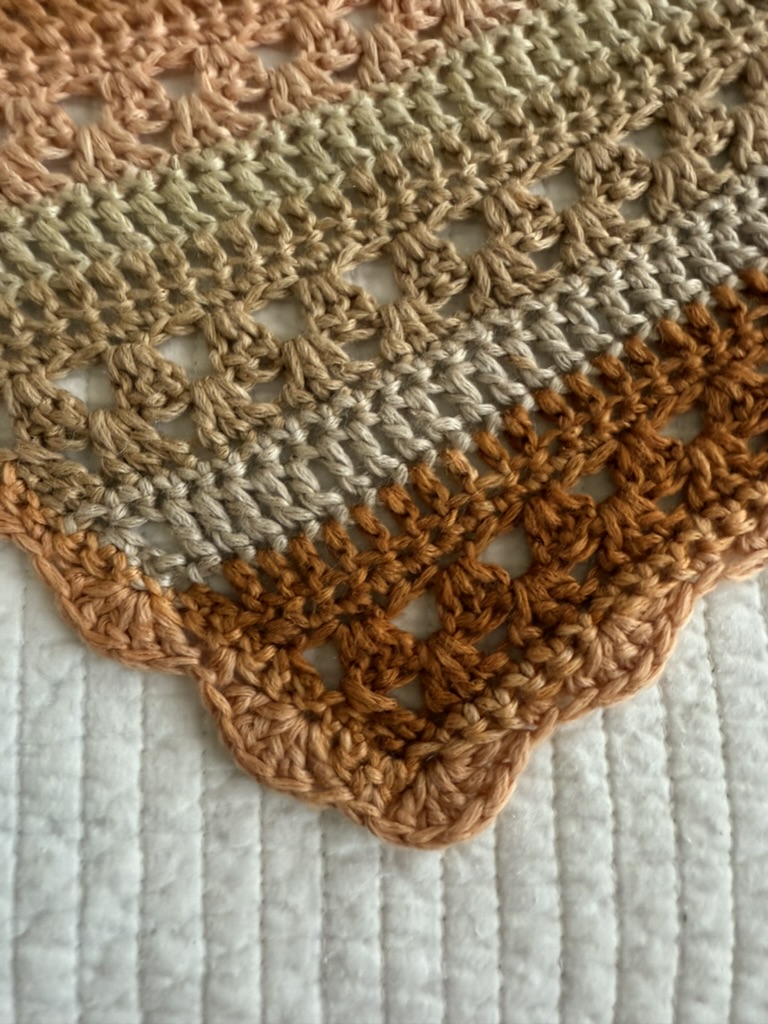
Edge Option 2: Shell Border (shown on medium size)
This edge was inspired by the beach. There was something magical about putting a scallop shell edge using the sandy tones of the JMF Grand Canyon colors while sitting on the sand. I feel like it brought the scarf to life.
Edge Option 2 Row 2: ch 1, sc in same st, * sk 2, (5 dc in next st), sk 2, sc in next st. Repeat from * to corner,rotate the work ¼ and continue Edge Row 2 along the top of the work, ending with sc.
I noticed sometimes I had to sk 1 between the shell and the sc, and sometimes skipping 1 worked better. Feel free to adjust your skips. Lay it down often and check that it’s laying flat.
Fasten off. Weave in all ends.
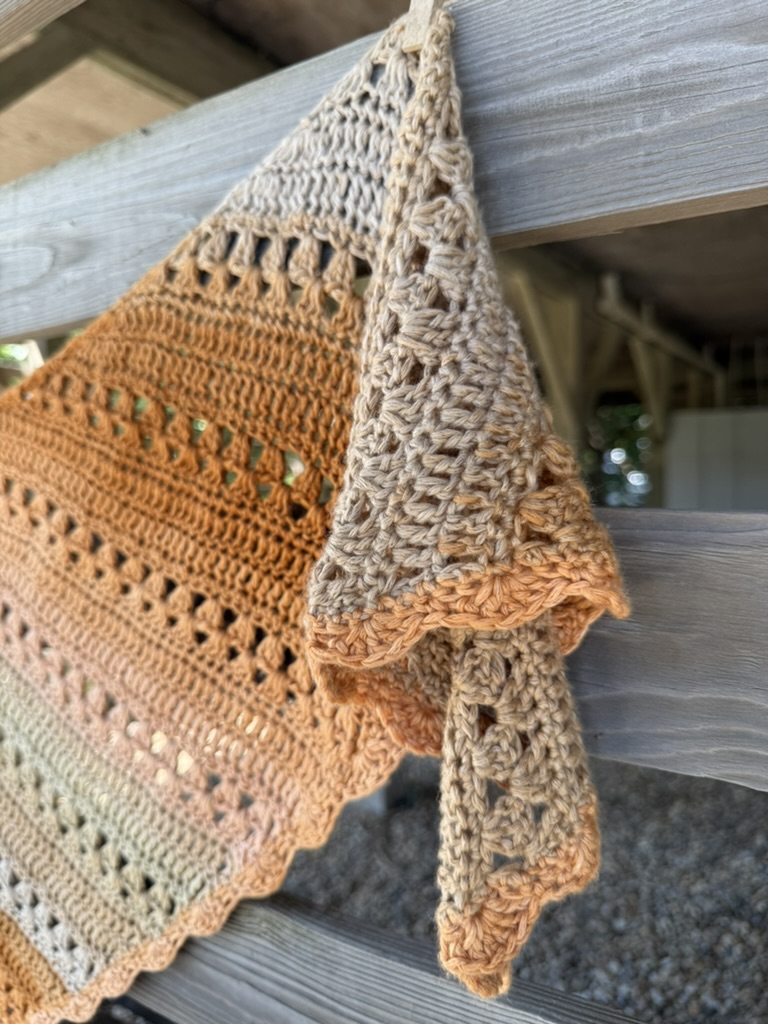
Edge Option 3: Mermaid Necklaces (shown on large size)
This edge is very similar to Option 1 but it twists back on itself, creating a spiraling effect. It reminds me of egg casings from whelks, which wash up on the beach sometimes and are referred to as “mermaid necklaces.”
Edge Option 3 Row 2: ch 1,sk 1, *hdc in next st, ch 1, (3 hdc around hdc just made), working in front of the hdc shell inserting the hook from back to front, sc in skipped st, sk 2 (sk the one you worked hdc into and the st after) repeat from * to corner, rotate the work ¼ and continue Edge Row 2 along the top of the work, ending with sc.
If you find it confusing to work from back to front, you can turn the work to work the sc in the skipped sc, and turn back.
Fasten off. Weave in all ends.
Block with appropriate technique for the fiber content of your yarn. Steam or wet block and stretch the scarf or shawl to shape.
Resources
Resources
6-Day Crochet Community – www.6daycrochetgroup.com
The Betty McKnitiverse – www.bettymcknitiverse.com
Betty’s Website – www.bettymcknit.com
Betty’s Pattern Store – www.bettymcknitshop.com
Betty’s YouTube – www.youtube.com/c/bettymcknit
Other Scarves by Betty McKnit
Credits
This pattern was tested by members of the Betty McKnitiverse.
Items created with this pattern may be used for commercial sale with credit to Betty McKnit in your listing. Mass production is not permitted.
This pattern is the intellectual property of Beth McKee Elliott aka Betty McKnit®. This pattern, The 6-Day Kid Blanket, 6-Day Crochet™, 6-Day Star Blanket™, and all derivative works are protected by copyright. Publishing translations, corrections, variations, or tutorials of this pattern, online or elsewhere without written permission from the owner is a violation of copyright.
An international community of yarnful makers and friends.
- New pattern pre-releases
- Exclusive patterns never released to the public
- Have access to Betty’s ad-free .pdf library of patterns (3-4 patterns/month)
- Access to Betty’s Design Workshop
- Uplevel your knitting and crochet skills
- Enjoy regular crochet alongs, knit alongs, and classes
- Make like-minded friendships during our weekly social and educational events
- Bonus content every month
Beth McKee Elliott
aka Betty McKnit
Beth McKee Elliott, also known as Betty McKnit, is a crochet and knitting designer, instructor, community leader, and Master Somatic Movement Therapist and Educator. Her signature style, 6-Day Crochet, is showcased in the viral crochet patterns the 6-Day Kid Blanket and 6-Day Star Blanket.
She specializes in Somatic Crochet and Knitting, a mindfulness practice that combines crochet/knitting with body awareness techniques to prevent injury and promote well-being and creativity in crafting.
In addition to being a crochet designer, Beth is a choreographer. She is the creator and director of Small Plates Choreography Festival, Haven Movement Company, and the Dance Maker Podcast.
©Beth McKee Elliott/Betty McKnit®
www.bettymcknit.com
Betty McKnit crochet, boomerang shawl pattern, triangular scarf crochet, beginner crochet wrap, self-striping yarn wrap, DK weight crochet pattern, Outer Banks beach crochet, Juniper Moon Farms yarn, meditative crochet project