6-Day Star Blanket: Tips and Tricks for Crocheting Your Blanket with Scrap Yarn
This page contains affiliate links. If you click these links and buy something on the page they take you to, I may, at no additional cost to you, earn a commission. I only affiliate with products and companies I feel good about. Thank you for your support!
6-Day Star Blanket: Tips and Tricks for Crocheting Your Blanket with Scrap Yarn
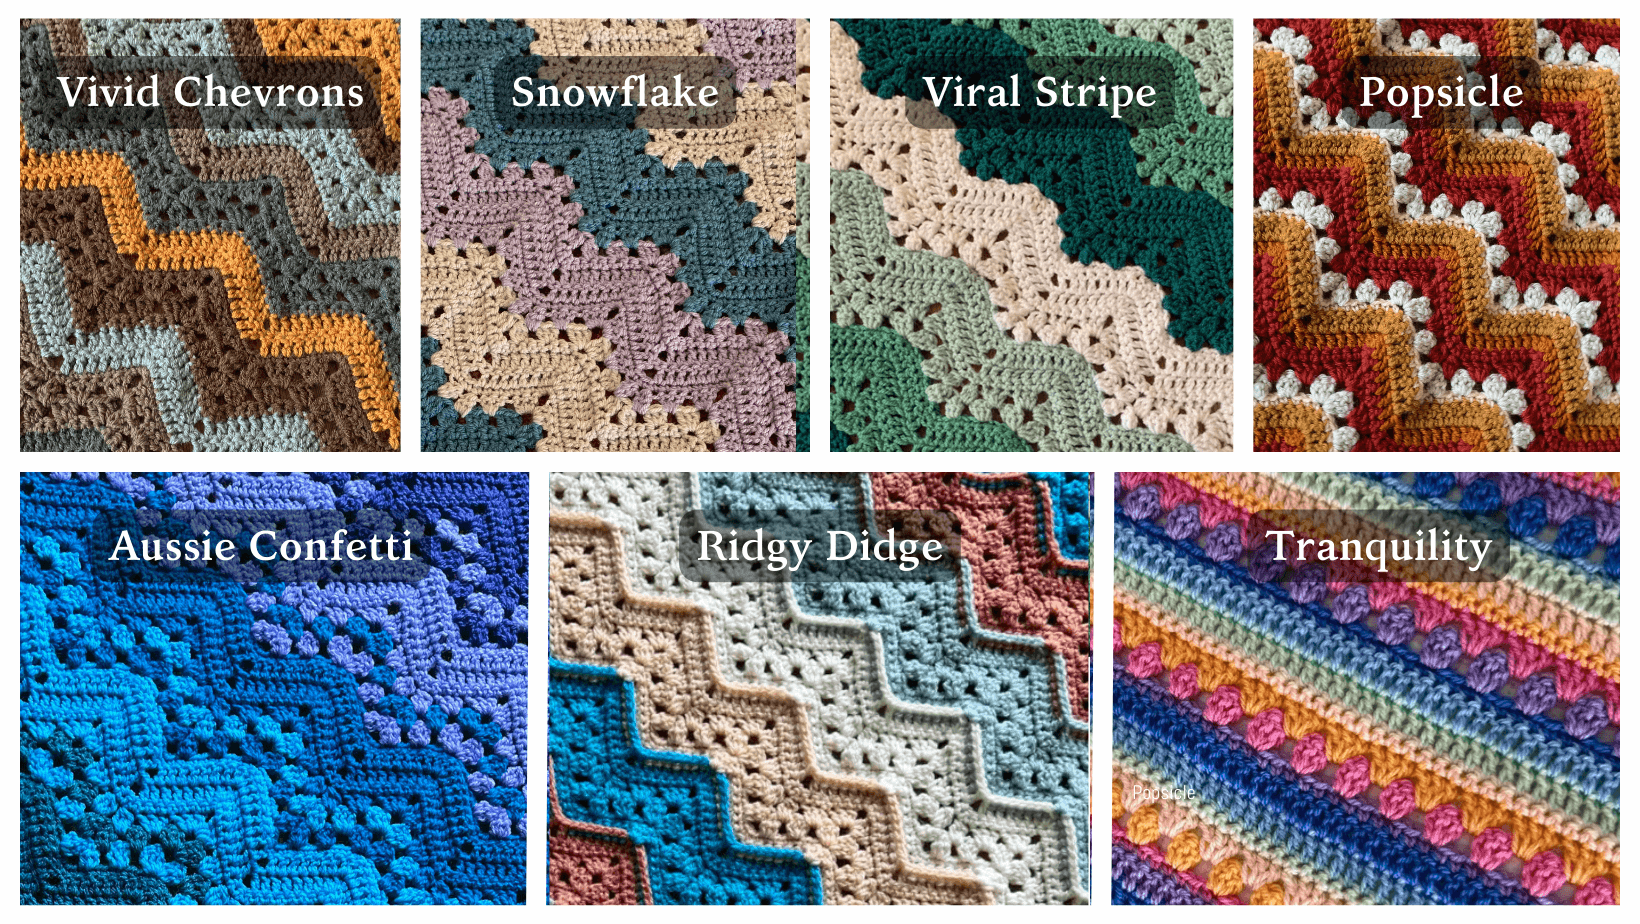
The 6-Day Star Blanket can be made with virtually any yarn. When I say any yarn, I mean, pretty much any yarn will work. While buying new yarn is fun, and a sure way to create a beautiful blanket, the 6-Day Star Blanket pattern is a great project for working through your stash yarn, and for using up leftover yarn scraps from other projects. It can also be a fun way to let go of control in your creative process.
Here are my most essential tips and tricks for creating this beautiful blanket with stash or leftovers.
What is Scrap Yarn?
Scrap yarn is yarn left over from other projects. Stash yarn is yarn that you acquired, maybe without a particular project in mind, but it’s now living in your space waiting for you to decide what to do with it. Recycled, or upcycled yarn is yarn from an unravelled item, usually thrifted or rescued. I’ll use “scrap yarn” to refer to stash, scrap, and upcycled yarn in this article.
Why Choose Scrap Yarn?
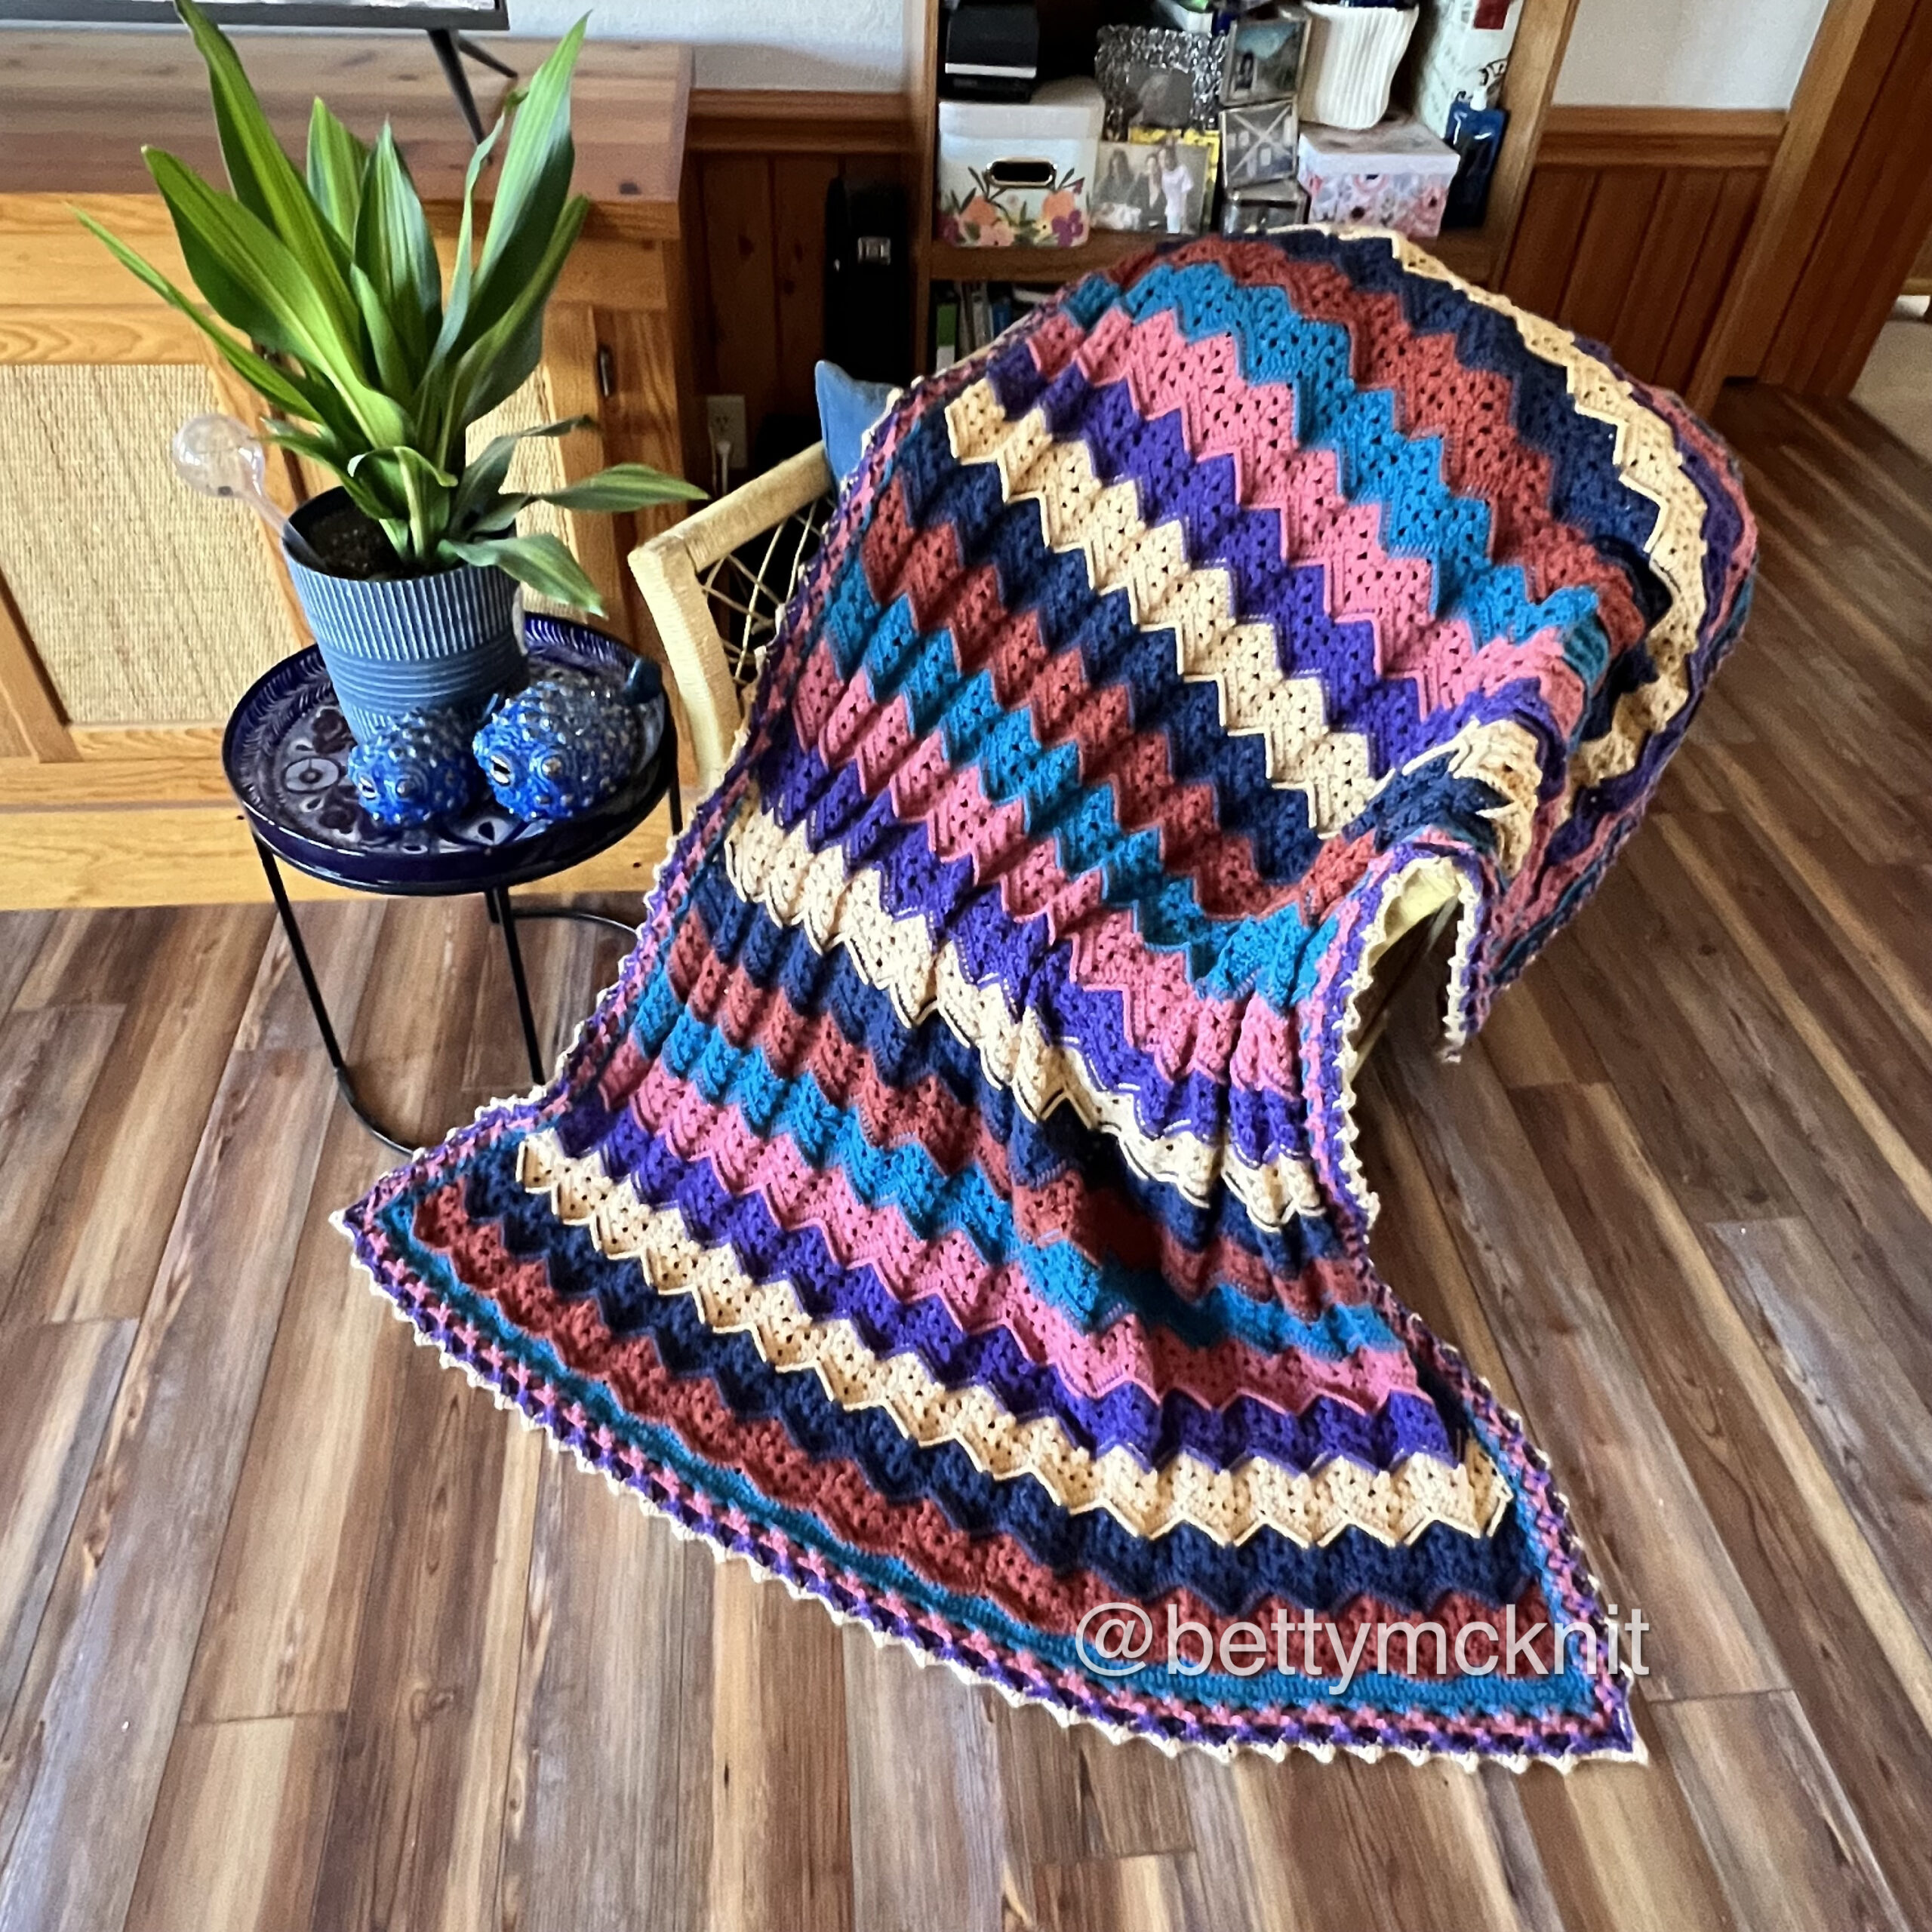
Using scrap yarn for your star blanket is a fantastic way to get creative and crochet a unique, one-of-a-kind item. It’s also is a good sustainability practice that will offset any overconsumption that we may have already committed. The 6-Day Star Blanket is a yarn-eater, and looks amazing in a collection of different colors, and if you’ve been crocheting for any length of time you probably have enough yarn in your home ready to be worked up into an amazing looking blanket.
Yardage Needed
The amount of yarn you’ll need will vary depending on what size blanket you would like to make, and what type of yarn you use. You will need more yardage of thinner/lighter yarn than you will of heavier/thicker yarn. Check the 6-Day Star Blanket pattern for yardage estimates for different yarns and blanket sizes.
You’ll also want to make sure that your yarn is all approximately the same weight. More about this later.
1. Shop Your Stash
Trends like Stash Bust September encourage crocheters to shop their stash. Stash Bust September was started by The Morning Crafter and promoted by Lea from Kouzi Krafts on TikTok. Stash Bust September is a no-buy challenge meant to help crafters work from the materials they’ve already purchased for the entire month of September.
6-Day Star Blankets are amazing stash-busting projects, that is why my version of this trend is Star Blanket September. For the month of September, I work on 6-Day Star, Superstar, and Supernova blankets, all of which are great for using up yarn you already have on hand.

2. Thrifted Yarn
Thrift stores and reuse stores are great sources of yarn. Unraveling a thrifted sweater to recycle the yarn is also a fun and environmentally friendly way to make some thing beautiful from a garment that might have otherwise been headed for a landfill.
You will probably want to wash any secondhand yarn you acquire. If you’re going to unravel a garment, wash it first, and then unravel. Watch my TikTok video where I show how I wind recycled yarn into hanks for washing and show the method I use to wash them. This works better than other commonly suggested methods, such as putting skeins in pillow cases or panty hose. Skeined yarn does not wash well at all. Unless you want your yarn to end up in one big knotty ball of tangle, you’ll want to wind it into hanks first.
This process for soaking yarn in my washing machine with no-rinse wool wash and spinning it out is how I also wash most of my handmade items. It’s a very good technique to know.
Tips for Combining Yarns
When combining different yarns, there are a few things to keep in mind.
1. Yarn Weights
It’s important to match yarn weight for your entire project. If you want to combine different yarn weights, try holding thinner yarns together to match the weight of the heaviest yarn and working them as one. If necessary, change your hook with different yarns in order to create a consistent gauge throughout the project. The closer the match of yarn weights, the better outcome you will have.
2. Yarn Lengths
If you are using leftover scrap yarn, you may have more yardage of certain yarns/colors than others. I suggest you use the yarns with the least yardage first as you will need much more yarn to complete a single round as the blanket grows. You also will need to decide if you care about the yarn changing colors in the middle of a round, or if you only want color changes to happen after a full round.
3. Mid-Row Color Changes
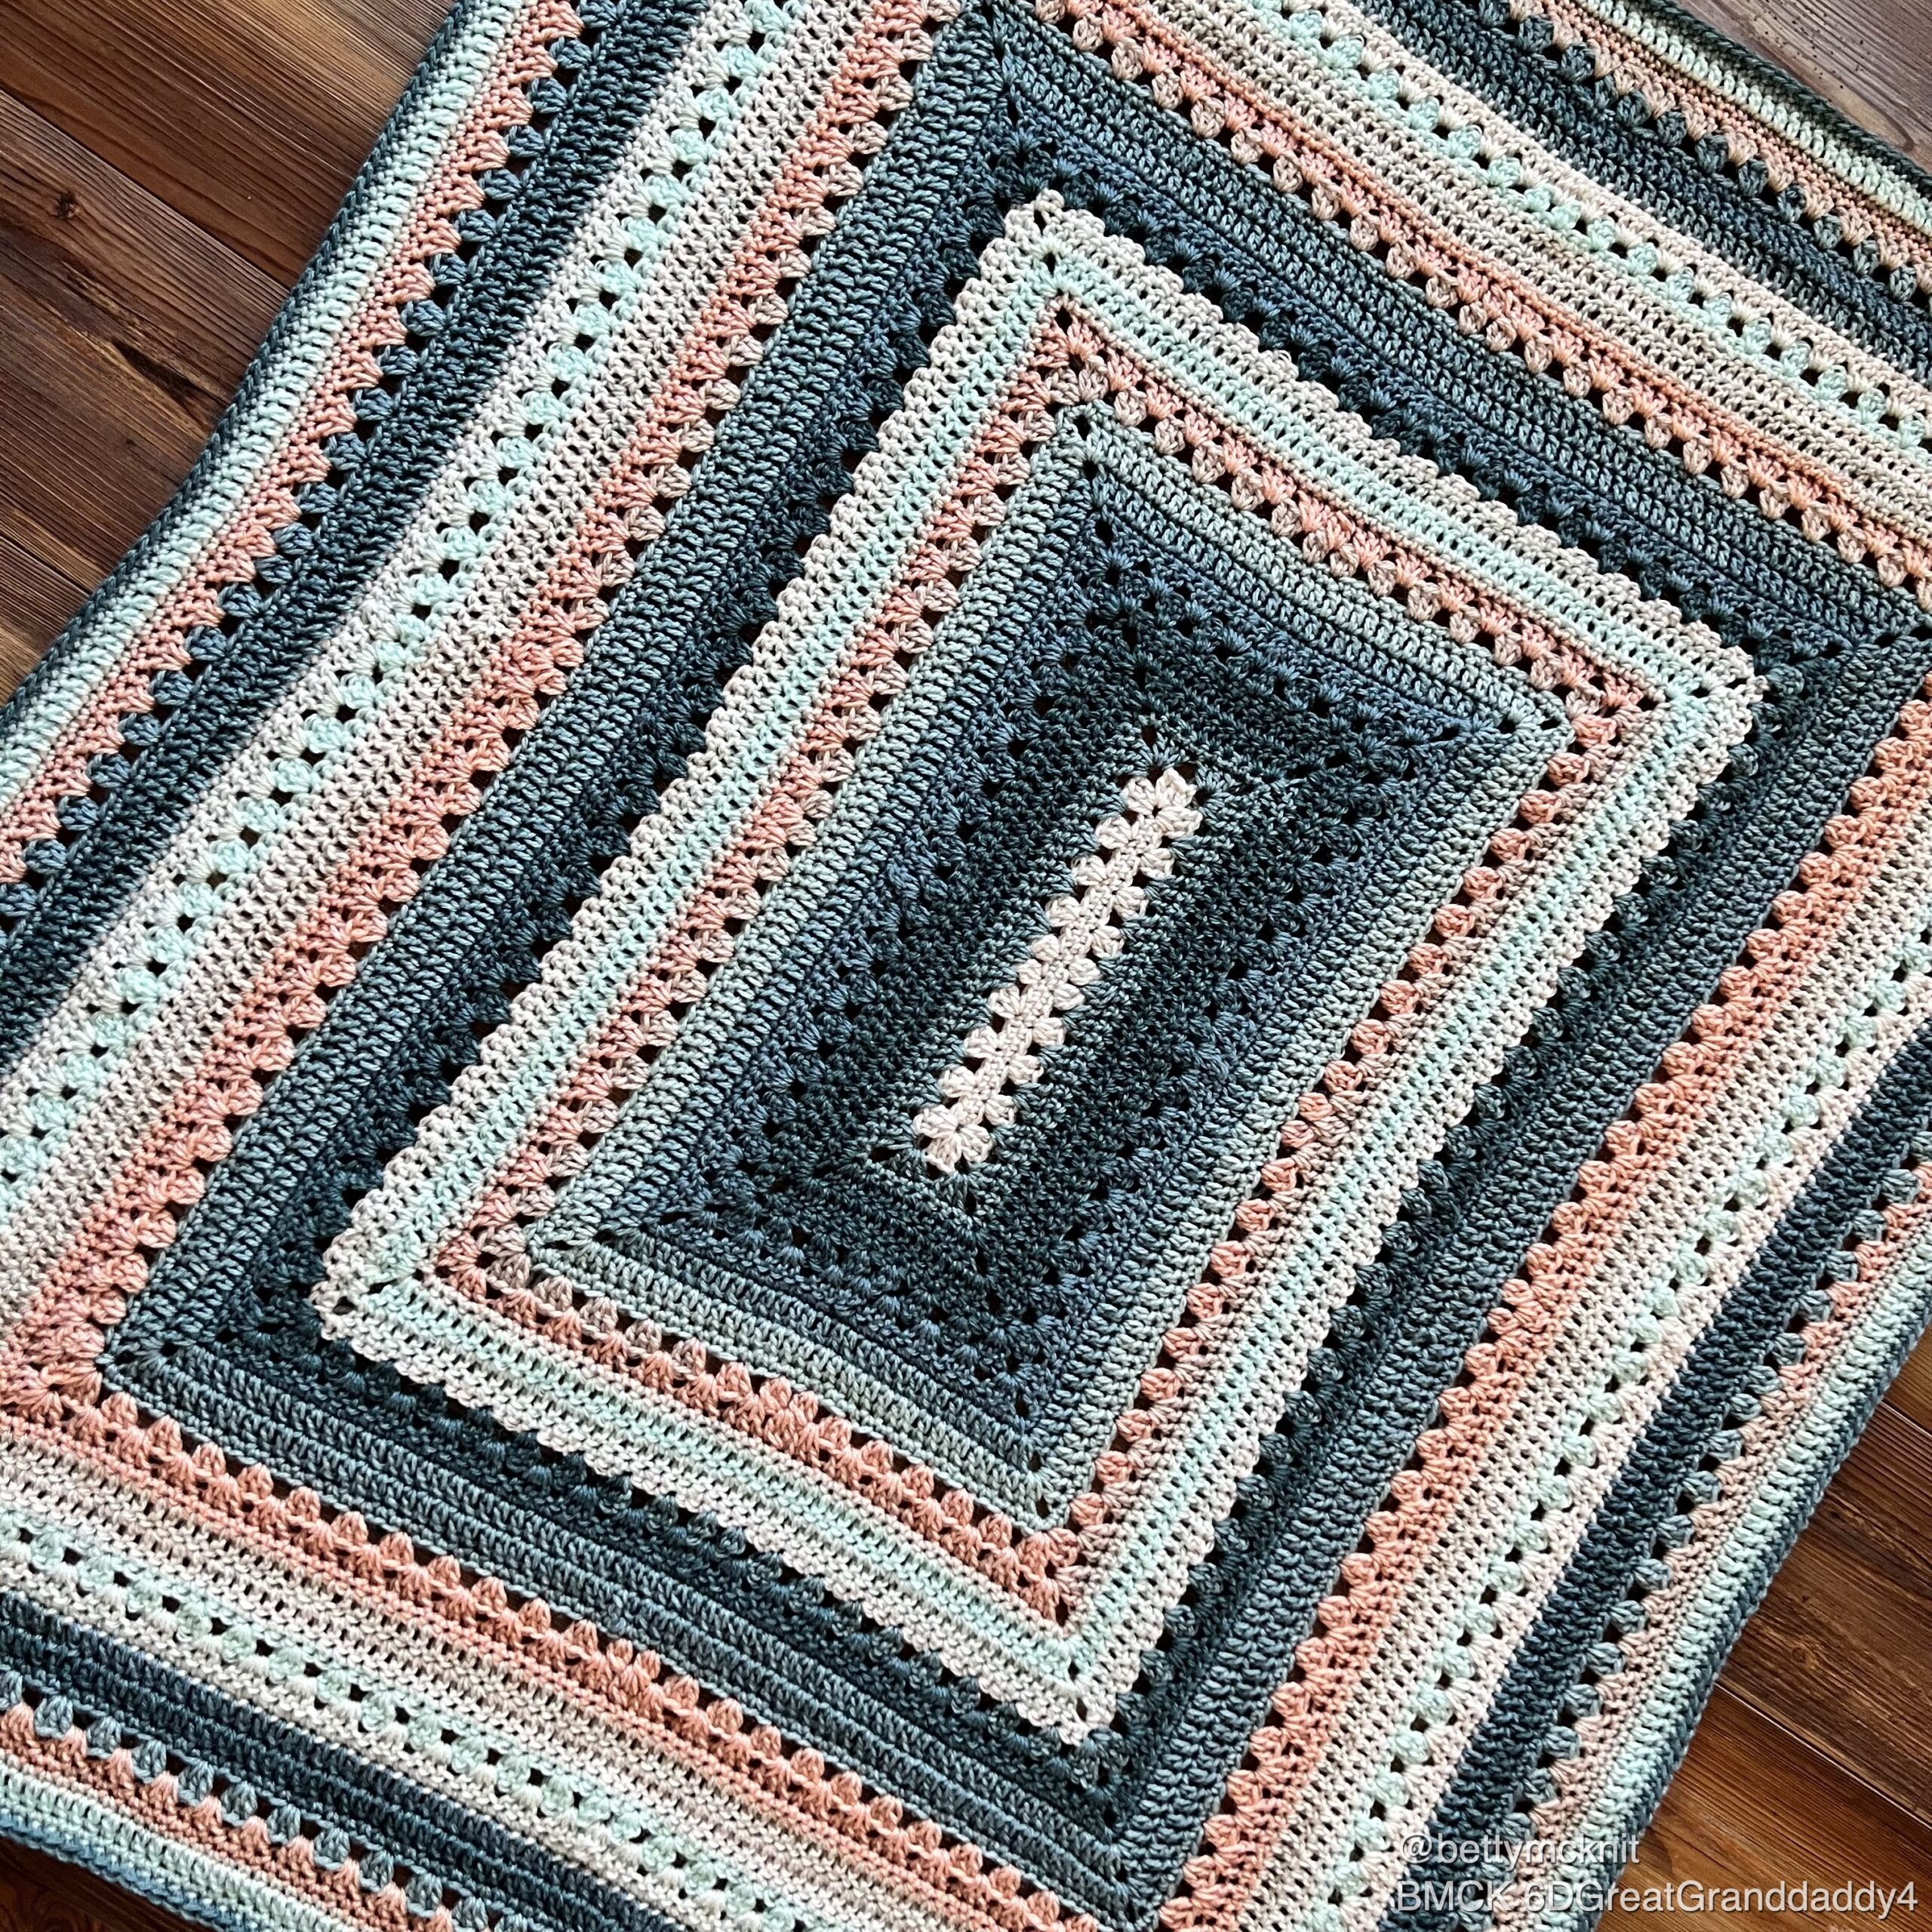
I usually make sure that any color changes in my 6-Day Star, Superstar and Supernova blankets in the first 8-10 rounds only happen at the beginning of a new round. Mid-round color changes look odd to me in the center of the blanket, and they draw they eye right to them like a bullseye. Beyond the first 8-10 rounds, I don’t think they are as noticeable. However, this is your project to create how you like. You just have to decide what you prefer.
4. Tying Knots vs. Weaving in Ends
When you make a project with scrap yarns, you will have the issue of loose ends to think about. Weaving in ends is part of finishing up any fiber arts project, although many of us really don’t enjoy doing it. You might be tempted to take a shortcut and tie knots instead. However, I don’t believe a knot is a secure way to finish off ends in a crochet project, and so I don’t recommend it. Sadly, many new crocheters fall victim to the idea of the so-called “magic” knot which isn’t magic at all and is an unravelling waiting to happen. Taking the extra time and effort to weave in ends securely is the best way to deal with ends. For me, it is not worth risking hours of hard work by trusting a knot.
5. Changing Yarns
When changing yarns at the beginning of a round, fasten off the old yarn and rotate the blanket and start in a new valley. Mark the center stitch of the next peak and count back to figure out where the start will be. I like my fastens and starts to be spread out in different parts of the blanket. I personally think that it makes weaving in all those ends much easier, and it hides them better when they are not all lined up in one valley.
When changing yarns mid-row/round, pull the new yarn through the last two loops of the last stitch of the old color. What I do then is take the two tails and flip them up and over the working yarn, holding it to the back of the work as I make my next stitch. This secures them enough for me to complete the project without worrying about anything becoming unravelled as I work on it. Once I’m done, I weave each tail separately. No knots needed.
I demonstrate both of these techniques in my tutorial video for the 6-Day Star Blanket.

6. Weave in Ends as You Go
I actually don’t advocate for weaving as you go, and that is because every time I do it, I end up having to rip out my work. Wait until you know you’re done to weave in your ends.
7. The Scrap Ball
I don’t recommend taking all of your scraps and tying them together into one big scrap ball. It looks fun, and I understand why crocheters want to do this, however, it’s problematic for different reasons. First, knots are not secure. Secondly, I think it limits your creative choices. What if you don’t like how the scraps are arranged once you start crocheting, and want to rearrange them? Or If they create a mid-round change that you don’t like? If one of your yarns ends up being too thick, or too thin, and you have to switch it out, or want to combine it with another scrap in another part of the ball it will be a big mess. I think the technique of the scrap ball could end up being more annoying than helpful. Keep your different yarns separate so you can select them as you need them.
Putting it All Together
1. Colors
Now that you have your yarn, lay it all out together, and check out how the colors work together. Is there any color that you feel stands out, or doesn’t belong? Is there a color that’s missing? Does it need a pop of something? There are many different approaches to combining colors, and personally, I find crocheters worry too much about doing colors wrong. There is no wrong. Yarn is very forgiving, you can always rip it out and re-do it if you don’t like how it looks.
2. Enjoy the Process
Working a scrap project can be a fun journey of remembering the other projects that the leftover yarn was used for. It can be surprising and delightful when unplanned colors align next to one another creating unexpected vibrations. It feels good to know that you’re using that yarn that you spent money on and has been hanging around collecting dust. I love the feeling of making something fantastic out of something that wasn’t getting any use.
3. Embrace Imperfections
Remember that this is a scrap yarn project! Embrace the uniqueness of each yarn piece. The beauty of a scrap yarn blanket lies in its eclectic charm. Perfection is overrated!
Completing Your Blanket
As you near the end of your 6-Day Star Blanket, here are some finishing touches:
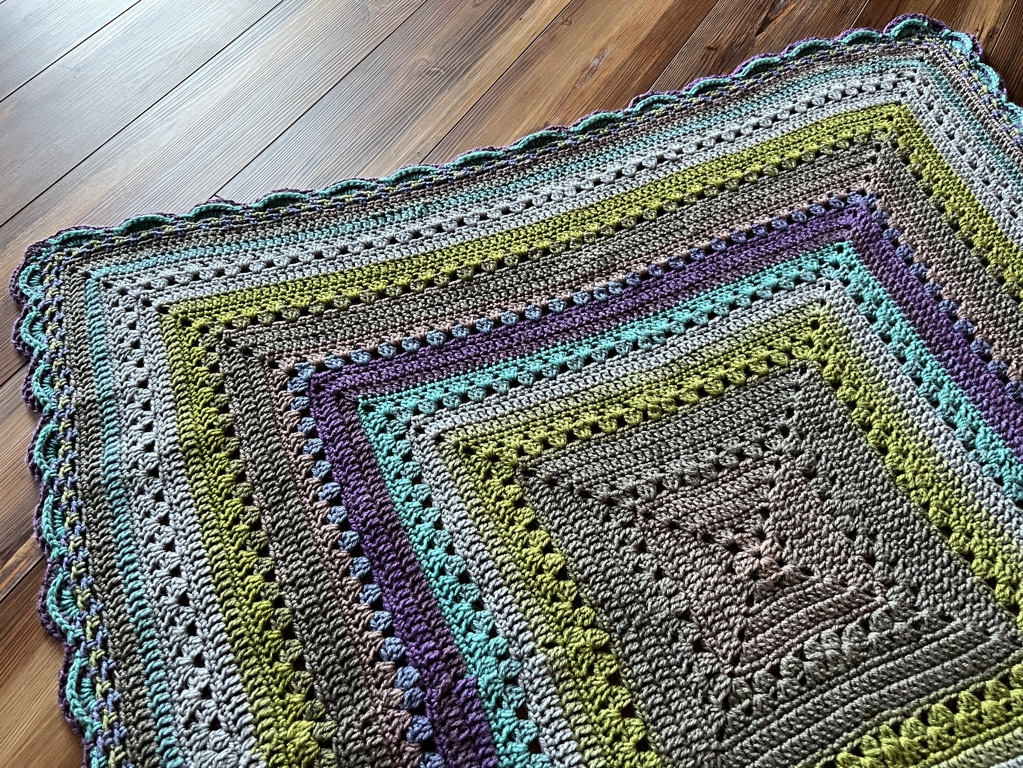
- Border: Consider adding a simple border in a neutral color to tie everything together. A single or double crochet border in solid black can add an elegant touch.
- Blocking: Once finished, block your blanket to even out the stitches and enhance its overall appearance. Blocking can be as simple as washing your blanket and laying it out flat over some towels on the floor or the guest room bed.
Share Your Creation
Once your gorgeous star blanket is complete, remember to share it on social media and tag me @bettymcknit. I love seeing your creations and being inspired by your unique interpretations of the 6-Day Star Blanket.
Happy Crocheting
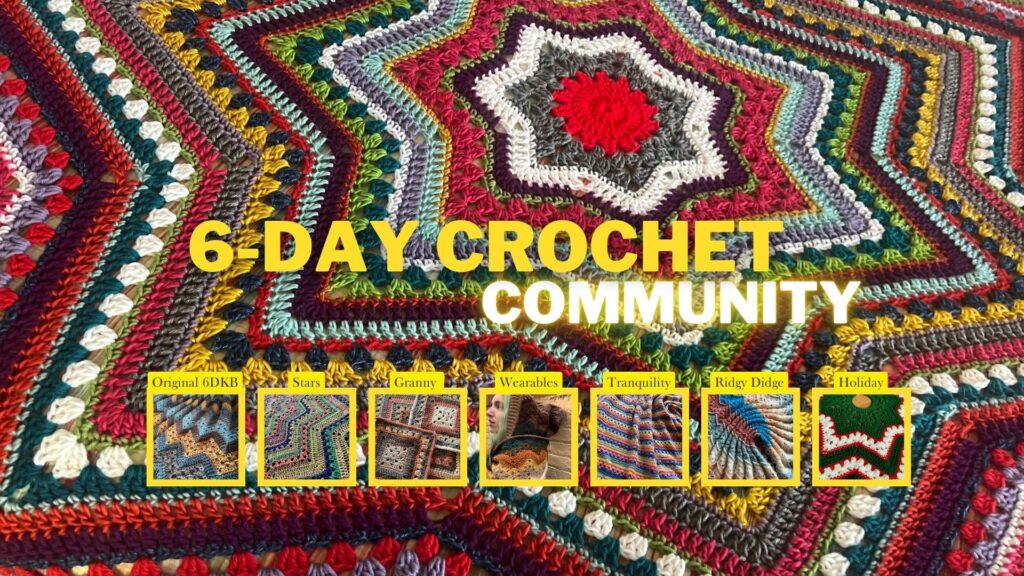
Join one of my online communities to knit and crochet along with friends, get help with pattern questions, show off your makes, and access tons of free resources for making 6-Day Crochet and other Betty McKnit designs.
Beth McKee Elliott
aka Betty McKnit
Beth McKee Elliott, also known as Betty McKnit, is a crochet and knitting designer, instructor, community leader, and Master Somatic Movement Therapist and Educator. Her signature style, 6-Day Crochet, is showcased in the viral crochet patterns the 6-Day Kid Blanket and 6-Day Star Blanket.
She specializes in Somatic Crochet and Knitting, a mindfulness practice that combines crochet/knitting with body awareness techniques to prevent injury and promote well-being and creativity in crafting.
In addition to being a crochet designer, Beth is a choreographer. She is the creator and director of Small Plates Choreography Festival, Haven Movement Company, and the Dance Maker Podcast.
©Beth McKee Elliott/Betty McKnit®
www.bettymcknit.com
This pattern is the intellectual property of Beth McKee Elliott aka Betty McKnit®. This pattern, The 6-Day Kid Blanket, 6-Day Crochet™, 6-Day Star Blanket™, and all derivative works are protected by copyright. Publishing translations, corrections, variations, or tutorials of this pattern, online or elsewhere without written permission from the owner is a violation of copyright.
An international community of yarnful makers and friends.
- New pattern pre-releases
- Exclusive patterns never released to the public
- Have access to Betty’s ad-free .pdf library of patterns (3-4 patterns/month)
- Access to Betty’s Design Workshop
- Uplevel your knitting and crochet skills
- Enjoy regular crochet alongs, knit alongs, and classes
- Make like-minded friendships during our weekly social and educational events
- Bonus content every month
6-Day Star Blanket, Scrap Yarn, Crochet Tips, Stash Busting, Yarn Combinations, Thrifted Yarn, Upcycled Yarn, Sustainability, Crochet Techniques, DIY Crochet Projects, Yarn Weights, Color Changes, Weaving in Ends, Crochet Patterns, Yarn Lovers