How to Swatch for the 6-Day Star Poncho
Introduction
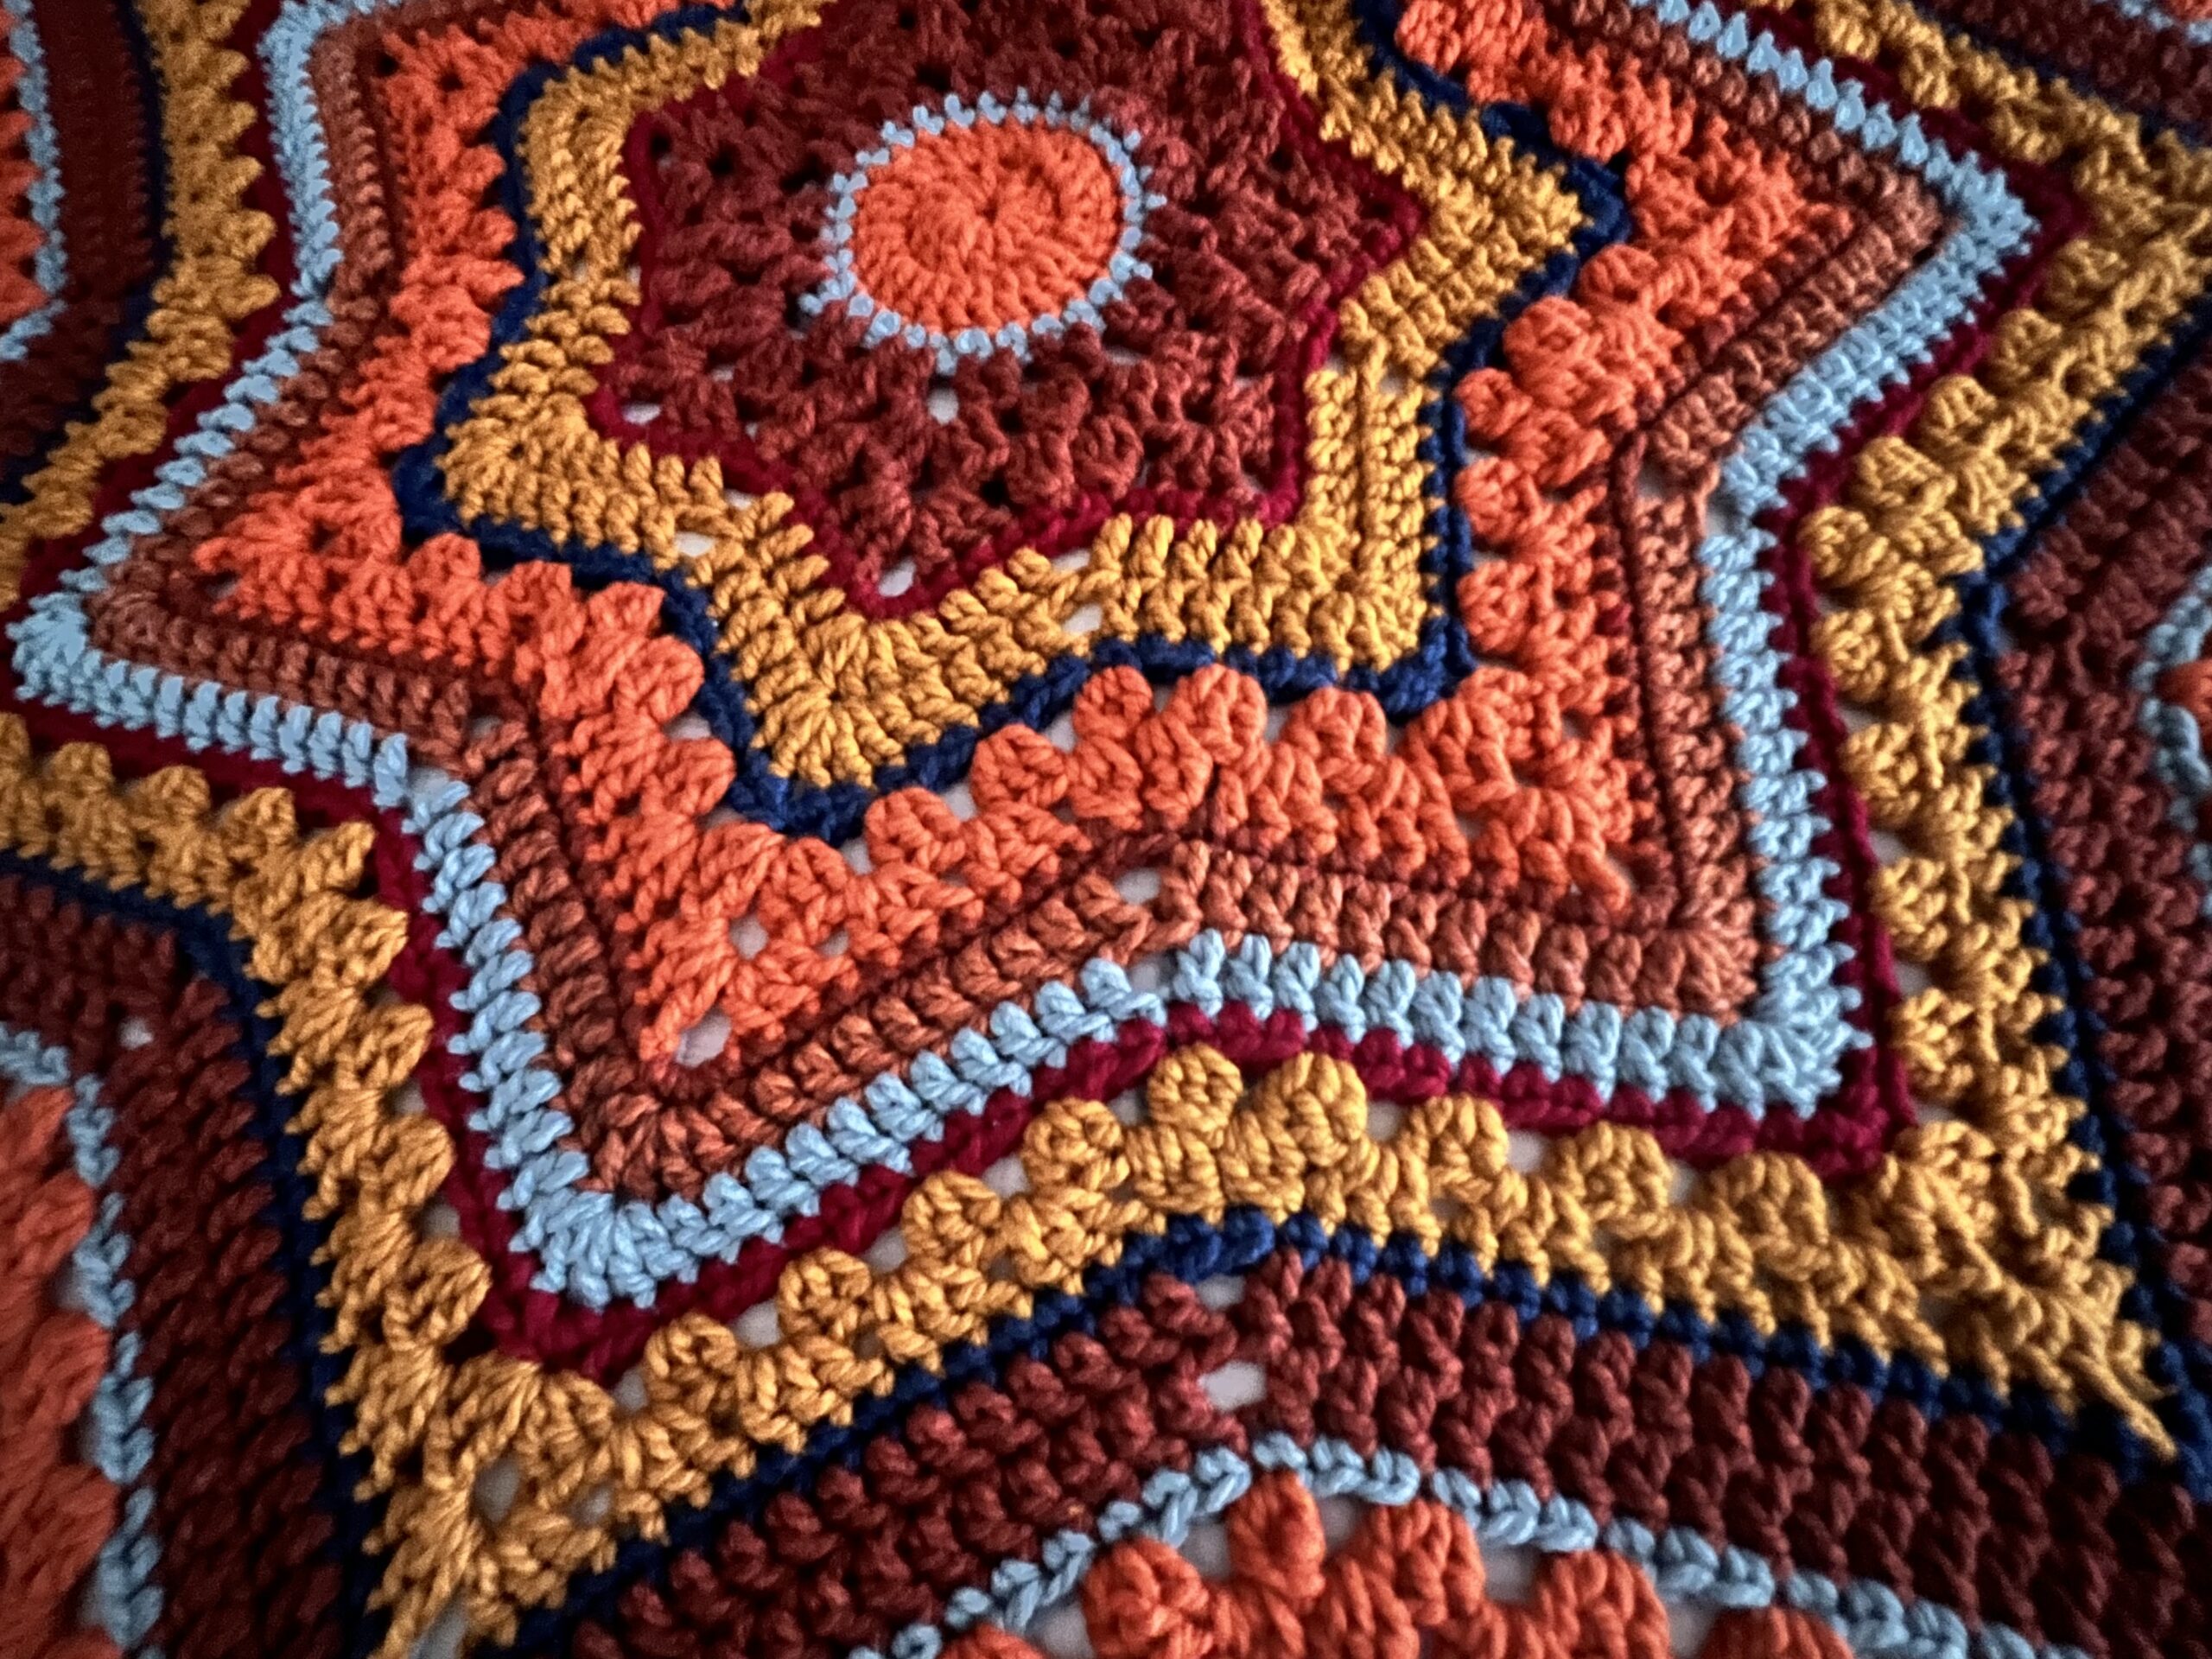
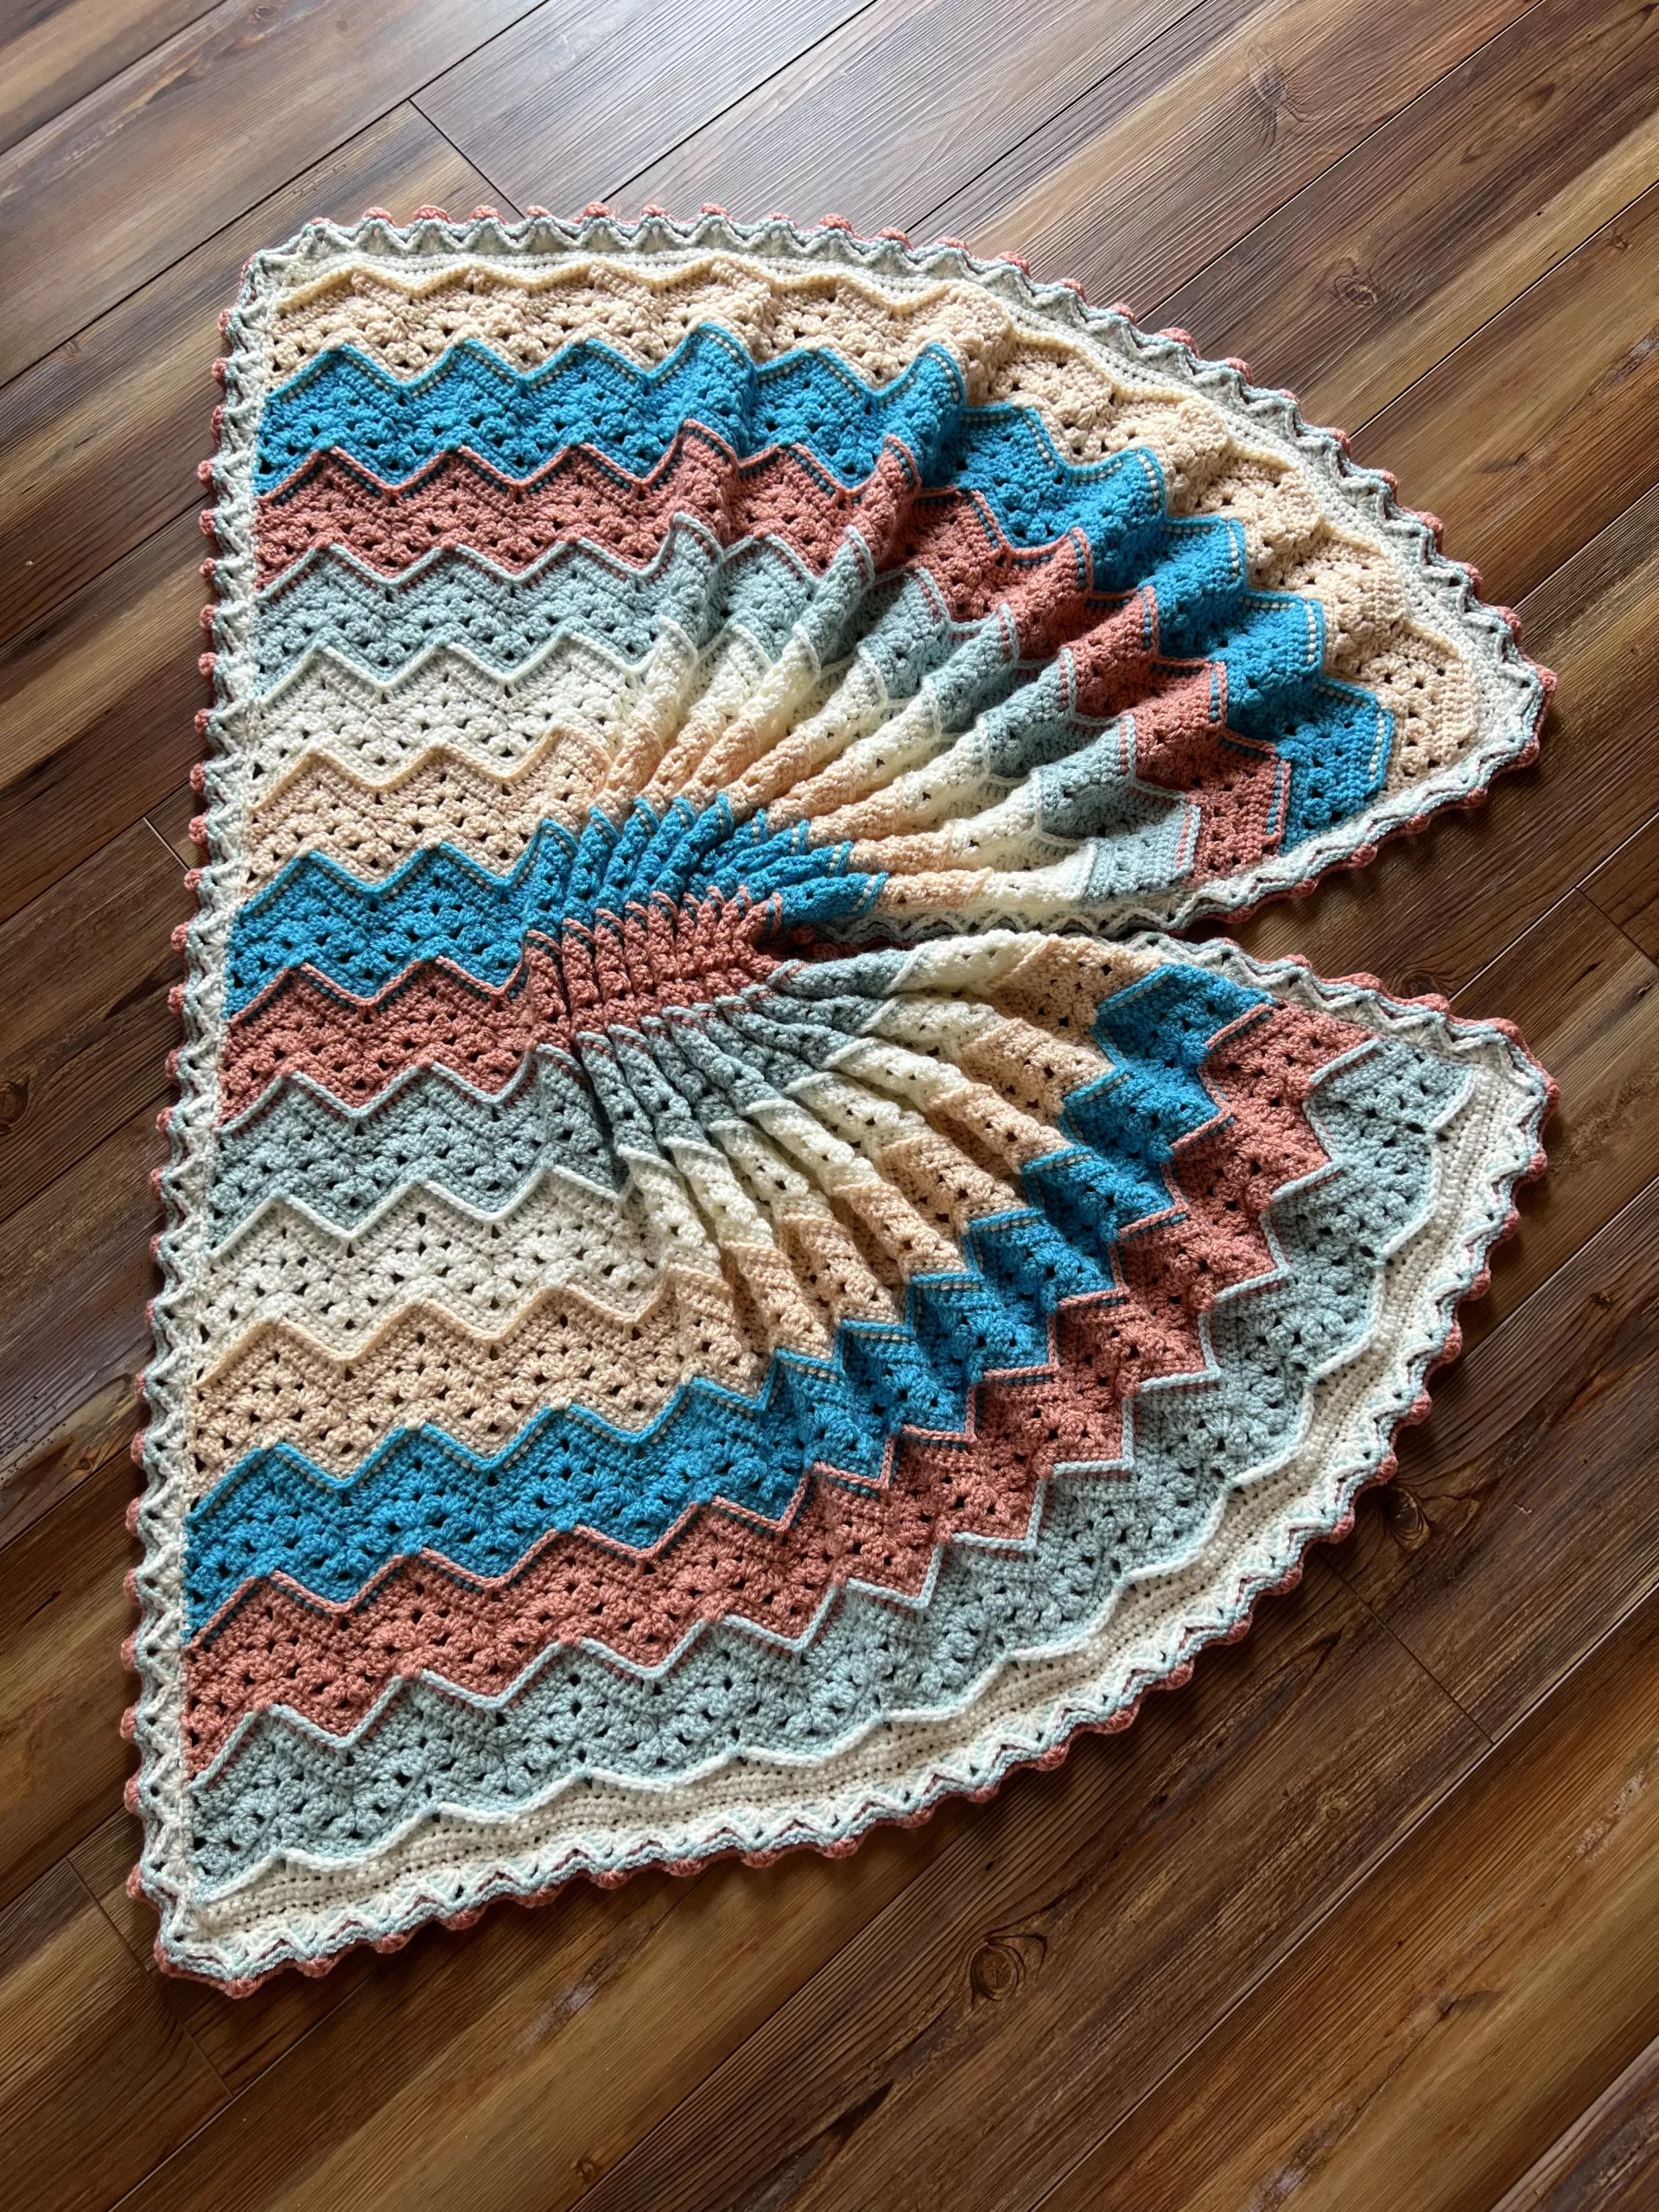
The 6-Day Star Poncho is a variation of the 6-Day Star Blanket. It is made just like the star, from the center out, but with a neck opening. Now you can wear your favorite 6-Day Crochet project everywhere! This fun and easy pattern is adaptable and made-to-measure. The shape is variable; the number of points you have in your poncho will vary depending on the number of starting chains. This swatch pattern will give you some guidance about how to customize your 6-Day Star Poncho for the perfect size every time.
This page contains affiliate links. If you click these links and buy something on the page they take you to, I may, at no additional cost to you, earn a commission. I only affiliate with products and companies I feel good about. Thank you for your support!
Details
Terminology: US with UK Conversions
Finished Size: Variable. The size will depend on the yarn you use and the number of points you put around the opening. Use this swatch pattern to determine the correct amount of points for the size you would like.
Skill Level: Easy (NOT Beginner)
Gauge: varies depending on your yarn.
Materials
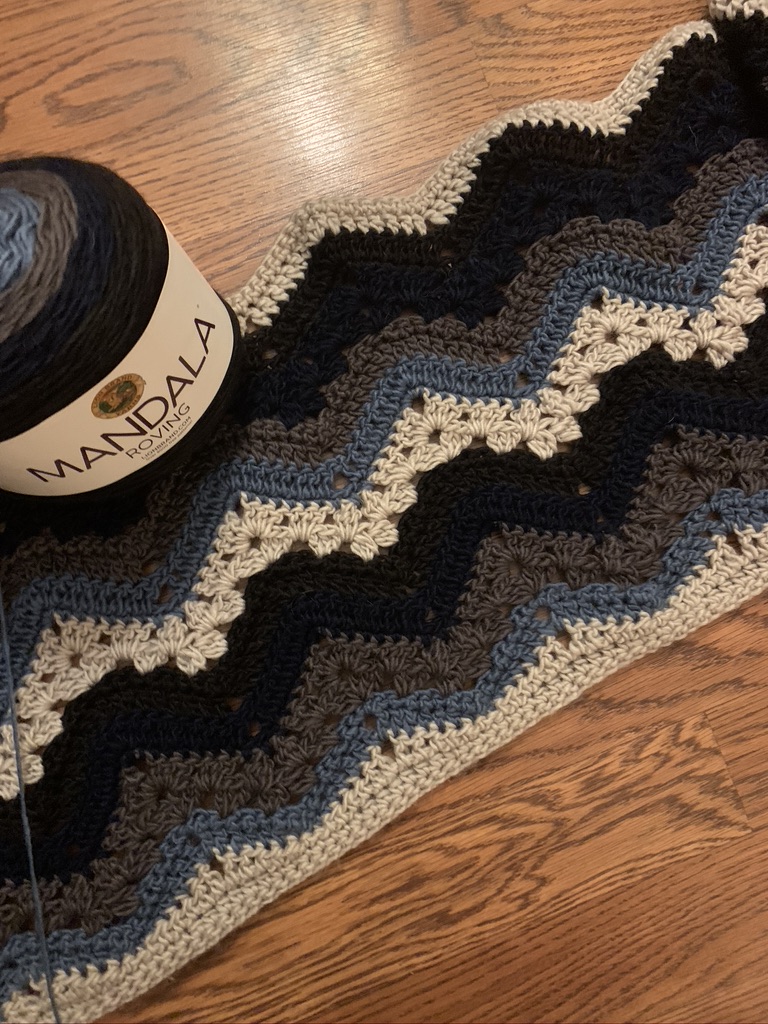
Yarn: The pattern is adaptable to any yarn but will work best with a 3 or 4 weight yarn. You will need a small amount of yarn for this swatch, less than 100 yards. Approximate yardage for a completed project is as follows:
• DK or #3 weight 1400 yards for a 17” long poncho,
• Worsted or #4 weight 1800 yards for a 23” long poncho
Hook: H (5 mm) and I (5.5 mm) for 3 weight yarn I (5.5 mm) and J (6 mm) for 4 weight yarn
Stitch Markers Yarn Needle Scissors Measuring Tape
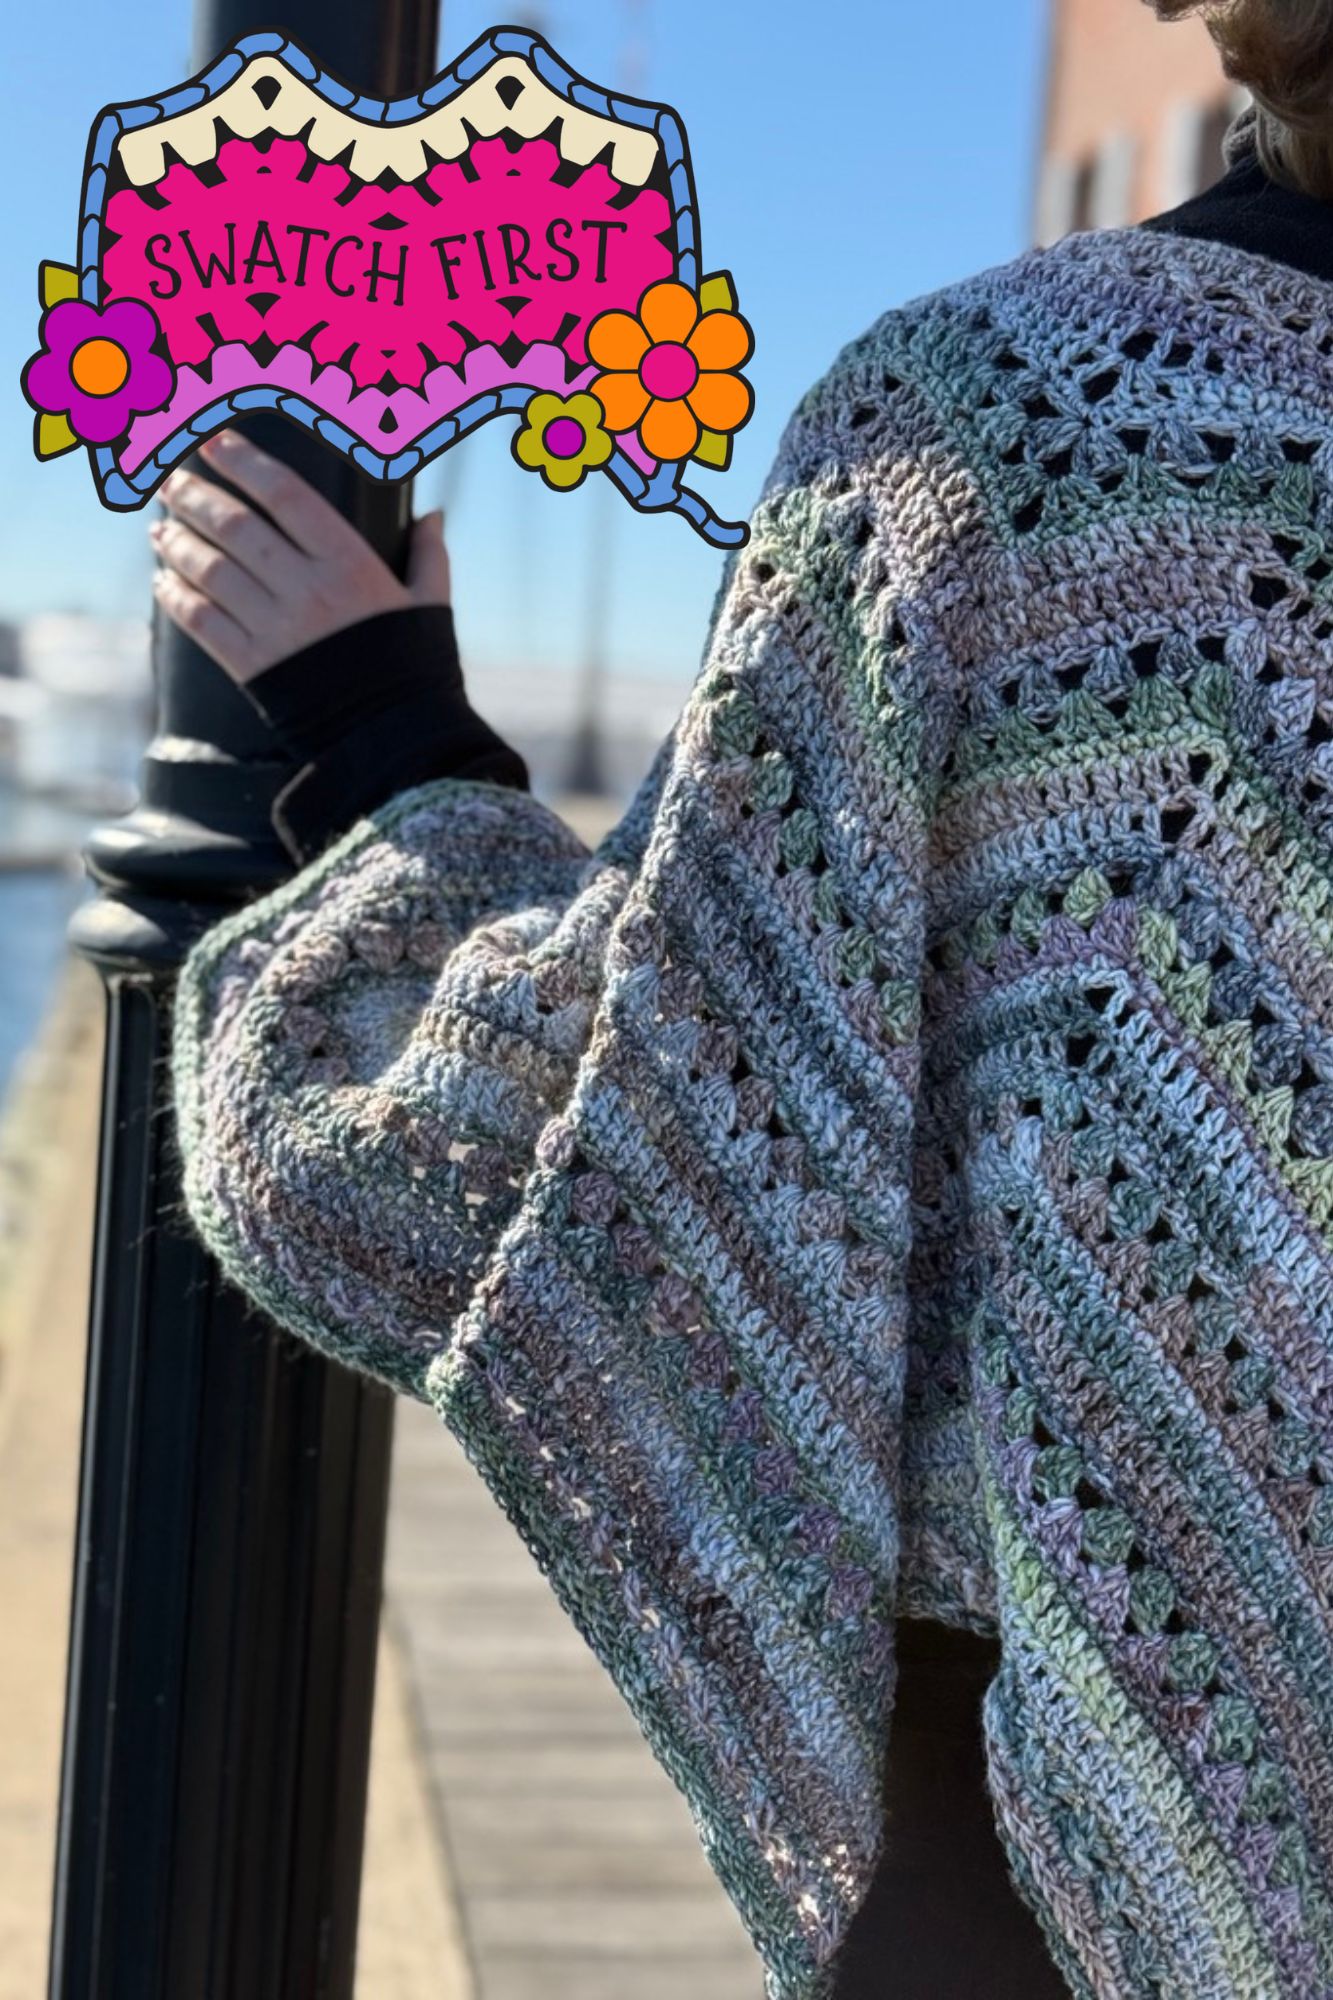
Swatch First
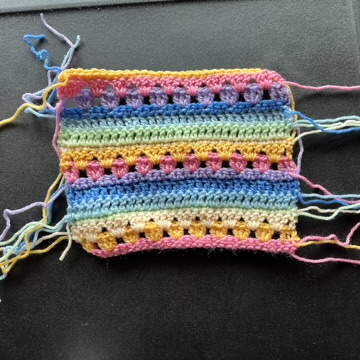
This pattern takes you through the first ten rounds of the 6-Day Star Poncho pattern in order to help you:
- Determine the correct hook to use for your project. The yarn label, the pattern writer, and other crocheters can only offer you a suggestion for which hook to use. Ultimately, you are the person who should decide if the fabric you are making with your unique tension is right for your taste and how you want your project to come out.
- Determine the right size for your project.
- Estimate Yardage. If you are not using 3 or 4 weight yarn, you will need more yardage for a lighter weight yarn and less yardage for a heavier weight yarn. You can use the yardage given in the pattern for 3 and 4 weights and two sizes as starting points and make an educated guess from there.
- Avoid frustration by learning the stitches before diving into a whole project. Think of it as a practice run.
- Keep your swatch after your project is complete in case you ever need to repair your poncho. You will have a sample of the yarn in the shape of the thing it goes to, which will help you remember your project details in case you lose or don’t keep project notes.
Sizing
Determine the size of the neck opening you would like your poncho to have – anywhere from 14”-38”.
If you’re not sure how large the opening should be, start with the head circumference measurement, as the poncho must fit over the head and add 2-4” or more of ease depending on how loose you would like your poncho neckline and where you want it to lay. You can measure the head of the intended poncho wearer or you can find head measurements on the Craft Yarn Council website.
You can also make a chain for the length you think you may want, tie it together and try it on. Some people like the neck higher, some lower… it must fit over your head but also not slide off your shoulders (unless of course that is the look you want). You will be able to make some adjustments and make the neck opening a little smaller when you work your collar, if needed.
Once you have determined the size for the neck opening, you will need to chain a multiple of 13+1 that is closest to that measurement. Your poncho will have one point for each set of 13 chains.
Neck Opening Measurement _____________
For length, you can adjust as you go. Completed length will be anywhere from 13”- 40.” Remember that a larger neckline opening will cause the poncho to hang lower on the body. The wider the neck opening, the lower the poncho will rest on the shoulders. Measure as you go.
Even or odd?
One interesting thing I have learned as a crochet instructor is that some people prefer odd numbers and others prefer even numbers. I am an odd person, because I prefer odd numbers. I designed the 6-Day Star Blanket and 6-Day Star Poncho with an odd number of points. The poncho is designed to be worn with three points centered in the front of the body and four points across the back.
If you are someone who happens to prefer even numbers, you can adjust the poncho to have an even number of points. Adjust your starting chain, 13 chains per point desired +1 ch for turning.
A poncho with seven or eight points will lay flat, like the 6-Day Star Blanket with a hole in the middle. If you add more than 8 points, the poncho will be more than circular and will ruffle. Anything with six points or smaller will be cone-shaped.
Joining the rounds
Only join with a sl st at the end of the round when instructed to do so.
Abbreviations
6DKB: 6-Day Kid Blanket
ch: chain
dc: double crochet
dc2tog: double crochet 2 together cluster dc3tog: double crochet 3 together cluster hdc: half double crochet
rsc: reverse single crochet sc: single crochet
sl st: slip stitch
sp(s): space or spaces st(s): stitch(es)
yo: yarn over
Converting US to UK Terminology
| US terms abbreviation | UK terms abbreviation |
| single crochet sc | double crochet dc |
| half double crochet hdc | half treble crochet htr |
| double crochet dc | treble crochet tr |
Special Stitches
dc2tog – worked as a cluster into one stitch
[yarn over, pull up a loop, yo and pull through two loops] twice. Yarn over, and pull through all loops on the hook. (Be sure to pull up a loop in the same stitch every time.) dc2tog complete.
dc3tog – worked as a cluster into one stitch – not over three stitches [yarn over, pull up a loop, yo and pull through two loops] 3 times. Yarn over, and pull through all 4 loops on the hook. (Be sure to pull up a loop in the same stitch every time.) dc3tog complete.
Repeats
( ) Work stitches in parentheses in the same st or sp.
[ ] Repeat everything within the brackets the indicated number of times. * Indicates beginning of repeat.
** Indicates end of repeat on last repeat only (ignore it until last repeat)
Stitch Counts Stitch counts between < >
Notes: • Do not join rounds with a sl st unless instructed to do so. • Mark the first stitch of each round.
• Unless indicated otherwise, ch 3 counts as dc.
Begin Pattern With larger hook, chain 27
Row 1: beginning with the second ch from the hook, sc across. Do not turn. <26>
Change to smaller hook.
Round 2: taking care not to twist join with sc in the round to first st (mark it), sc in next 2 sts, *hdc in next 3 sts, dc in next st, ch 1, dc in next st, hdc in next 3 sts,** sc in next 5 sts, repeat from * around, ending last repeat at **, sc in next 2 sts (do not join with a sl st unless instructed to do so, here and throughout).
<26 sts, 2 ch-1 sps>
Round 3: joining with first sc, *sc in next 3 sts, hdc in next 3 sts, dc in next st, (dc, ch 2, dc) in ch-1 sp, dc in next st, hdc in next 3 sts, sc in next 2 sts, repeat from * around.
<30 sts, 2 ch-2 sps>
Round 4: join with sc in first st and mark it, sc in next 7 sts, *3 sc in ch-2 sp, sc in next 15 sts, repeat from * to last ch-2 sp, 3 sc in ch-2 sp, sc in last 7 sts. Join with sl st to first sc.
<36 sts>
Round 5: ch 2, dc2tog cluster in same st, *[sk 2, 3 dc in next st], twice, sk 2, (3 dc, ch 3, 3 dc) in center sc in the peak, [sk 2, 3 dc in next st] twice, sk 2, dc3tog in next st (should be the center valley st) repeat from * around ending with sk 2. Join with sl st to top of starting dc2tog..
<12 3-dc clusters, 2 dc3tog>
Round 6: sl st in next sp, ch 2, dc2tog in same sp, *3 dc in each of next 2 sps, (3 dc, ch 3, 3 dc) in ch-3 sp, 3 dc in each of next 2 sps, ** dc3tog in each of next 2 sps (before and after the dc3tog in the row below) repeat from * around ending last repeat at **, dc3tog in last sp, join with sl st to first dc2tog. <12 3-dc clusters, 4 dc3tog>
Round 7: ch 1, sc in same st, sc in each st around, working 3 sc in ch 3 sps. Join with a sl st to first sc.
<46 sts>
Round 8: sl st in next st, ch 3, dc in next 9 sts, *5 dc in next st, which should be the center sc from row below, dc in next 10 sts, sk 2, dc in next 10 sts, repeat from * to last peak, 5 dc in next st, dc in next 10 sts, sk 2, join with sl st to top of ch 3.
<50 sts>
Round 9: sl st in next st, ch 3, dc in next 10 sts, *5 dc in next st, dc in next 11 sts, sk 2, dc in next 11 sts, repeat from * to last peak, 5 dc in next st, dc in next 11 sts, join with sl st to top of ch 3. <54 sts>
Round 10: ch 1, sc in same st and each st around, making 4 sc in each center of 5 dc from the row below. Join with sl st to first sc. Fasten off.
<60 sts>
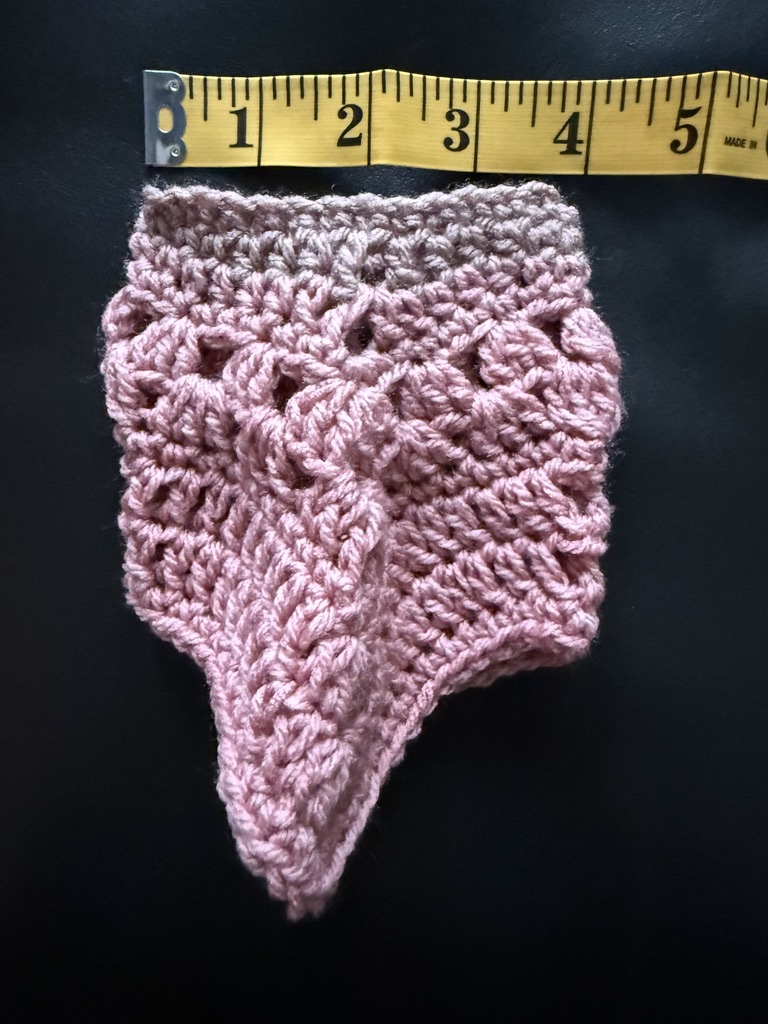
Measure Measure your swatch to determine your poncho size and starting chains.
Measure across the top of the swatch to determine how wide each point will be. Since the neckline is curved, be sure to straighten it in order to get an accurate measurement.
Divide the length by the desired length of your neck opening to know how many points to add to your poncho.
(5 points = 66, 6 points = 79, 7 points = 92, 8 points = 105, 9 points = 118)
Measure the length of your swatch from the starting chain to the bottom of one of the points.
Subtract to find the difference.
Total Length – 1 Repeat Length = Setup Length
In order to determine the number of repeats you will need to do in order to make your poncho the length you would like it to be, subtract the Setup Length from the desired poncho length. The difference will be the total length of the repeated rounds.
Desired Poncho Length – Setup Length = Total Repeat Length
Divide the Total Repeat Length by the length of one repeat to determine how many repeats you will need to do in order to complete your poncho.
Total Repeat Length / 1 Repeat Length = # of Repeats Needed.