How to Swatch for the 6-Day Ridgy Didge Blanket
Introduction
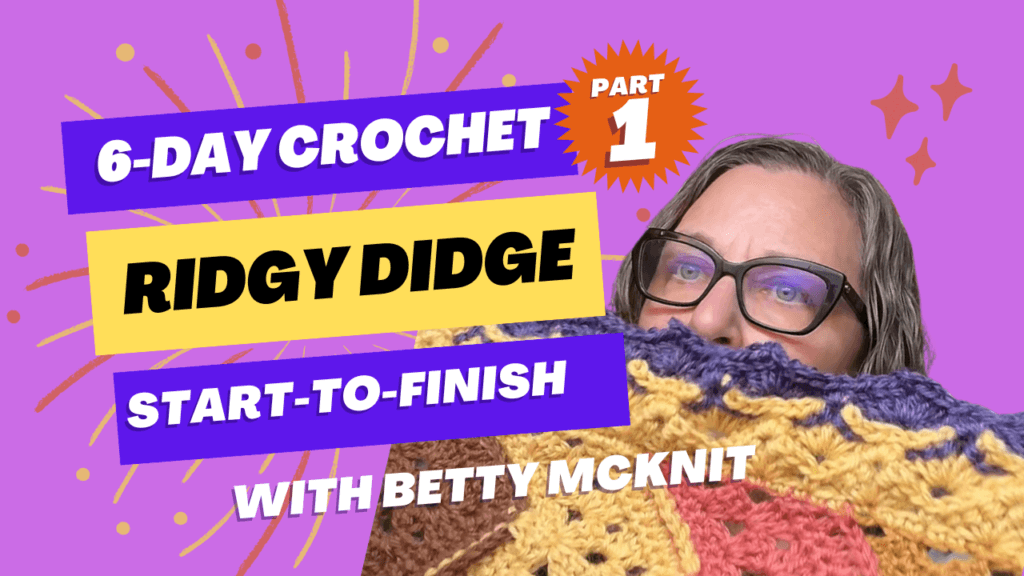
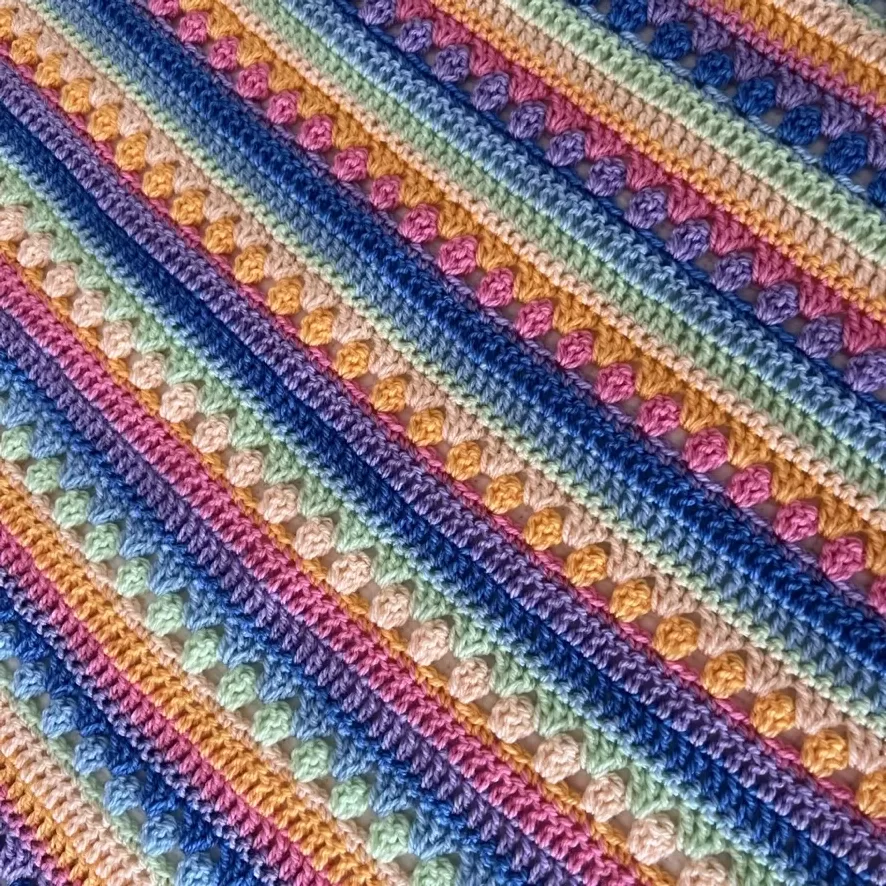
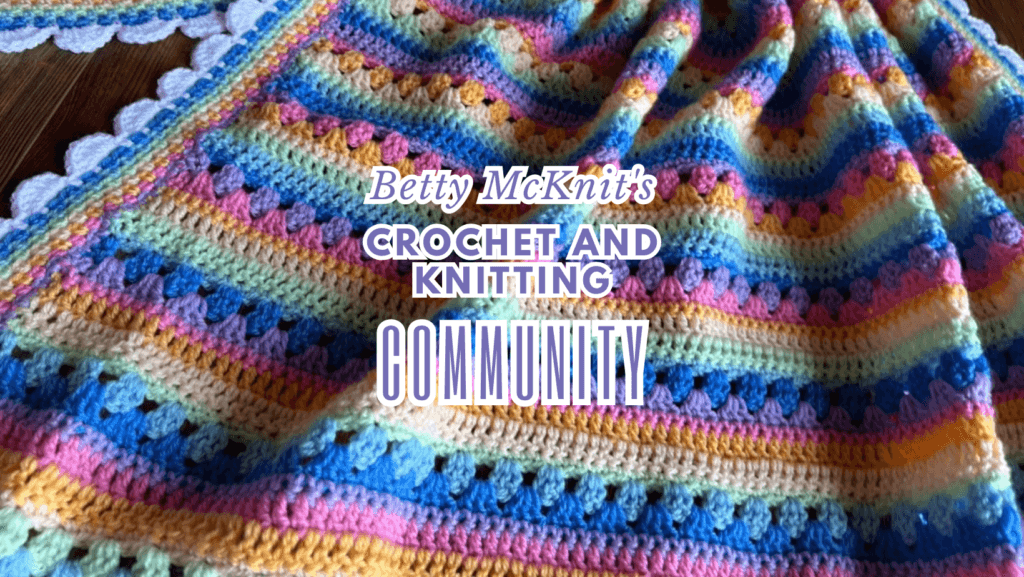
This pattern is to help you swatch for your 6-Day Ridgy Didge Blanket, a variation of the classic 6-Day Kid Blanket (6DKB) crochet pattern. This textured stripe was conceptualized by Diane Kagay and members of the 6-Day Crochet Group and was named by Sue McKinnon and Kati Poli.
Swatch First
Before you begin, I always suggest making a swatch. Here are some reasons why:
- If this is your first 6DKB, you may find the first few rows are a little tricky. You’ll sidestep common mistakes and avoid the frustration of frogging hours of hard work by swatching before starting your blanket.
- If you are planning to customize the size, change out the yarn, or use a different number of colors than what I’ve given you in the Ridgy Didge Blanket and Ridgy Didge Baby Blanket patterns, you’ll need your swatch to figure out your starting repeats and chains.
- Swatching is the perfect way to try out different color choices.
- Your swatch will help you work out your stripe symmetry and map out your blanket.
This pattern is provided free with advertisements on this page. If you would like an ad-free .pdf, you can purchase one at the bottom of the page. The .pdf is the same as this pattern, with the exception of the ads.

Details:
US Terminology with UK Conversion
Materials:
Yarn: Your choice
Hook: Start with the hook given on the yarn label and have size options available
Yardage: to be determined
Gauge: variable
This page contains affiliate links. If you click these links and buy something on the page they take you to, I may, at no additional cost to you, earn a commission. I only affiliate with products and companies I feel good about. Thank you for your support!
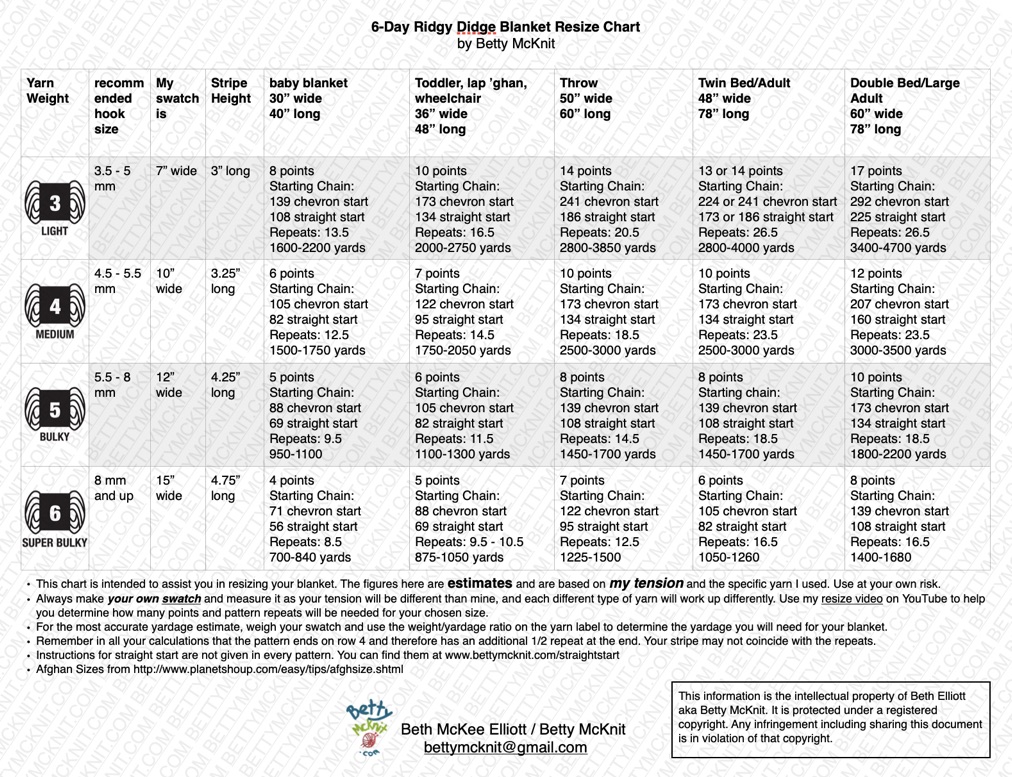
SIZE
Determine what size you would like to make your blanket. I’ve included some common sizes in the resize chart for this pattern, but you can look up common blanket sizes online, or decide for yourself what size you would like your blanket to be.
Desired Width:
Desired Length:
YARN
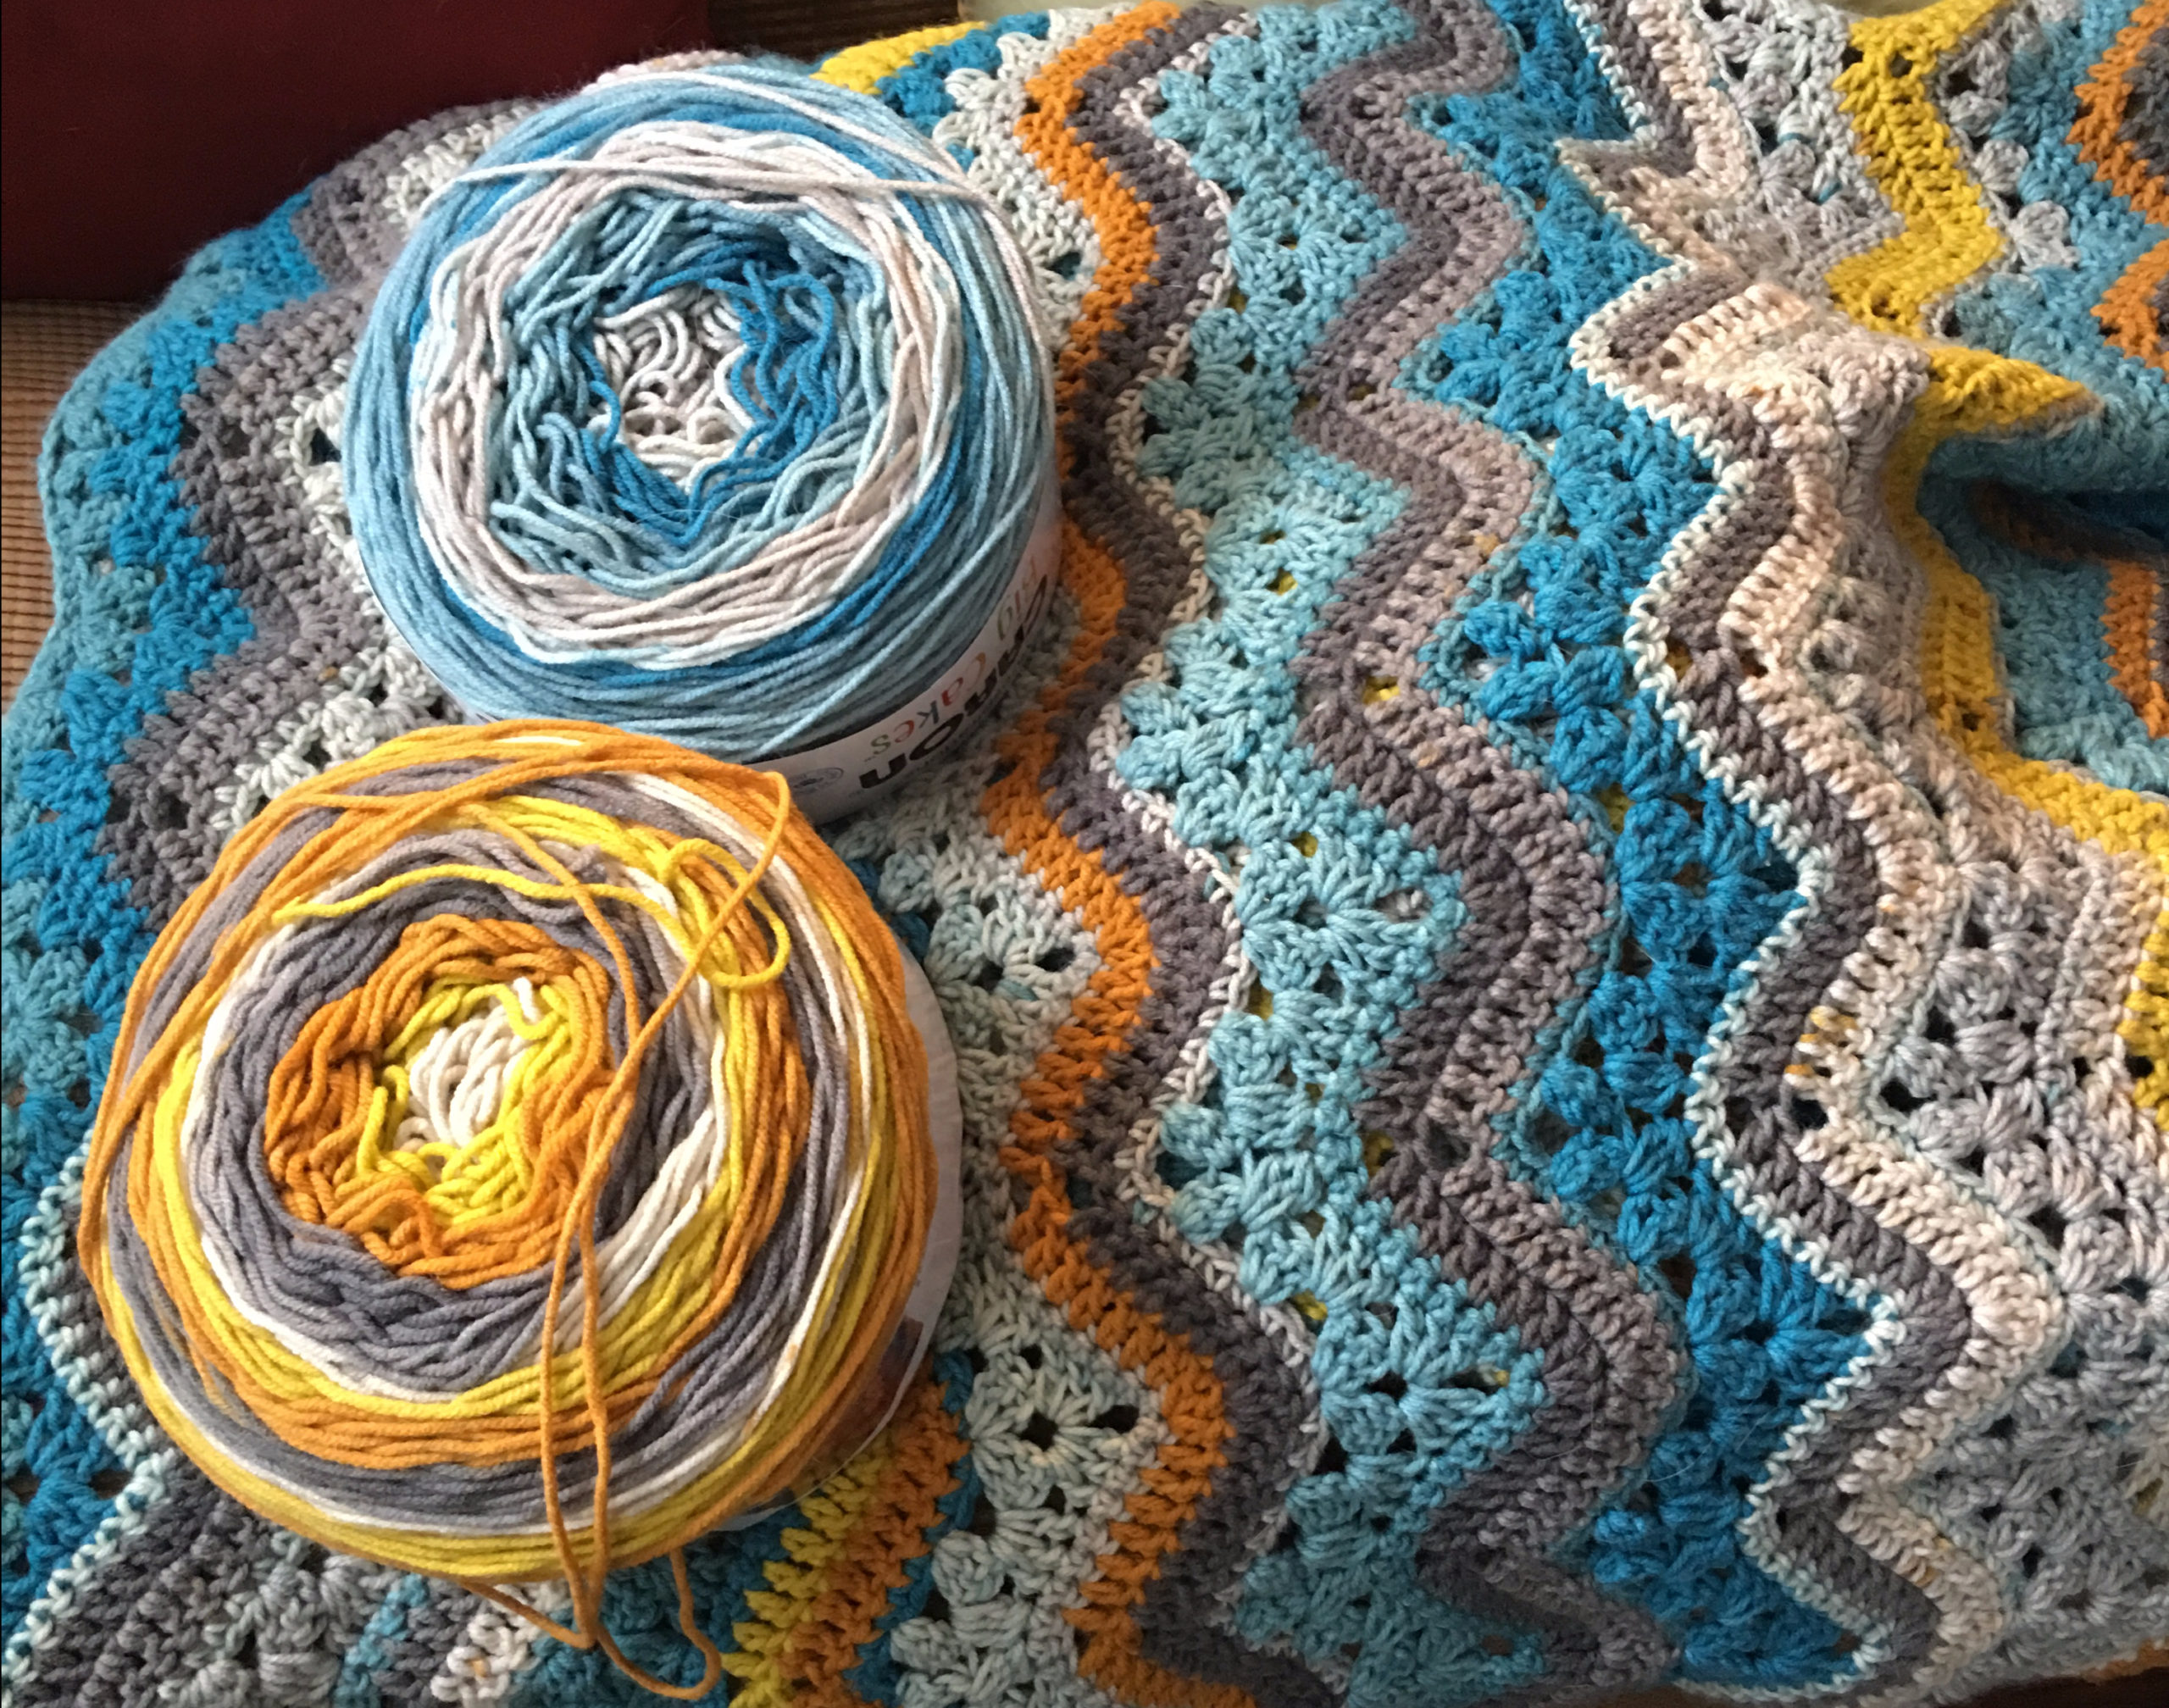
Choose your yarn, and label your different colors A, B, C, D etc. You can change the order later, but pick an order to try out in your swatch.
I used six colors in my version, if you choose a different number of colors you will have to do a little math to figure out how many repeats of your color sequence you will need.
Should you swatch out all your colors? Yes, I think you should. You need to check the placement and see if they work together. Some colors may look radically different depending on the color next to them. Some clever crocheters in my group have made a different swatch for each color so that they can try them out different ways. It does take more time, but it may save you some frustration and frogging later.
I have found that people tend to stress way too much about whether colors “look right” together or not. There were people who did not like the colors I was using for the 6-Day Ridgy Didge Start-to-Finish Crochet Along on live. I will never forget that one commenter actually said they were atrocious. I chose the colors that I felt excited by, no color theory needed. Not everyone is going to like every color combination, and that’s okay. Trust your own judgement, do what makes you feel good, and be creative.
Color A:
Color B:
Color C:
Color D:
Color E:
Color F:
HOOK
Next, get your hooks ready. I say hooks plural because your swatch is the perfect place to experiment with different sizes of hooks. The hook given on the yarn label or in the pattern is not a rule, it is just a suggestion. It’s up to the crocheter to decide, based on their preference, which is the best hook. The right hook for your project is the one that creates a fabric you like with your tension. Everyone crochets differently, so use your swatch as an opportunity to find your perfect hook for your yarn.
Once you find your perfect hook, it will help to work your foundation chain with a hook .5 mm larger than that, so for your project, you will need two hooks: your perfect hook, and one .5mm larger.
Smaller hook:
Larger hook:
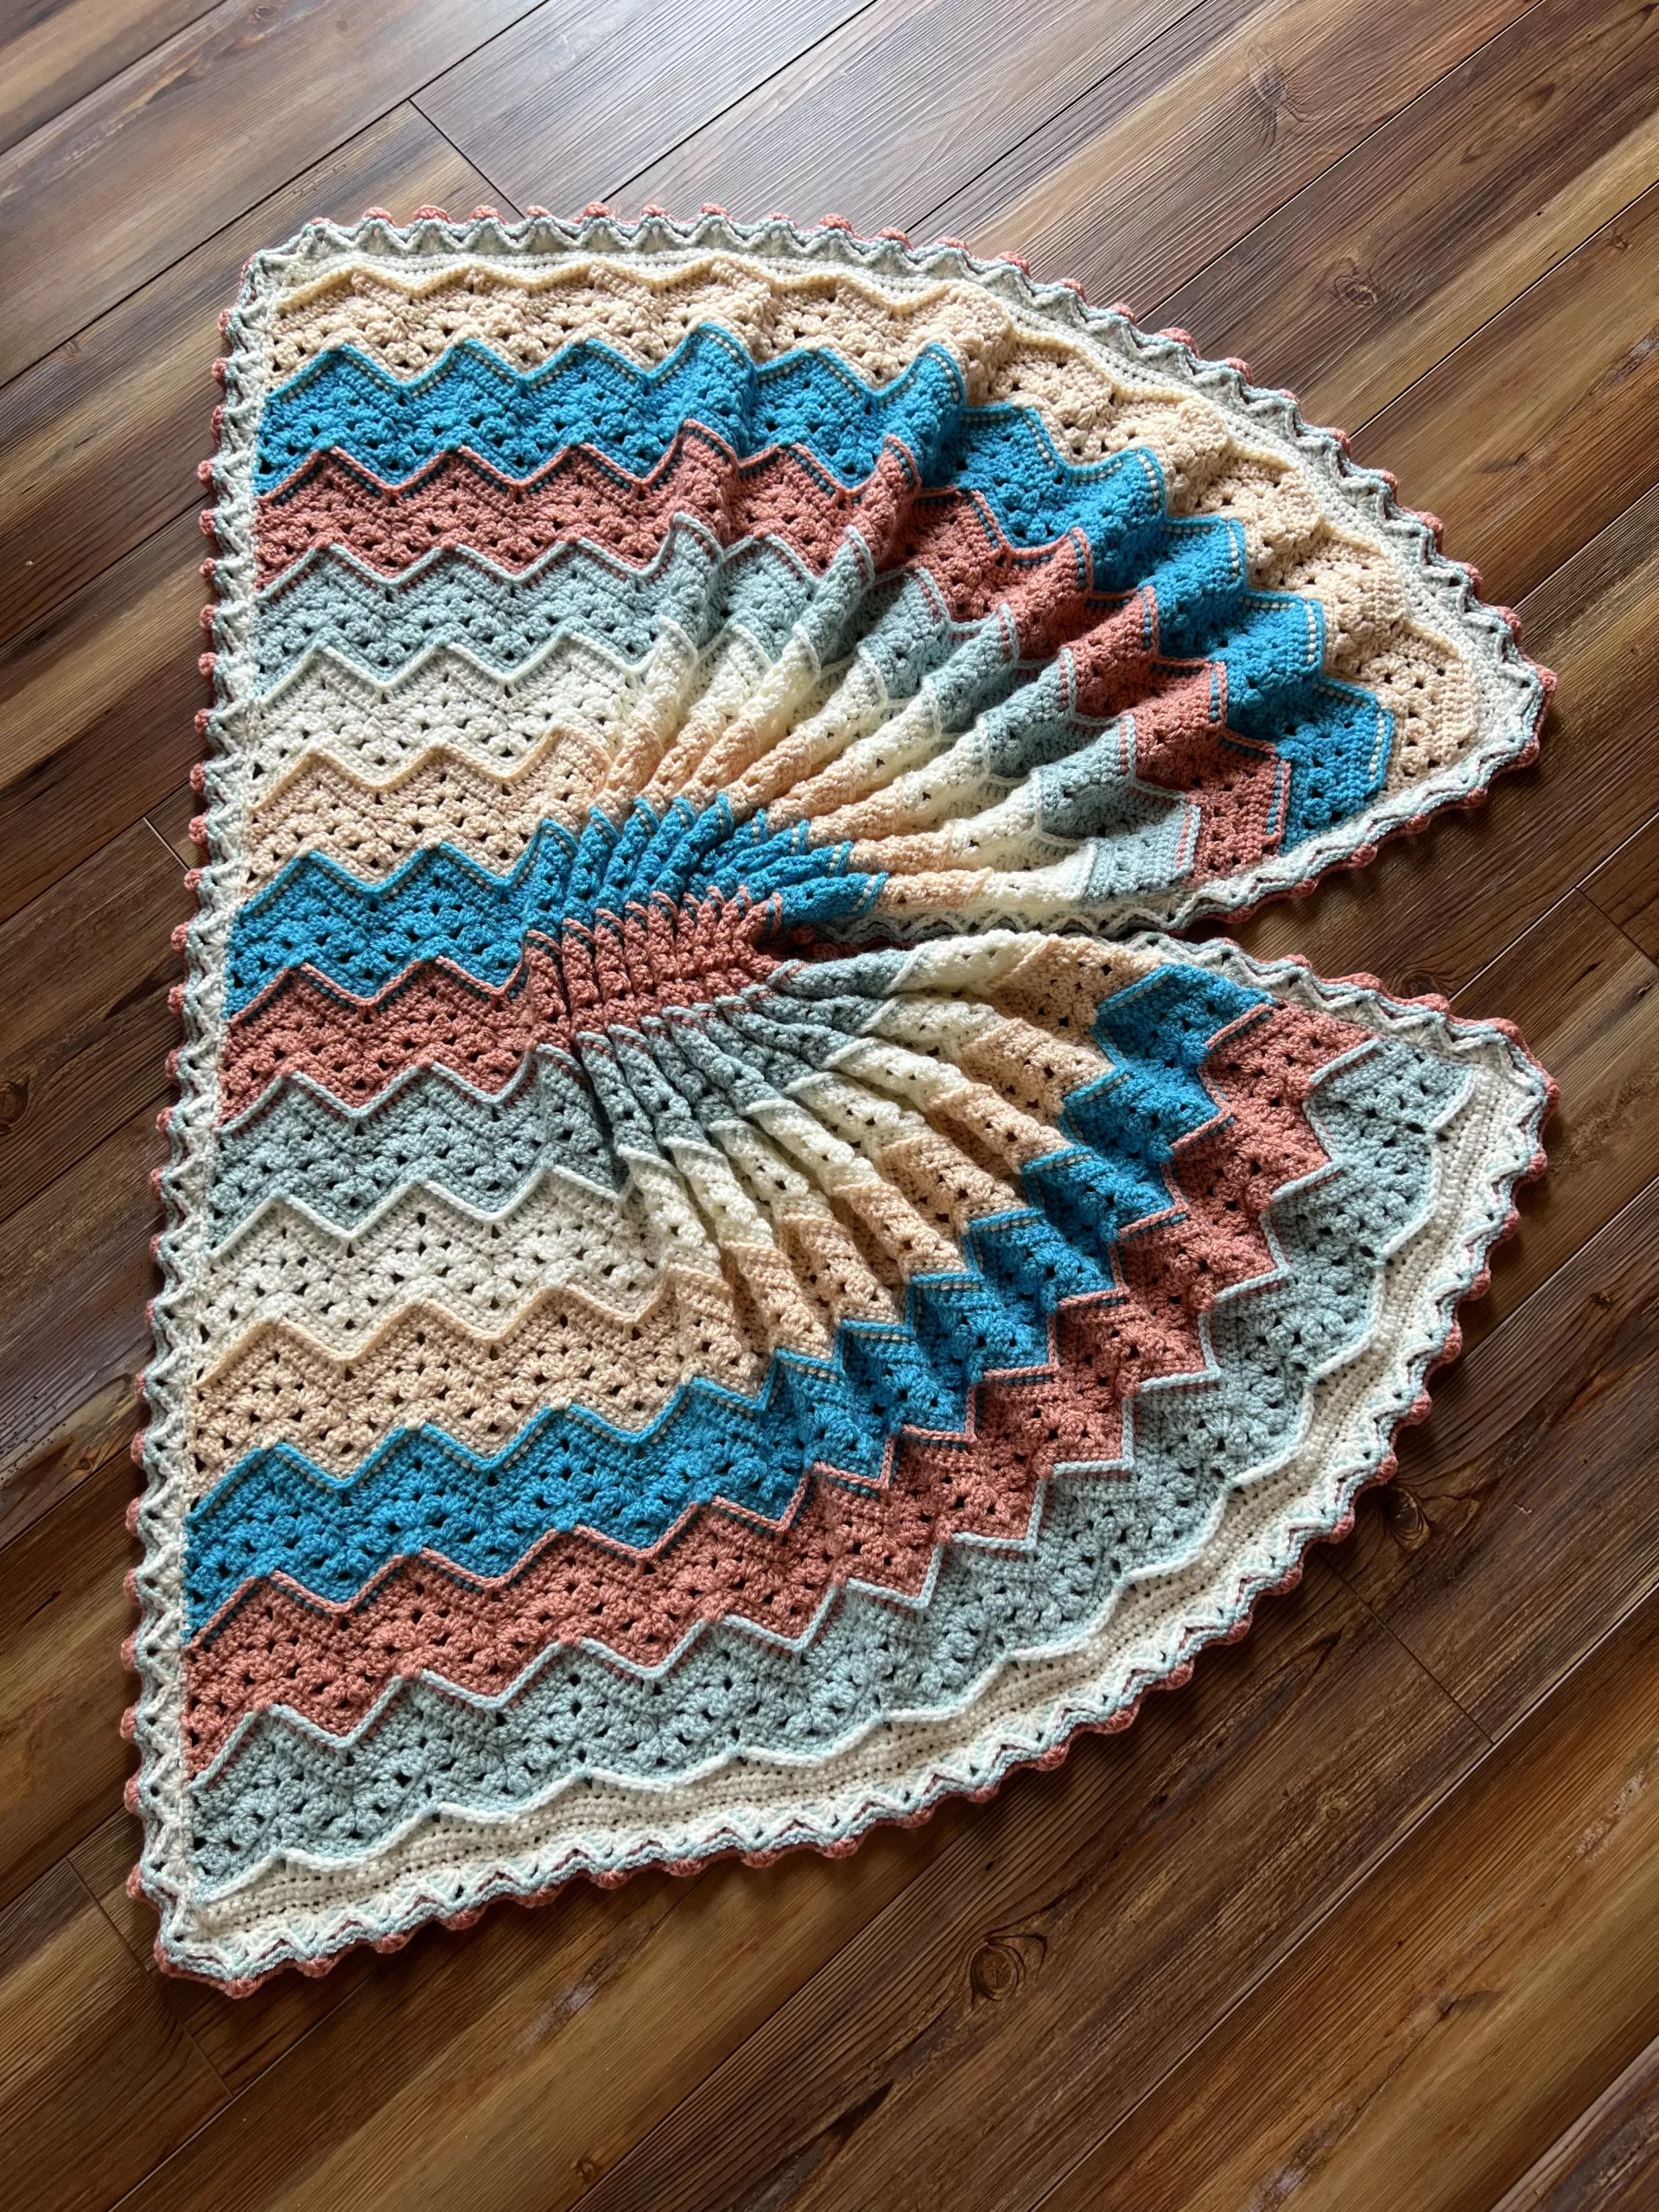
STRAIGHT OR CHEVRON?
This pattern has options – you can start and end with a chevron, or zig zag, or you can square off the top and bottom of the blanket for a straight edge, and you’ll need to decide which one you want before you begin. There are different reasons people like a straight top and bottom. Some people just like the neat look. I like the straight start for certain stripes and the chevron start for others.
Eliminating all the chevron points on the top and bottom of your blanket makes it easier to put a more complicated border on. The 6-Day Ridgy Didge border is specifically designed for straight top and bottom, so if you choose chevron start for the 6-Day Ridgy Didge, the border given in the pattern won’t work. You’ll need to come up with a more simple option for your border.
Another reason for the “squaring off” rows is for stripe symmetry with different 6DKB stripes. Remember that the blanket ends with a 1/2 repeat and some 6DKB stripes will need squaring off to create symmetry. For the Ridgy Didge Stripe, you can achieve stripe symmetry with or without squaring off, so you can do either option. Just remember that you will have an additional 1/2 repeat at the end regardless of whether you start straight or chevron.
GET TO SWATCHIN’
You have your yarn, hook, and you’ve decided on a size and how you will start and finish your blanket, now it’s time to make the swatch.
Abbreviations:
6DKB: 6-Day Kid Blanket
ch: chain
dc: double crochet
dc3tog: (cluster, not a decrease)
FPdc: front post double crochet
FPhdc: front post half double crochet
FPsc: front post single crochet
hdc: half double crochet
rep: repeat
sc: single crochet
sk: skip
sl st: slip stitch
sp(s): space(s)
yo: yarn over
| US terms abbreviation | UK terms abbreviation |
| single crochet sc | double crochet dc |
| half double crochet hdc | half treble crochet htr |
| double crochet dc | treble crochet tr |
Special Stitches
dc3tog: (cluster): yo, insert hook in next st/sp, yo, pull up a loop, yo, pull through 2 loops, [yo, insert hook into same st/sp, yo, pull up a loop, yo, pull through two loops] 2 times. yo and pull through 4 loops.
Front Post Stitches (FPdc, FPhdc, FPsc) are worked from the front around the post of the stitch in the row below.
Repeats
( ) Work in the same st or sp.
[ ] Repeat everything within the brackets the indicated number of times.
* indicates the start of a repeat
** indicates end of repeat on last repeat only.
Stitch Counts
Stitch counts between < >
Pattern
Starting with Color A and larger hook, 30 for Straight Start, or 37 for Chevron Start.
Setup Row 1: starting in second ch from hook, sc across. <29 or 36>
Turn
Switch to smaller hook.
From this point forward, unless stated otherwise, start your first st in the st below the turning ch.
For Chevron Start, skip the remaining setup rows and proceed to (regular) Row 2. You can stay on Color A, and you should do your last 1/2 repeat in color A.
Setup Row 2: ch 1, sc in next 5 st, hdc in next 6 sts, *sc in next 7 sts, hdc in next 6 sts, repeat from * to last 5 sts, sc in last 5 sts. <29 sts>
Turn
Setup Row 3: ch 1, sc in next 3 sts, *hdc in next 3 sts, dc in next 2 sts, ch 2, dc in next 2 sts, hdc in next 3 sts,** sc in next st, sl st, sc in next st, repeat from * to last 3 sts ending last repeat at **, 3 sc. <29 sts>
Turn
Change to Color B
Setup Row 4: ch 1, sc, FPsc in next 2 sts, *FPhdc in next 3 sts, FPdc in next 2 sts, (dc, ch 1, dc) in ch-2 sp, FPdc in next 2 sts, FPhdc in next 3 sts, ** FPsc, sk 1, FPsc, repeat from * until 3 sts remain ending last rep at **, 2 FPsc, sc in last st. <32 sts>
Turn
Setup Row 5: ch 1, sc, sk 1, sc in next 7 sts, *3 sc in ch-1 sp, sc in next 14 sts, repeat from * to last peak, 3 sc in ch-1 sp, sc in next 7 sts, sk 1, sc in last st. <36 sts>
Turn
Proceed to Row 2
Row 2: ch 3, sk 3 (the sc on the end of the row, the one below your turning chain counts as 1), [3 dc in next st, sk 2] twice, (3 dc, ch 3, 3 dc) in next st, *sk 2, 3 dc in next st, sk 2, dc3tog, sk 4, dc3tog, sk 2, 3 dc in next st, sk 2, (3 dc, ch 3, 3 dc) in next st; rep from * to last 9 sts, sk 2, [3 dc into next st, sk 2] twice, sk 2, dc in last sc. <34 sts>
Turn

Row 3: ch 3, sk sp between turning ch and next 3 dc group, 3 dc in each of next 2 sps, (3 dc, ch 3, 3 dc) in ch-3 sp, *3 dc in next sp, dc3tog in next sp, sk next sp, dc3tog in next sp, 3 dc in next sp, (3 dc, ch 3, 3 dc) into ch-3 sp. Repeat from * to last 3 sp, 3 dc in each of next 2 sps, dc in sp between last 3 dc group and turning ch. <34 sts>
Turn
Row 4: ch 1, sc in first st (the one right below chain just made), sk 1, sc in next 8 sts, *3 sc in ch-3 sp, sc in next 14 sts, repeat from * to last ch-3 sp, 3 sc in last ch-3 sp, sc in next 8 sts, sk 1, sc in top of turning ch. <38 sts>
Turn
Row 5: ch 3, sk 2, (the sc your turning chain is coming out of counts as the first one). dc in next 8 sts, *3 dc in next sc (you should be working these into the center stitch of the 3 sc), dc in next 7 sts, sk 2, dc in next 7 sts, rep from * to last 11 sts, 3 dc in next st, dc in of next 8 sc, sk 1, dc in last st. <38 sts>
Turn
Change to Color B for Chevron Start and Color C for Straight Start.
Row 6: ch 3, sk first 2 dc (the dc below your turning chain counts as 1), FPdc in each of next 8 sts, *3 dc in next dc (you should be working into center stitch of 3 dc), FPdc in next 7 dc, sk 2, FPdc in next 7 dc, rep from * to last 10 dc, 3 dc in next dc, FPdc in next 8 dc, sk 1, dc in top of turning ch. <38 sts>
Turn
Row 7: Ch 1, sc into first dc (the same one the turning chain is coming out of), sk 1, sc into each st along row to last dc, sk last dc, sc in top of turning ch. <36 sts>
Turn.
Repeat rows 2-7 changing colors after row 5 each time, and working colors in order. Do not repeat the setup rows. For Straight Start, your last repeat should end with the last color of your sequence. For Chevron Start, you should end with the first color in your sequence.
Repeat rows 2-4 Continuing with the last color of your sequence for Straight Start, or the first color for Chevron Start.
For straight top, do not fasten off, turn and continue to Top Edge Rows with Color F (or last color of your sequence). If you started with a chevron start and would like to end with one, you can end here and proceed to the border rounds and add a border of your choosing.
Top Edge
Top Edge Row 1: Continuing in Color F (or last color of your sequence), ch 3, sk 2, dc in next 4 sts, hdc in next 3 sts, sc in next 3 sts, *hdc in next 3 sts, dc in next 3 sts, sk 2, dc in next 3 sts, hdc in next 3 sts, sc in next 3 sts, repeat from * to last 9 sts, hdc in next 3 sts, dc in next 4 sts, sk 1, dc in last sc. <34 sts>
Turn
Change to Color A
Top Edge Row 2: Ch 3, counting the stitch under the turning chain, sk 2, FPdc in next 3 sts, FPhdc in next 3 sts, FPsc, sc, FPsc, *FPhdc in next 3 sts, FPdc in next 2 sts, sk 2, FPdc in next 2 sts, FPhdc in next 3 sts, FPsc, sc, FPsc, repeat from * to last 8 sts, FPhdc in next 3 sts, FPdc in next 3 sts, sk 1, dc in turning ch. <30 sts>

Top Edge Row 3:
Ch 3, counting the stitch below the turning chain, sk 2, hdc in next 3 sts, *sc in next 7 sts,** hdc in next 6 sts, repeat from* until 5 sts remain ending last rep at **, hdc in next 3 sts, sk 1, hdc in turning ch. <28 sts>
Turn
Top Edge Row 4:
Ch 1, sc in each st to end. <28 sts>
Fasten off.
MEASURE
Now that your swatch is complete, you can measure it and figure out your starting chains and number of stripes. Measure the width of your swatch, and measure the length of one stripe by measuring from the top of one row 7 to the top of the next row 7.
CALCULATE STARTING CHAINS
Measure the width of the swatch
Swatch width / 2 = width of one point
Total desired width of blanket / width of one point = number of points
(Number of points x 17) + 3 = starting chains for Chevron Start
(Number of points x 13) + 4 = Starting chains for Straight Start
CALCULATE NUMBER OF STRIPES
Find the stripe length by measuring from the top of one row 7 to the top of the next row 7.
Total desired length of blanket / Stripe length = Total number of stripes needed.
If you’re making the same blanket I made in the pattern, using six colors, you can simply follow the sequence I gave you. If you are customizing your blanket and making a different size or using a different number of colors, you may have to adjust the number of stripes in your blanket to accommodate your color sequence.
For example, my blanket was 23 stripes long and I used six colors. Remember that the first color is used in the Setup Rows, so my first sequence was B, C, D, E, F, which was five colors. 23-5 = 18. If I divide the remaining 18 stripes by six colors, I was able to repeat my entire color sequence of A, B, C, D, E, F three times.
If I had been using five colors instead of six, my first sequence would have been B, C, D, E leaving me with 21 stripes left. 21 does not divide equally by five, so I would have had to make a decision; either add four more stripes to my blanket to complete the sequence, or take two off, so that I could have an even three repeats of my five color sequence.
Total number of stripes needed
Subtract
Number of colors in sequence -1
Divide the remaining number of stripes by the number of colors in your sequence.
If you don’t get an even number, add or subtract stripes. It may mean that the length of your blanket may be a little more or less than what you planned for.
MAP IT OUT
Once you know your starting chains and the number of stripes you will need, I highly suggest drawing a picture of your blanket to visualize all of the stripes. You might find The 6-Day Kid Blanket Coloring Page helpful for this.

BLANKET ON!
Now that you’ve swatched, you can begin your blanket with confidence. Be sure to post your swatch in my group so I can cheer you on. I’m proud of you for swatching, you did the right thing!
The Ridgy Didge Stripe was conceptualized by Diane Kagay and members of the 6-Day Kid Blanket Community. The name was suggested by Sue McKinnon and Katie Poli. Thank you to our members for their creative contributions to the 6-Day Kid Blanket family of patterns.
Join one of my online communities to knit and crochet along with friends, get help with pattern questions, show off your makes, and access tons of free resources for making 6-Day Crochet and other Betty McKnit designs.
Items created with this pattern may be used for commercial sale with credit to Betty McKnit in your listing. Mass production is not permitted.
This pattern is the intellectual property of Beth McKee Elliott aka Betty McKnit®. This pattern, The 6-Day Kid Blanket, 6-Day Crochet™, 6-Day Star Blanket™, and all derivative works are protected by copyright. Publishing translations, corrections, variations, or tutorials of this pattern, online or elsewhere without written permission from the owner is a violation of copyright.
The 6-Day Crochet stitch pattern was inspired by “Vivid Chevrons” #110 from 200 Ripple Stitch Patterns by Jan Eaton.