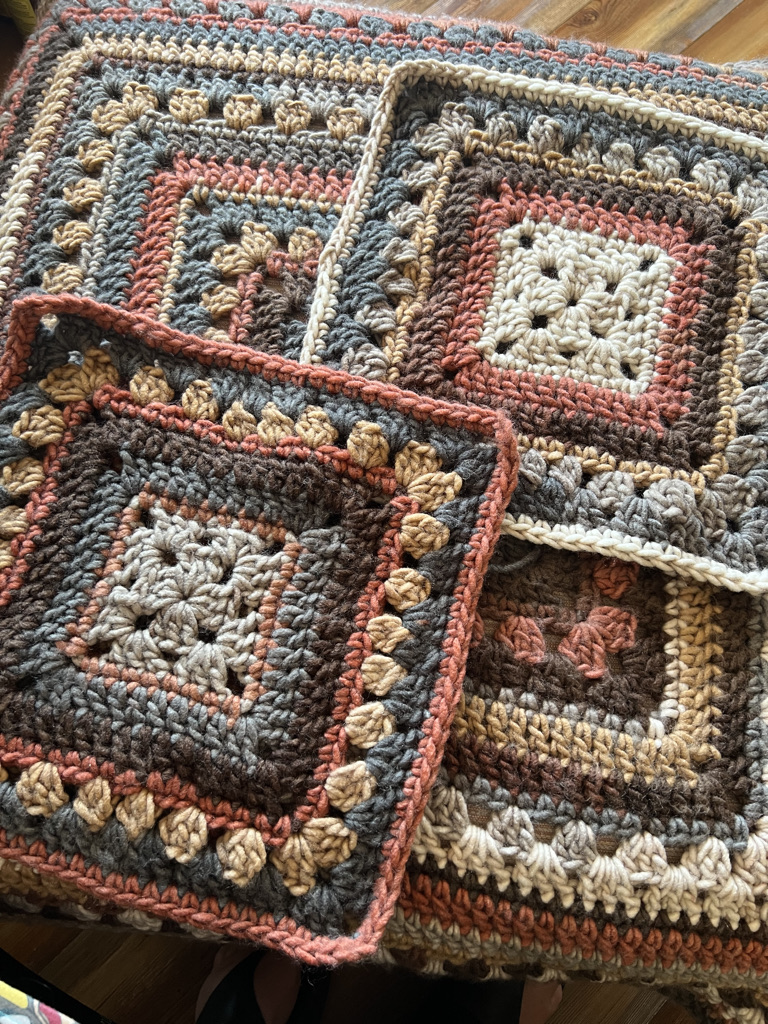
6-Day Granny Square
A variation of the classic crochet pattern the
6-Day Kid Blanket by Betty McKnit
Introduction
Introduction
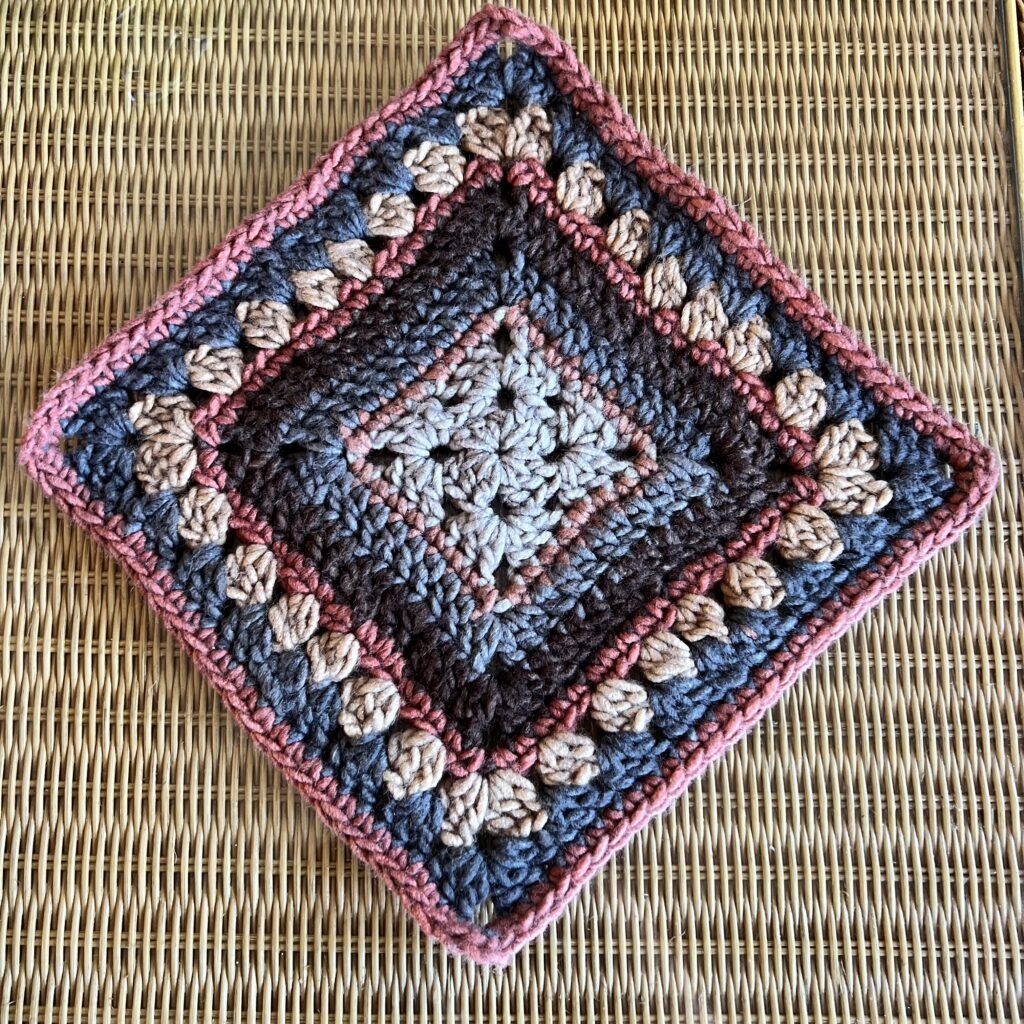
The 6-Day Granny Square is a simple square inspired by the 6-Day Crochet series of stitches. Although the square doesn’t have the characteristic chevron aspect of the original 6-Day Kid Blanket, I wanted it to be unique, so I threw in the dc3tog anyways. The clusters help the square to keep its shape and help to make the numbers work out.
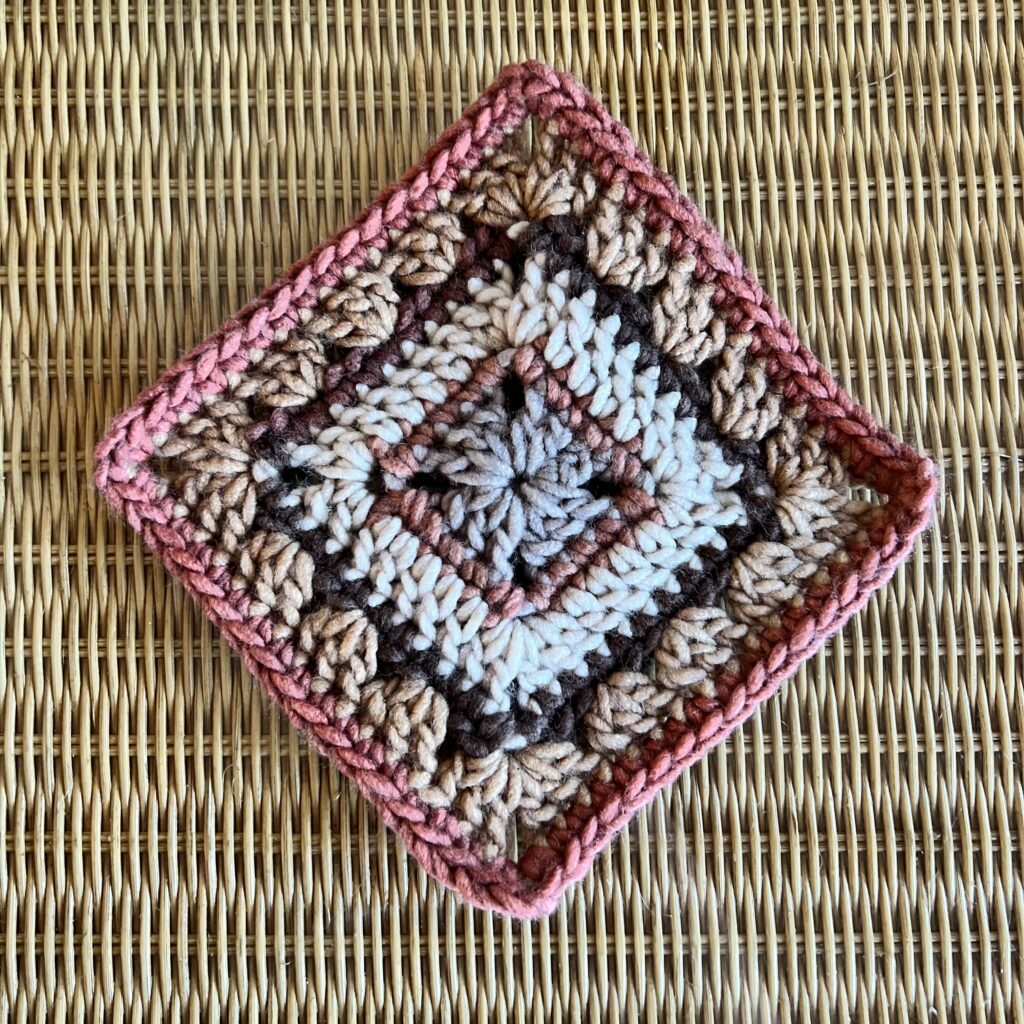
I also designed a smaller variation for those times when you would like a smaller square for your 6-Day Crochet projects. I hope you enjoy theses two squares.
This pattern contains affiliate links. If you click these links and buy something on the page they take you to, I may, at no additional cost to you, earn a commission. I only affiliate with products and companies I feel good about. Thank you for your support!
If you would like a continuous Granny Square or Granny Rectangle Blanket based off of this pattern, please see the 6-Day Great Granny Blanket, the 6-Day Great Granddaddy Blanket, and the 6-Day Great Granddaddyo Blanket.
This pattern is provided free with advertisements on this page. If you would like an ad-free .pdf, you can purchase one at the bottom of the page. The .pdf is the same as this pattern, with the exception of the ads.
Details
US Terminology
Skill Level: Easy
Gauge: 10 sc and 10 rows over 4” in yarn shown, however you may use any yarn.
Finished Size
Large Square: 12.5” x 12.5” with yarn shown
Small Square: 7.75” x 7.75” with yarn shown
This pattern can be made with any yarn to make a different sized square.
Materials
Shown in Big Twist Arcade in Brown Multi (discontinued)
Find substitutions on Yarn Sub.
Hook: M (8 mm)
Can be made with any yarn and corresponding hook.
Joining the Rounds
Take care when joining your new rounds not to create additional stitches, especially on the sc rounds. Use a stitch marker to mark the first st of the round so that you don’t accidentally join to the sl st or ch 1.
Changing Colors
Change colors by fastening off the old color and starting the new color with a standing stitch at the corresponding location on a different side of the work. By changing your new join location, your color changes will be less obvious, and your ends will be easier to weave in. I always weave in ends and I don’t recommend knots or simply working over ends.
How to Join Squares
This square was published for you to use creatively. It is just instructions for squares, and not a full project. I look forward to seeing what you do with them and how you put them together.
Abbreviations
ch: chain
dc: double crochet
dc3tog: double crochet 3 together cluster
hdc: half double crochet
sc(s): single crochet(s)
sdc: standing double crochet
sl st: slip stitch
sp(s): space or spaces
st(s): stitch(es)
| US terms abbreviation | UK terms abbreviation |
| single crochet sc | double crochet dc |
| half double crochet hdc | half treble crochet htr |
| double crochet dc | treble crochet tr |
Special Stitches:
dc3tog: (cluster): yo, insert hook in next st, yo, pull up a loop, yo, pull through 2 loops, [yo, insert hook into same st, yo, pull up a loop, yo, pull through two loops] 2 times. yo and pull through 4 loops.
standing stitches: (sdc and dc) are worked with new yarn directly into the indicated stitch. You do not need to join new yarn with a slip stitch and then chain up to begin a new round with a new color. You can begin with a slip knot on your hook, or just start your new yarn without using a knot. Use your fingers to hold the yarn over against the hook while you work the stitch.
Repeats
( ) Work stitches in parentheses in the same st or sp.
[ ] Repeat everything within the brackets the indicated number of times.
* Indicates beginning of repeat
** Indicates end of repeat on last repeat only.
Other notes:
- ch 3 (counts as dc) can be used in place of sdc.
- Place a stitch marker the first stitch of each round in order to avoid creating additional stitches.
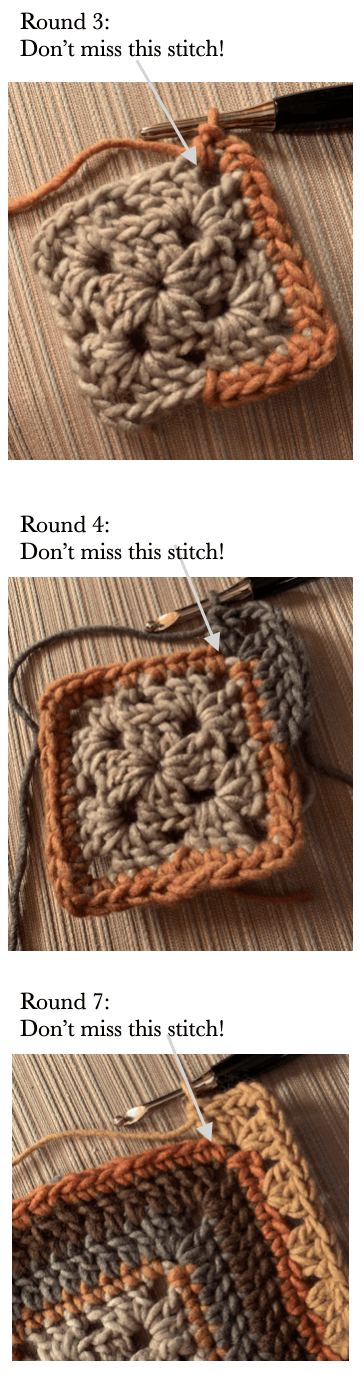
- Take care not to miss the first stitch after the corner chains. If you find your square is swirling, you may be missing that first stitch after the corners.
- If you are changing colors on every round after the setup rounds, you can begin and end your rounds anywhere as long as you put all the stitches in their proper places and have the correct number of stitches on each side of the work.
- Treat hdc and ch 1+hdc at the joining of rounds as corner ch-2 or ch-3 sps. Mark them with a stitch marker.
- Put a stitch marker in the last stitch of each round before the corner join to help find the corner space. Avoid mistaking the hdc join as a stitch and working into it, creating additional stitches.
- Stitch counts are given between < >.
Larger Square
Ch 4, join with sl st to form a ring (magic loop not recommended).
Round 1: working into starting ring, sdc (or ch 3 counts as 1 dc, here and throughout), 2 dc, ch 3, [3 dc, ch 3] 2x, 3 dc, ch 1, join with hdc to sdc (or top of ch 3, here and throughout). <4 sets of 3 dc, 4 corner sps>
Round 2: sdc into the corner sp (around the hdc you made to join, here and throughout), 2 dc in same sp, [3 dc, ch 3, 3 dc] in each of next 3 sps, 3 dc in first sp, ch 1, join with hdc to starting sdc. <4 corners of 3 dc, ch 3, 3 dc>
Round 3: ch 1, sc into the corner sp (mark this stitch), *sc in next 6 sts, (sc, ch 2, sc in ch-3 sp), repeat from * twice, sc in next 6 sts, sc in first corner sp, join with hdc to marked st. <32 sc, 4 corner sps>
Round 4: sdc into the corner sp, dc in same sp, * dc in next 8 sts, [2 dc, ch 3, 2 dc] in ch-2 sp, repeat from * twice, dc in next 8 sts, 2 dc in corner sp, ch 1, join with hdc to sdc. <48 dc, 4 corner sps>
Round 5: sdc into the corner sp, dc in same sp, * dc in next 12 sts, *[2 dc, ch 3, 2 dc] in ch-3 sp, repeat from * twice, dc in next 12 sts, 2 dc in corner sp, ch 1, join with hdc to sdc. <64 dc, 4 corner sps>
Round 6: ch 1, sc into the corner sp (mark this stitch), *sc in next 16 sts, (sc, ch 2, sc in ch-3 sp), repeat from * twice, sc in next 16 sts, sc in first corner sp, join with hdc to marked st. <72 sc, 4 corner sps>
Round 7: sdc into the corner sp, 2 dc in same sp, *[sk 2, 3 dc in next st] twice, dc3tog in next st, sk 1, dc3tog, [sk 2, 3 dc in next st] twice, sk 1, **[3 dc, ch 3, 3 dc) in corner ch-2 sp, repeat from * ending last repeat at **, 3 dc in first corner sp, ch 1, join with hdc to sdc. <24 3-dc clusters, 8 dc3tog, 4 corner sps>
Round 8: sdc into the corner sp, 2 dc in same sp, *3 dc in next 3 sps, dc3tog in sp between 2 dc3tog, 3 dc in next 3 sps, ** (3 dc, ch 3, 3 dc) in corner ch-3 sp, repeat from * around ending last repeat at **, ch 1, join with hdc to starting sdc. <32 3-dc clusters, 4 dc3tog, 4 corner sps>
Round 9: ch 1, sc into the corner sp (mark this st), sc in each st around, making (sc, ch 2, sc) in corner sps, sc in last sp, ch 2, join with sl st to first sc. <108 sc, 4 corner sps>
Fasten off.
Weave in all ends.
This pattern is provided free with advertisements on this page. If you would like an ad-free .pdf, you can purchase one at the bottom of the page. The .pdf is the same as this pattern, with the exception of the ads.
Beth McKee Elliott
aka Betty McKnit
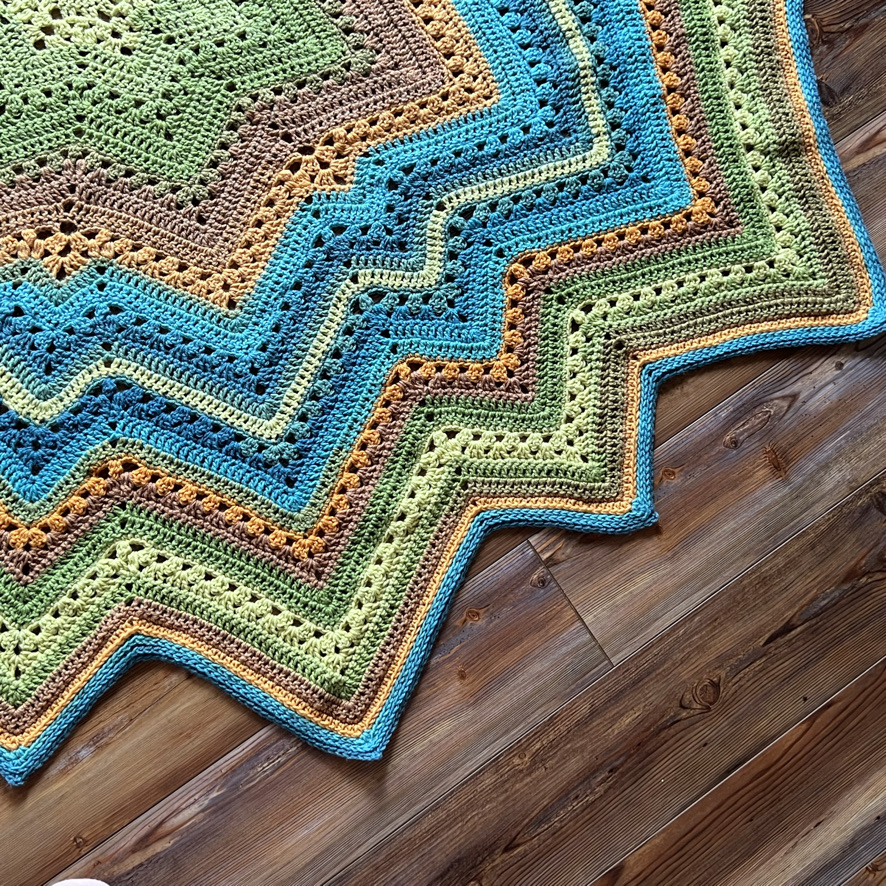
Beth McKee Elliott, also known as Betty McKnit, is a crochet and knitting designer, instructor, community leader, and Master Somatic Movement Therapist and Educator. Her signature style, 6-Day Crochet, is showcased in the viral crochet patterns the 6-Day Kid Blanket and 6-Day Star Blanket.
She specializes in Somatic Crochet and Knitting, a mindfulness practice that combines crochet/knitting with body awareness techniques to prevent injury and promote well-being and creativity in crafting.
In addition to being a crochet designer, Beth is a choreographer. She is the creator and director of Small Plates Choreography Festival, Haven Movement Company, and the Dance Maker Podcast.
Smaller Square
Ch 4, join with sl st to form a ring (magic loop not recommended).
Round 1: working into starting ring, sdc (or ch 3 counts as 1 dc, here and throughout), 2 dc, ch 3, [3 dc, ch 3] 2x, 3 dc, ch 1, join with hdc to sdc (or top of ch 3, here and throughout). <4 sets of 3 dc, 4 corner sps>
Round 2: ch 1, sc into the corner sp (around the hdc you made to join, here and throughout, mark this stitch), *sc in next 3 sts, (sc, ch 2, sc in ch-3 sp), repeat from * twice, sc in next 3 sts, sc in first corner sp, join with hdc to marked st. <20 sc, 4 corner sps>
Round 3: sdc into the corner sp, dc in same sp, * dc in next 5 sts, [2 dc, ch 3, 2 dc] in ch-2 sp, repeat from * twice, dc in next 5 sts, 2 dc in corner sp, ch 1, join with hdc to sdc. <36 dc, 4 corner sps>
Round 4: ch 1, sc into the corner sp (mark this stitch), *sc in next 9 sts, (sc, ch 2, sc in ch-3 sp), repeat from * twice, sc in next 9 sts, sc in first corner sp, join with hdc to marked st. <44 sc, 4 corner sps>
Round 5: sdc into the corner sp, 2 dc in same sp, *[sk 2, 3 dc in next st] 3x, sk 2, **[3 dc, ch 3, 3 dc) in corner ch-2 sp, repeat from * ending last repeat at **, 3 dc in first corner sp, ch 1, join with hdc to sdc. <20 3-dc clusters, 4 corner sps).
Round 6: ch 1, sc into the corner sp (mark this stitch), *sc in next 15 sts, (sc, ch 2, sc in ch-3 sp), repeat from * twice, sc in next 15 sts, sc in first corner sp, ch 2, join with sl st to marked st. <68 sc, 4 corner sps>
Fasten off. Weave in all ends.


An international community of yarnful makers and friends.
- Supportive community dedicated to the Power of Positive Crochet
- New pattern pre-releases
- Exclusive patterns never released to the public
- 3-5 patterns each month from Betty’s library (dripped out on pre-determined schedule)
- Somatic Crochet support and education
- Crochet alongs, knit alongs, and classes
- Weekly social and educational events and Zoom Hangout
- Bonus content every month
Join one of my online communities to knit and crochet along with friends, get help with pattern questions, show off your makes, and access tons of free resources for making 6-Day Crochet and other Betty McKnit designs.