The 6-Day Kid Blanket
6-Day Kid Blanket
A crochet pattern by
BETTY MCKNIT
Thanks to the many crocheters who have made the 6-Day Kid Blanket! I am so touched by how many people have made this pattern, and I’m so inspired by all of your creative choices. I sincerely hope your blankets keep you and your loved ones warm for years and years.
This page contains affiliate links. If you click these links and buy something on the page they take you to, I may, at no additional cost to you, earn a commission. I only affiliate with products and companies I feel good about. Thank you for your support!
Estimated reading time: 19 minutes
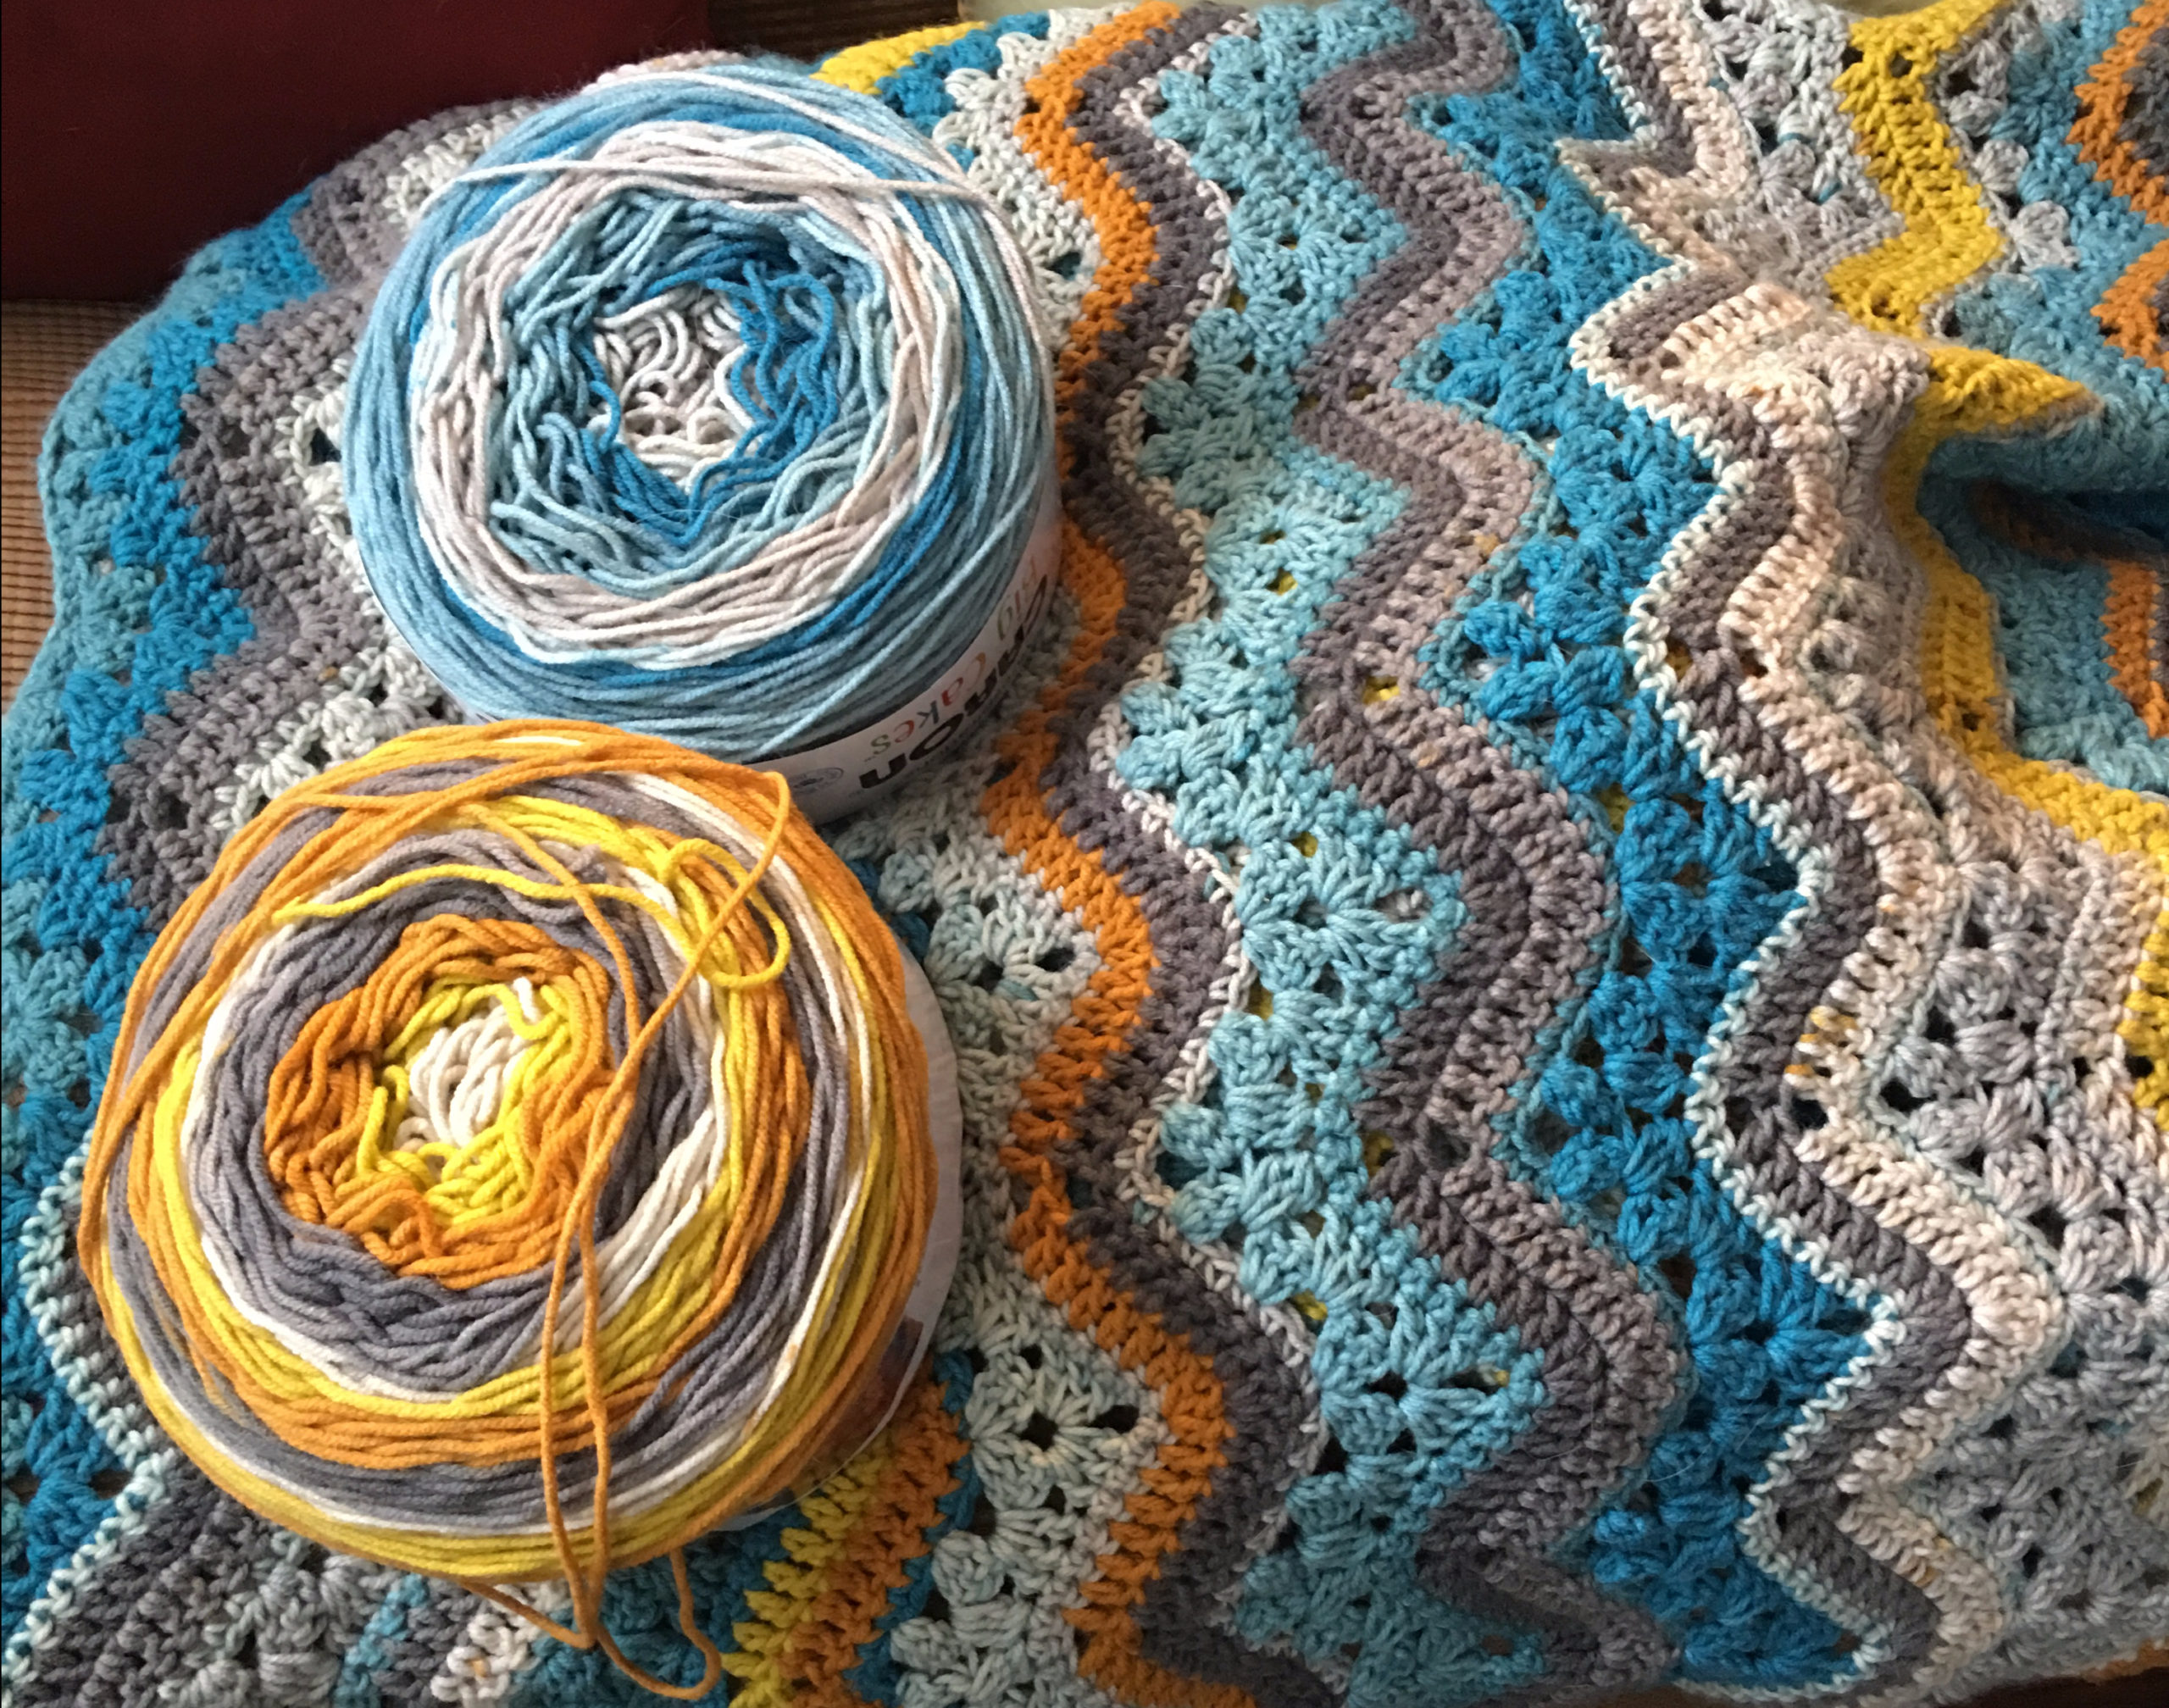
Stripe it Good
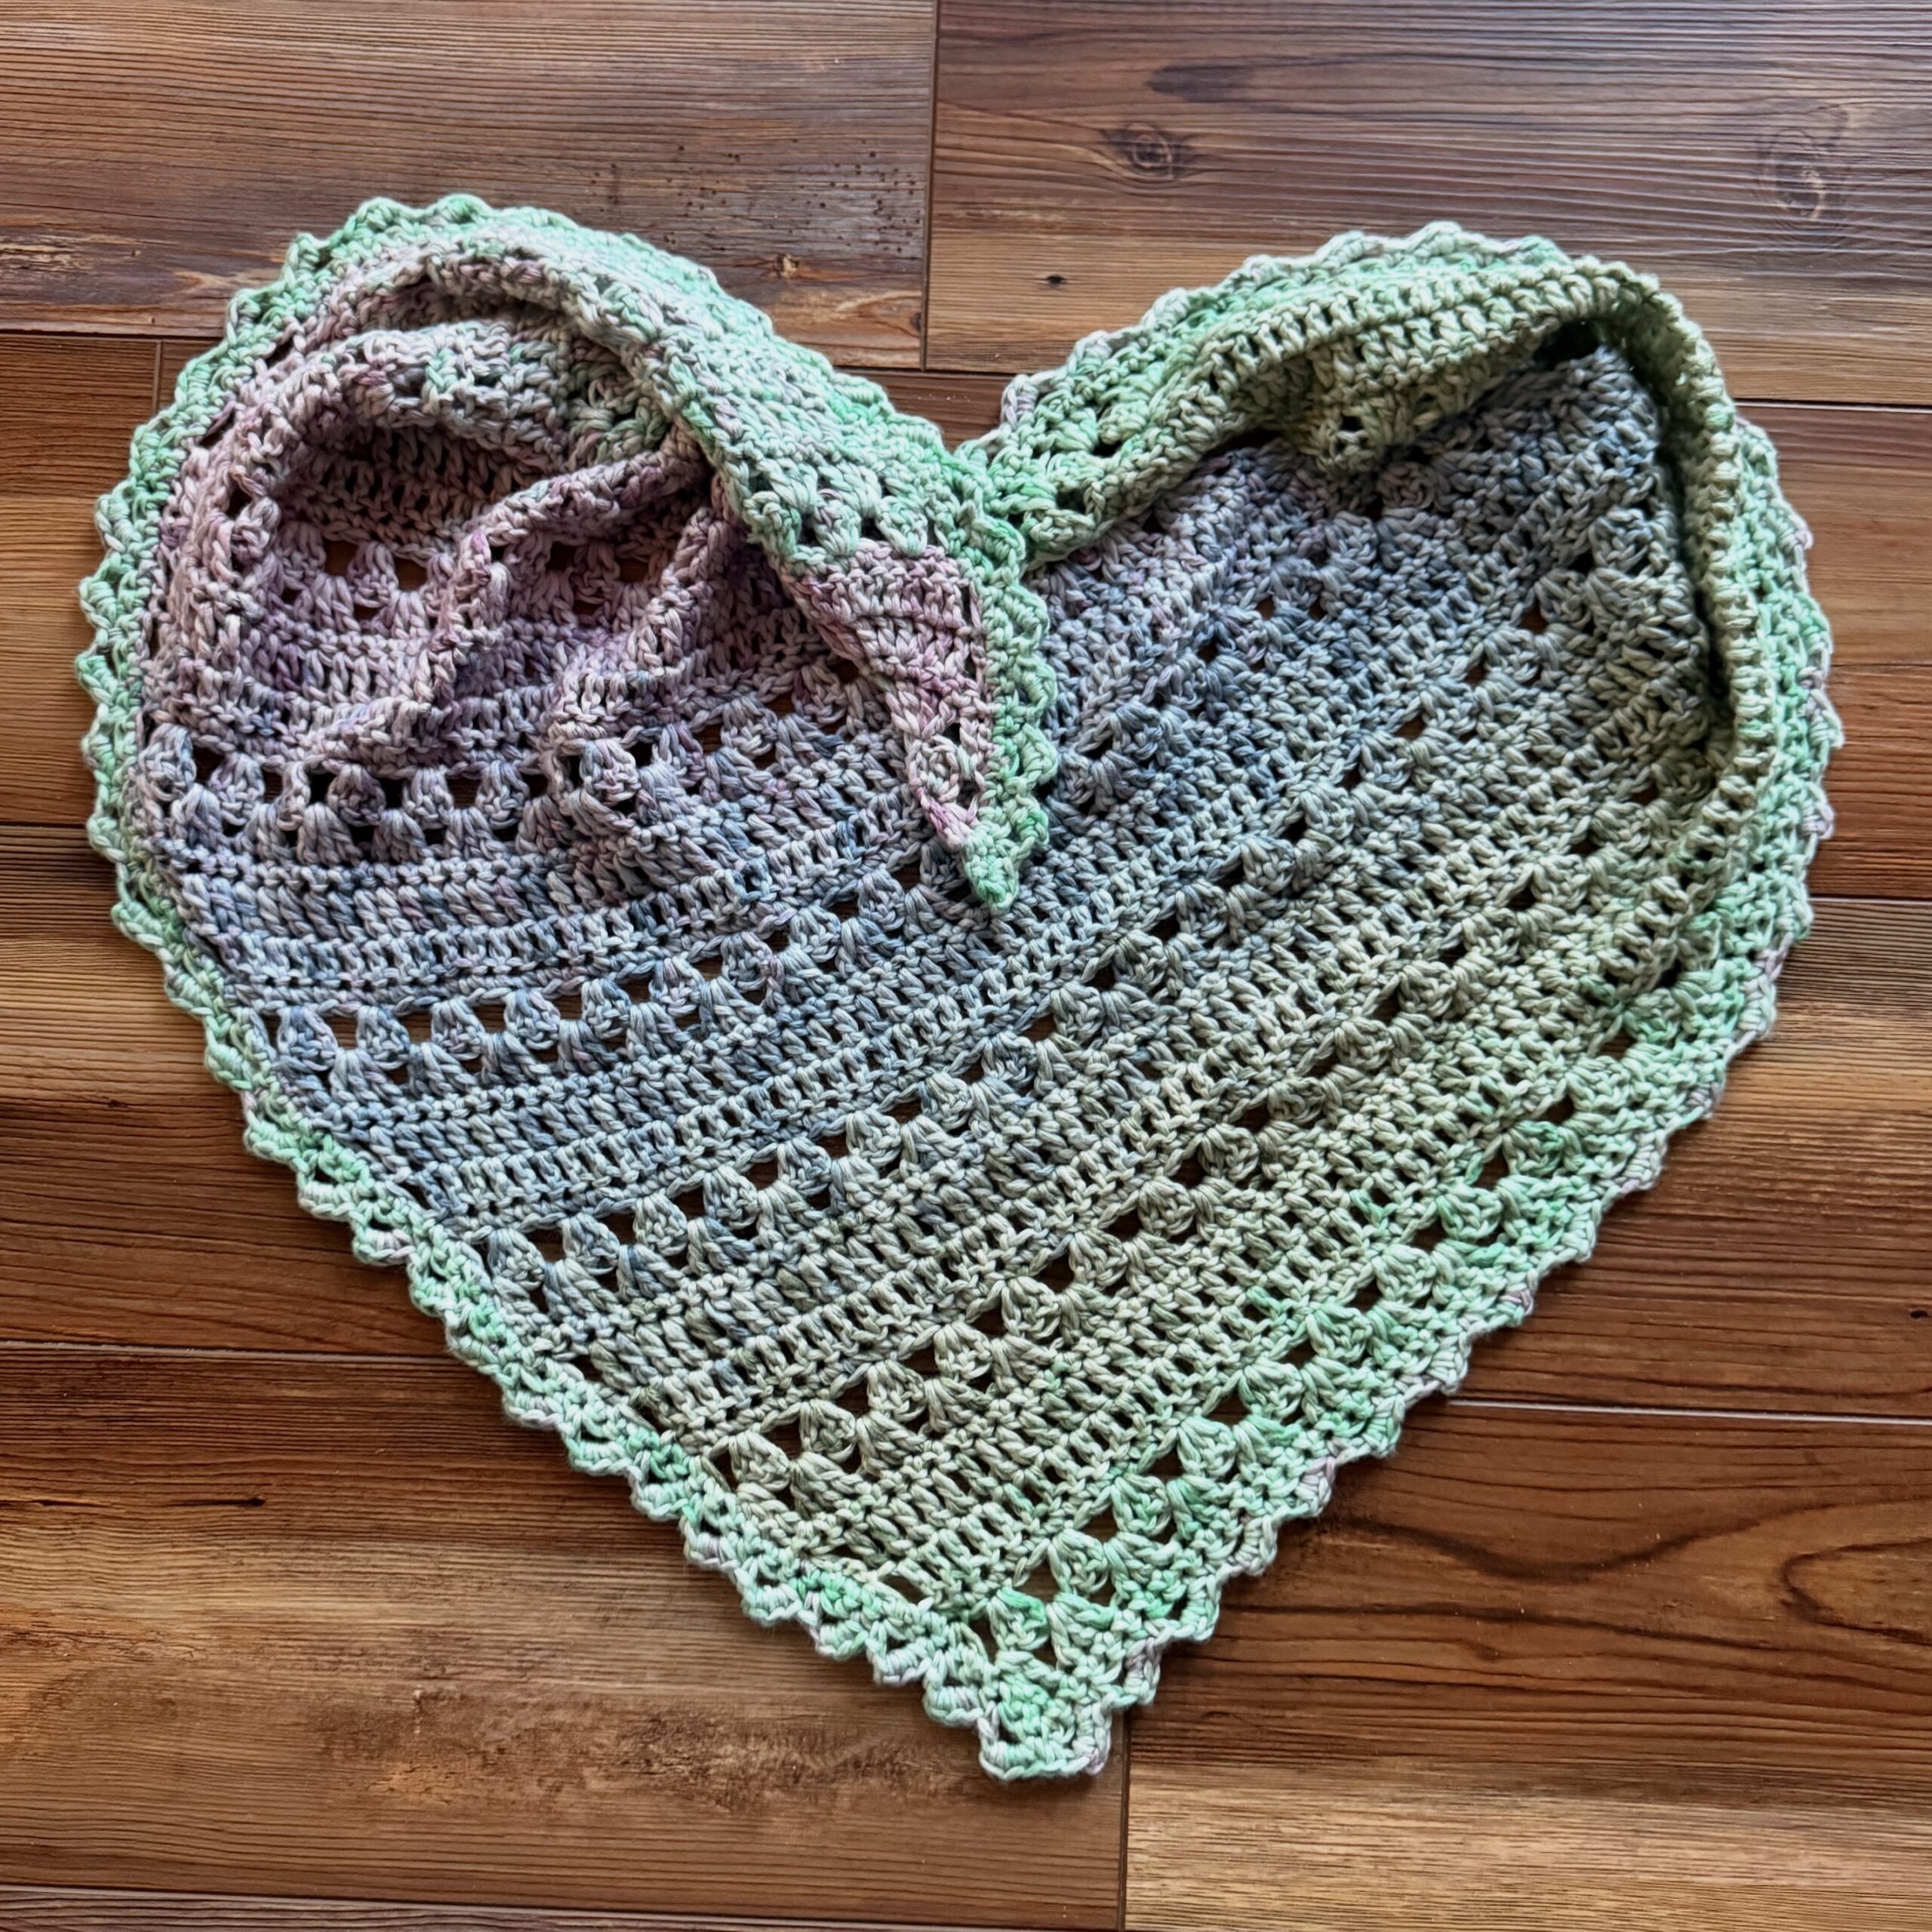
This blanket can take on many different looks depending on where you change colors. The pattern with the photo of my best friend Mudkip laying on the blanket is the original pattern, however original yarns and colors are no longer available. Many crocheters continue to use this pattern as a template to design their own 6-Day Crochet Blanket.
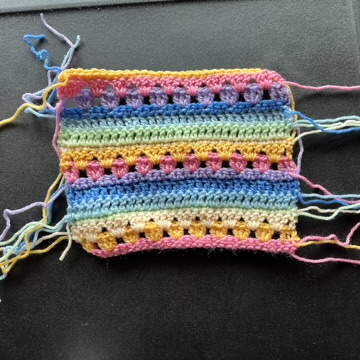
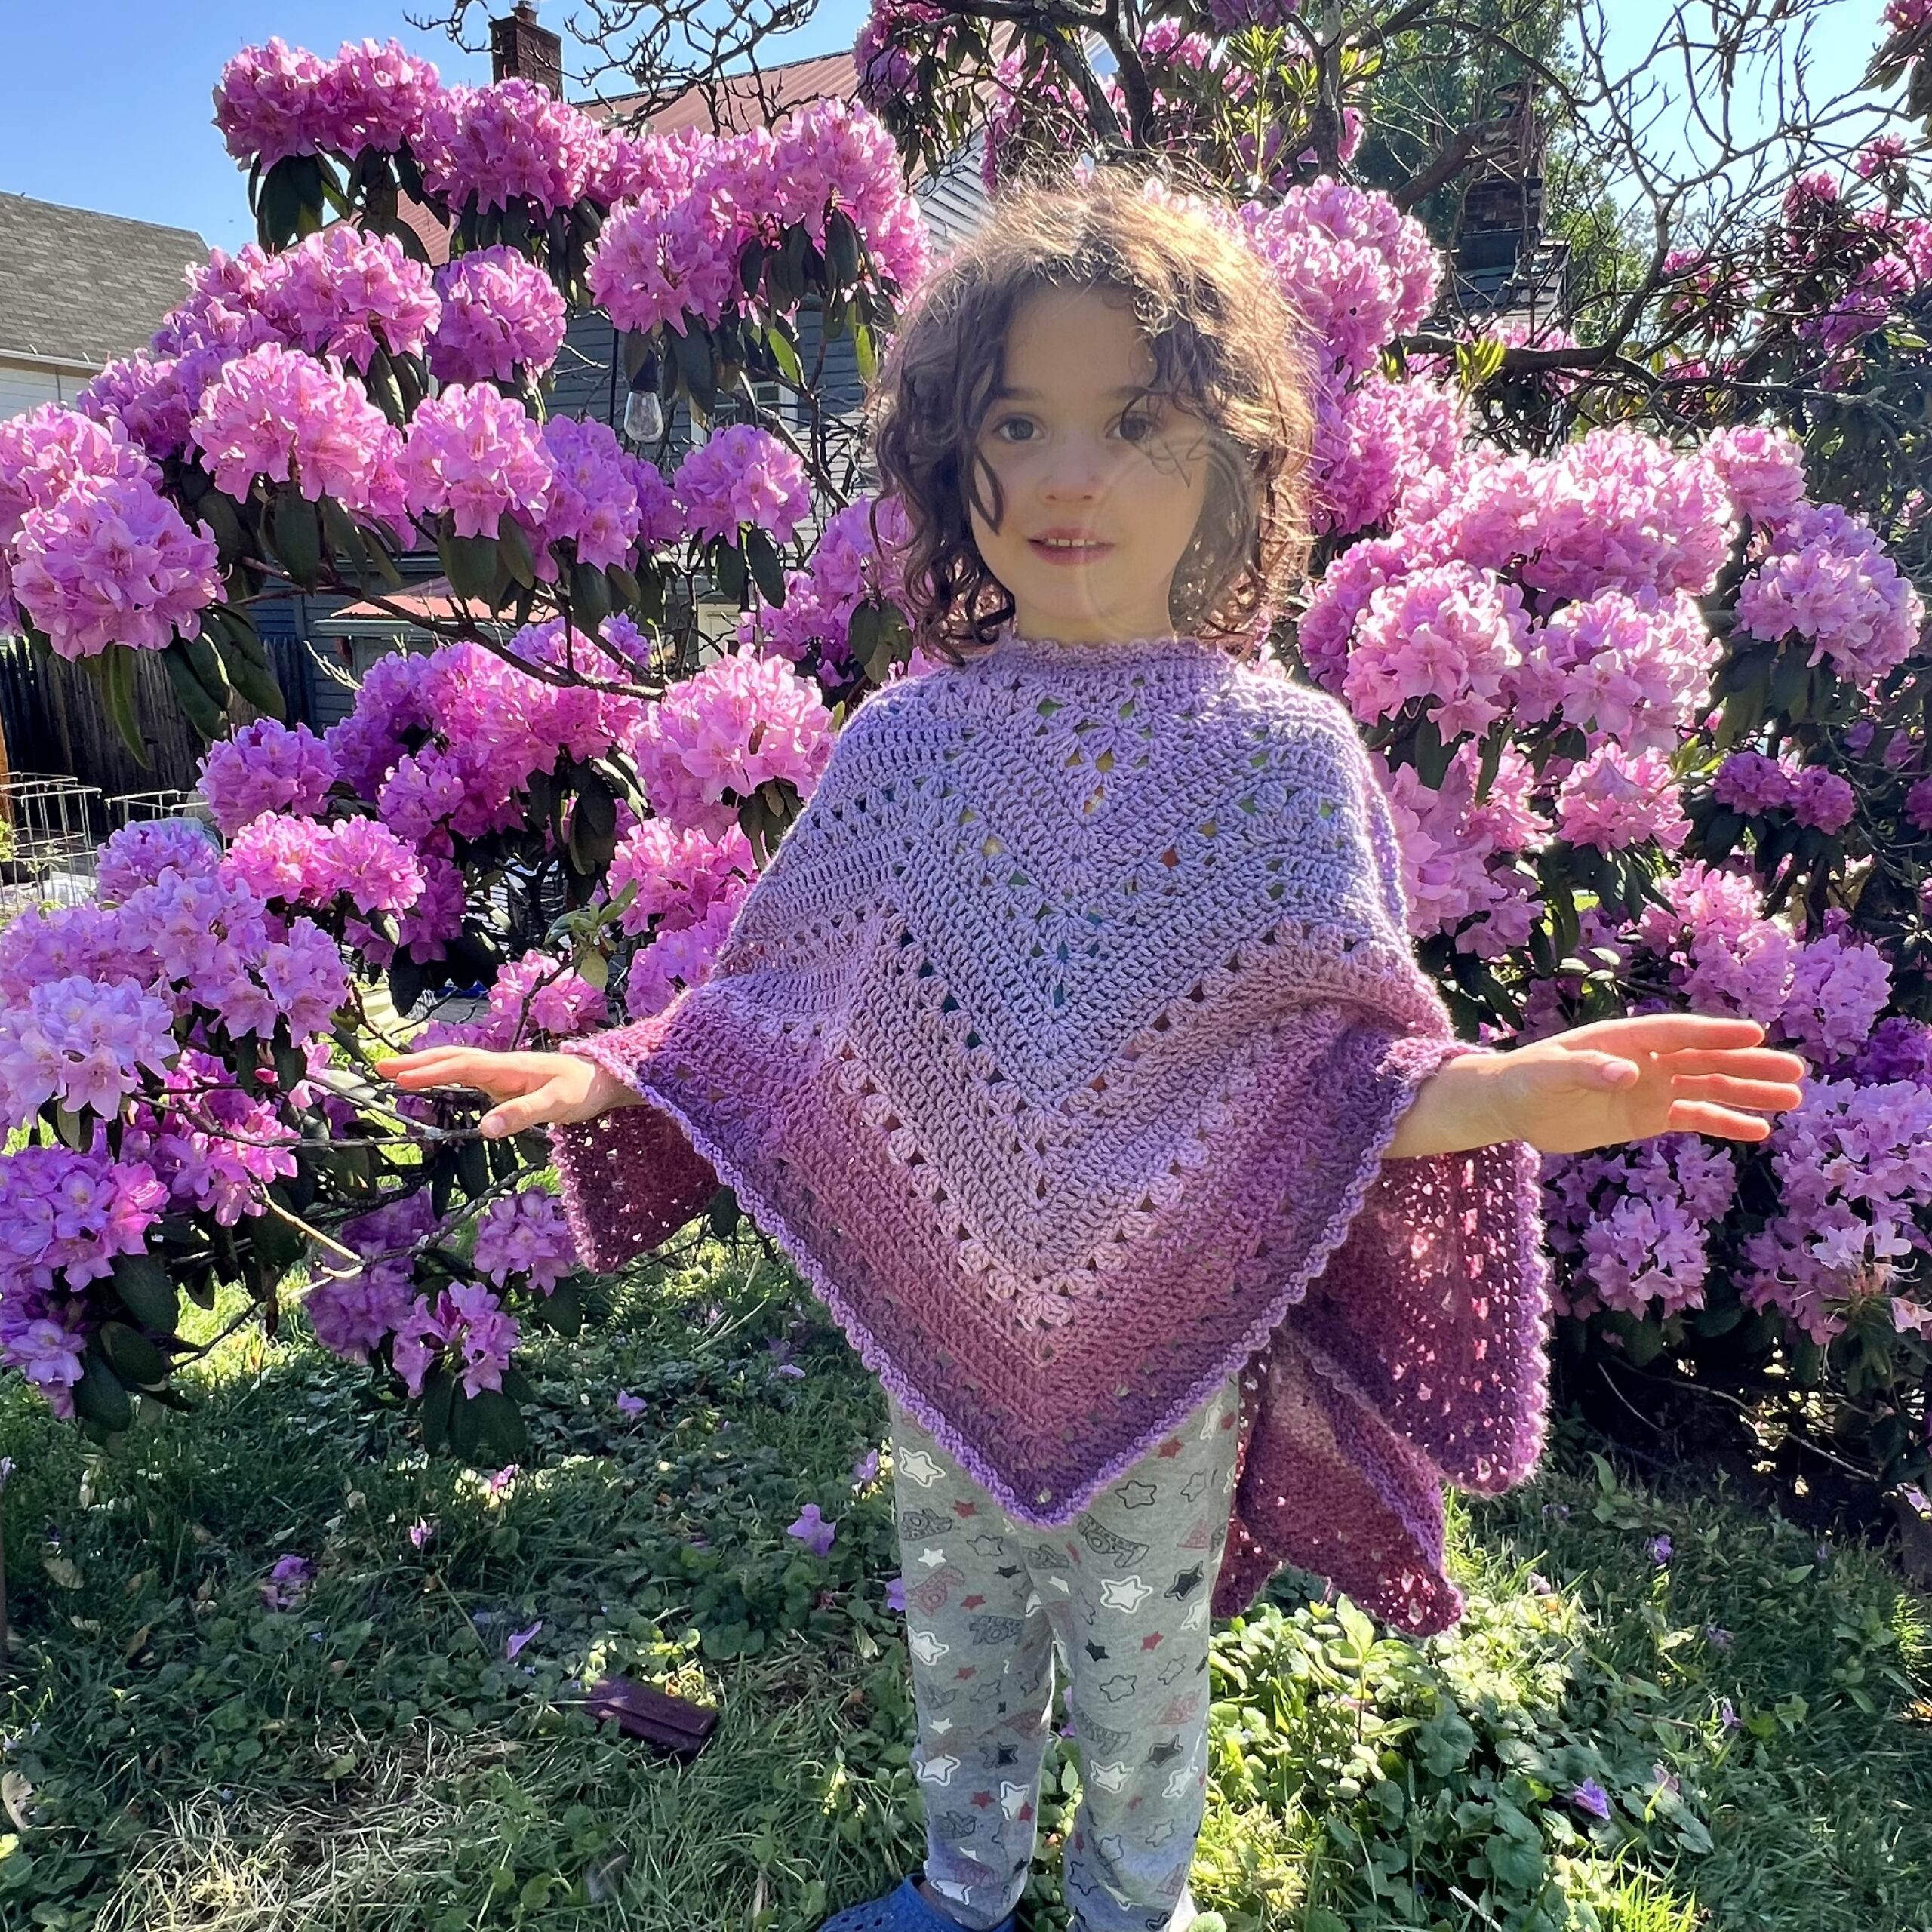
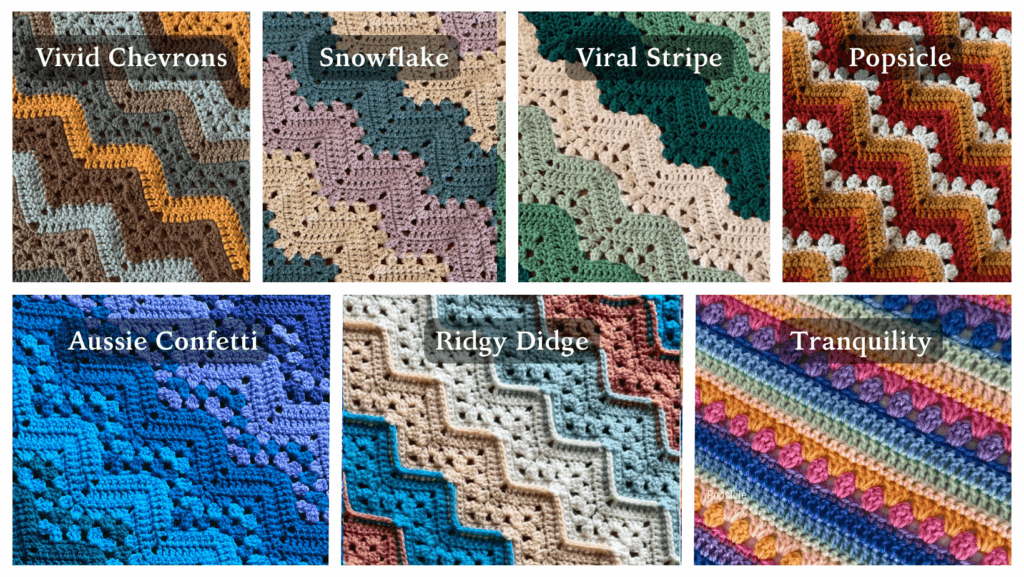
The photos below show some of the adaptations of this pattern since it’s original publication in 2007. You can find them all here on my site, or you can use the pattern on this page to create your own. This, the original 6-Day Kid Blanket creates the Vivid Chevron stripe. There are patterns for the Snowflake, Viral, Popsicle, Aussie Confetti, Ridgy Didge and Tranquility stripes shown below. For more information, see the article, “No Two 6-Day Kid Blankets Are Alike.”
This page contains affiliate links. If you click these links and buy something on the page they take you to, I may, at no additional cost to you, earn a commission. I only affiliate with products and companies I feel good about. Thank you for your support!
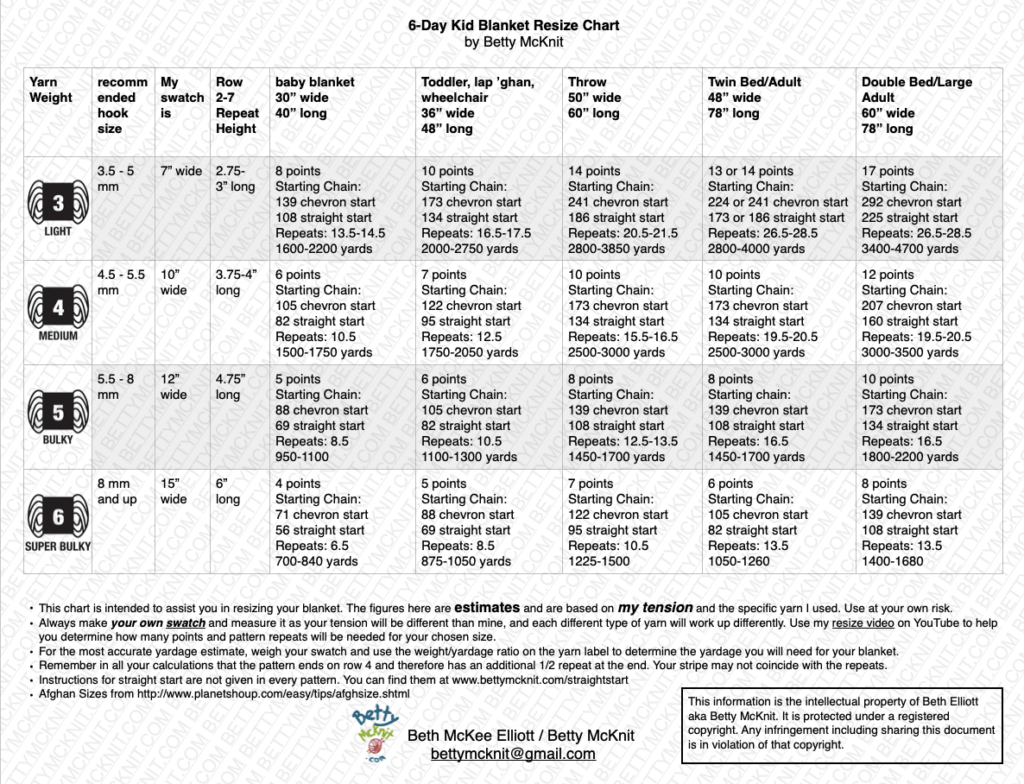
If you resize this pattern and make a blanket larger than the original version, which was toddler sized, it will probably take you longer than 6 days. See my article “Why is it Called the 6-Day Kid Blanket?” for more information about the 6-Day name and timeline.
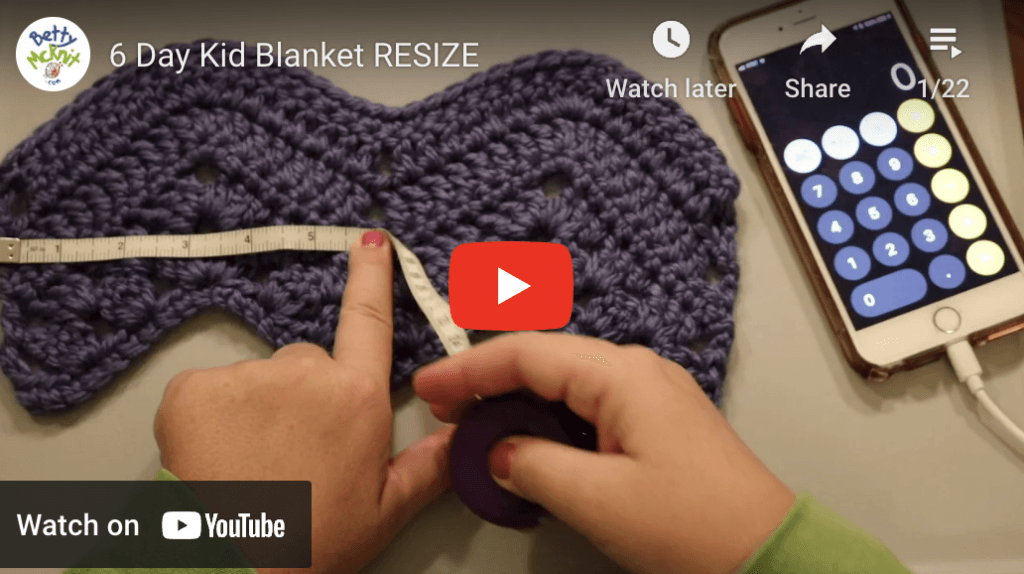
There is a chart below and a YouTube video to help you resize the pattern.
INTRODUCTION
The 6-Day Kid Blanket (6DKB), originally written for a toddler size blanket made with chunky weight yarn, can easily be made in 6 days.
Many crocheters wanted to make their blankets larger and use different weight yarns, so this pattern has some extra features added to help you make adjustments for size and weight. You can make the 6-Day Kid Blanket in any size you like, using any yarn you want.
This pattern creates “vivid chevrons” or defined stripes. It is possible to create a very different look by changing colors on other rows. See my blog post “No Two 6-Day Kid Blankets Are Alike” for an explanation about how to create different looks.
This pattern does work up quickly in any size, but blankets with a foundation chain of more than 122 may take longer than 6 days.
Details
Finished Size: 36″ by 33”
Skill Level: Easy
Materials:
Yarn: 170 yards of each of 7 colors bulky weight (#5) yarn.
Hook: 5.5 mm – 8 mm (make a swatch to determine the best hook for your yarn).
(see chart on last page for help making a blanket of a different size with a different weight of yarn)
Gauge: approx. 2 1/2 sts and 1 1/2 rows per inch in dc
Abbreviations
ch: chain
dc: double crochet
dc3tog: (NOT TO BE CONFUSED WITH dec dc3tog).
Work dc3tog into one stitch – not over three stitches
[yarn over, pull up a loop, pull through two loops] 3 times. Yarn over, and pull through all 4 loops on the hook. (Be sure to pull up a loop in the same stitch every time.) dc3tog complete.
rep: repeat
sc: single crochet
sk: skip
sp(s): space(s)
A word about the edge
Some crocheters have had issues with the edges of their blankets curling. Two things that help with edging:
- ch 4 at the beginning of the row where the instructions say to ch 3. This is something you should try in your swatch, as some crocheters find that they really do not need that extra stitch.
- When working the last stitch of the row, insert the hook into the row below from back to front, instead of from front to back. Here is a VIDEO TUTORIAL showing you how to do this.
Begin the pattern
With Color A, ch 105
(To make your blanket larger or smaller, chain a multiple of 17 + 3)
Row 1: (RS) 1 sc into 2nd ch from hook, 1 sc into each ch to end.
Turn
Row 2: ch 3, sk first 3 sc (the sc on the end of the row, the one below your turning chain counts as 1)
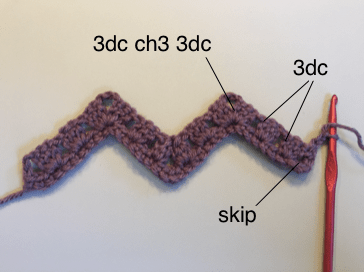
[3dc in next sc, sk next 2 sc] twice, [3 dc, ch 3, 3 dc] into next sc
*sk next 2 sc, 3dc into next sc, sk next 2 sc, dc3tog
sk next 4 sc, dc3tog, sk next 2 sc, 3 dc in next sc, sk next 2 sc
[ 3 dc, ch3, 3 dc] into next sc; rep from * to last 9 sc
sk next 2 sc [3 dc into next sc, sk next 2 sc] twice, 1 dc into last sc.
Turn
Row 3: ch 3, sk sp between turning ch and next 3-dc group, 3 dc into each of next 2 sp
[3dc, ch3, 3dc] into next ch-3 sp
*3 dc into next sp, dc3tog into next sp
sk next sp, dc3tog into next sp, 3 dc into next sp, [3dc, ch3, 3dc] into next ch- 3 sp
rep from * to last 3 sps, 3 dc into each of next 2 sps
1 dc into sp between last 3 dc group and turning ch.
Turn
Row 4: ch 1, sc into first dc of the row (the one right below your turning chain)
sk next dc, 1 sc into each of next 8 dc
*3 sc into next ch 3 sp, 1 sc into each of next 14 sts
repeat from * to last ch-3 sp, 3 sc into last ch-3 sp
1 sc into each of next 8 dc, sk next dc, 1 sc into 3rd st of ch 3.
Turn
(Change to color B)
Row 5: Ch 3, sk first 2 sc of the row below (the sc your turning chain is coming out of counts as the first one). 1 dc into each of next 8 sc
*3 dc into next sc (you should be working these into the center stitch of the 3 sc. If not, you may have skipped incorrectly in the beginning of the row.) 1 dc into each of next 7 sc
sk next 2 sc, 1 dc into each of next 7 sc
rep from * to last 11 sc, 3 dc into next sc, 1 dc into each of next 8 sc
sk next 2 sc, 1 dc into the turning chain from the row below.
Turn
Row 6: Ch 3, sk first 2 dc in the row below (the dc below your turning chain counts as 1)
1 dc into each of next 8 dc
*3 dc into next dc (you should be working into center stitch of 3 dc)
1 dc into each of next 7 dc, sk next 2 dc, 1 dc into each of next 7 dc
rep from * to last 10 dc
3 dc into next dc, 1 dc into each of next 8 dc, sk last dc, 1 dc into 3rd st of ch 3, turn.
(Change to Color C)
Row 7: Ch 1, sc into first dc (the same one the turning chain is coming out of), sk 1 dc
1 sc into each dc along row to last dc
sk last dc, 1 sc into 3rd ch of ch 3, turn.
Repeat rows 2-7, changing yarns before rows 5 and 7 nine times, for a total of 10 pattern repeats.
Repeat rows 2-4 one time more time. The blanket ends on Row 4.
Finishing
Option 1 – Tassles
Make 13 tassles with remaining yarn, attach to points at the short ends of the
blanket.
Option 2 – Basic Edge
Work a row of sc around the blanket, working 3 sc into each point along the corners and top and bottom of the blanket.
When working sc into the sides of the blanket, use the turning chains and the dc stitches as foundation chains, working under 2 threads of each stitch and leaving one thread below. This creates a beautiful even edge to the work.
This row of sc can be used as a foundation for any border you like. Many of us simply work a row of hdc around the edge, working 3 stitches into each point and skipping 2 stitches in each valley around.
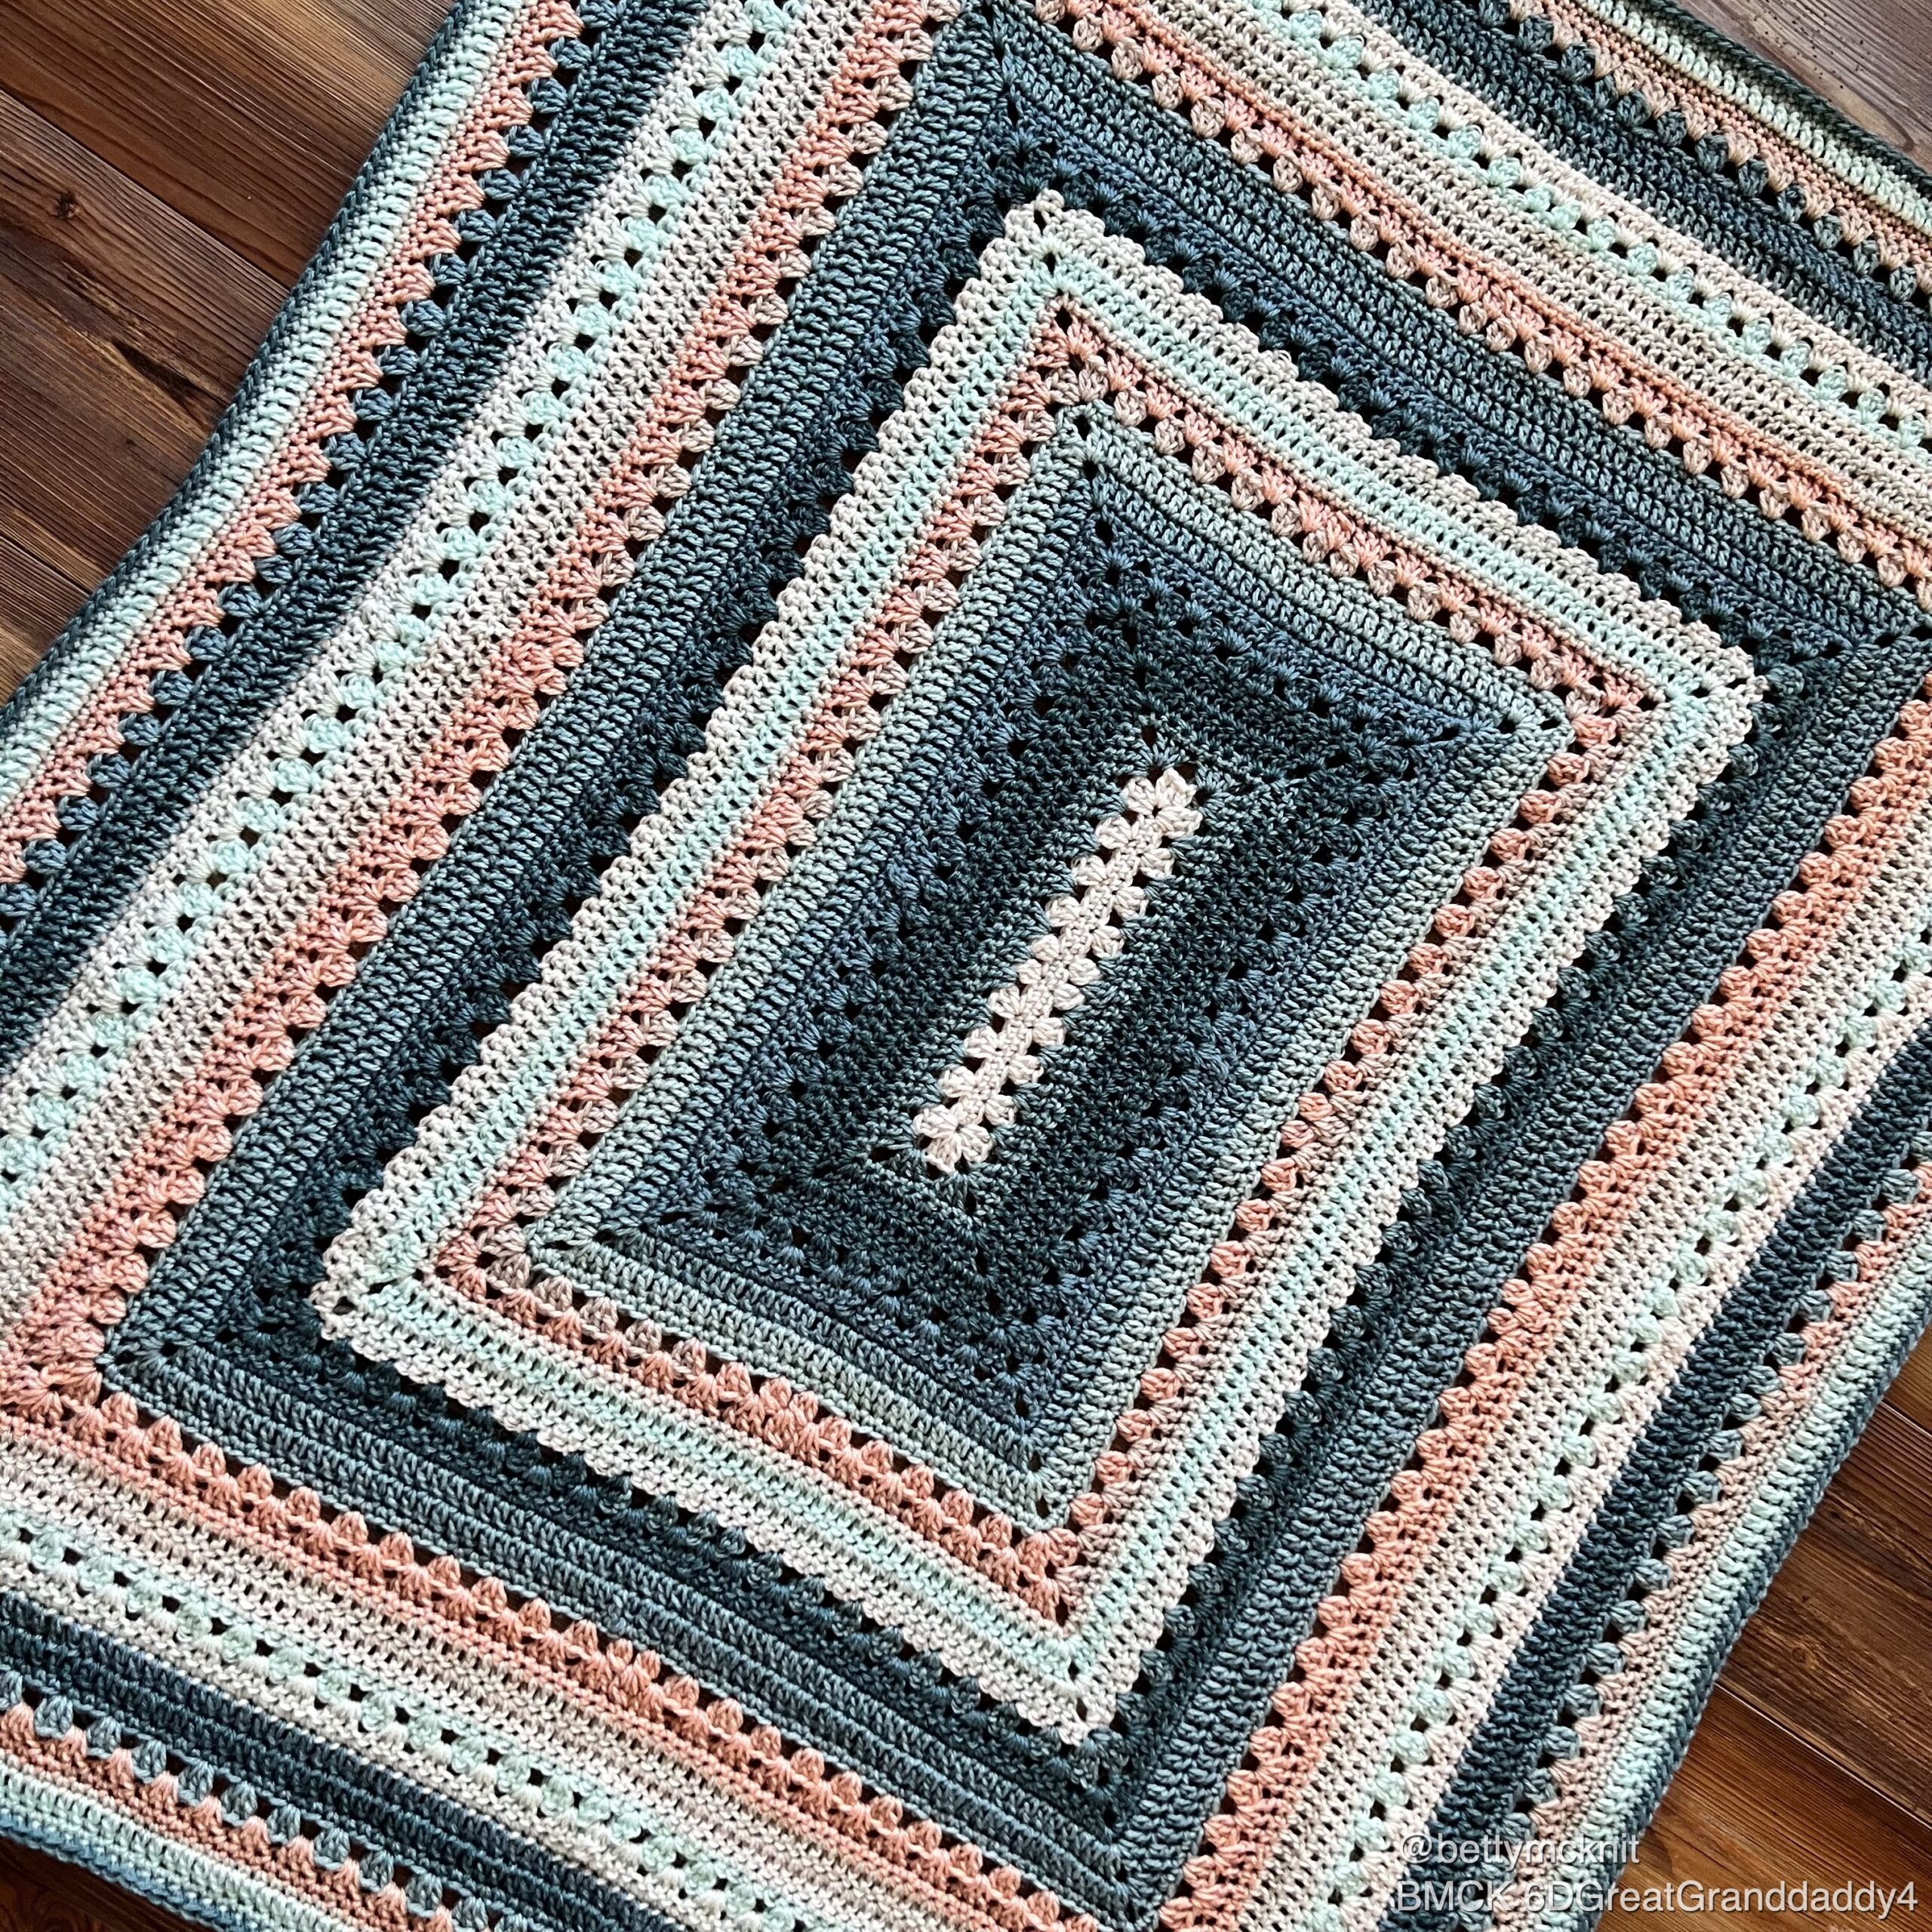
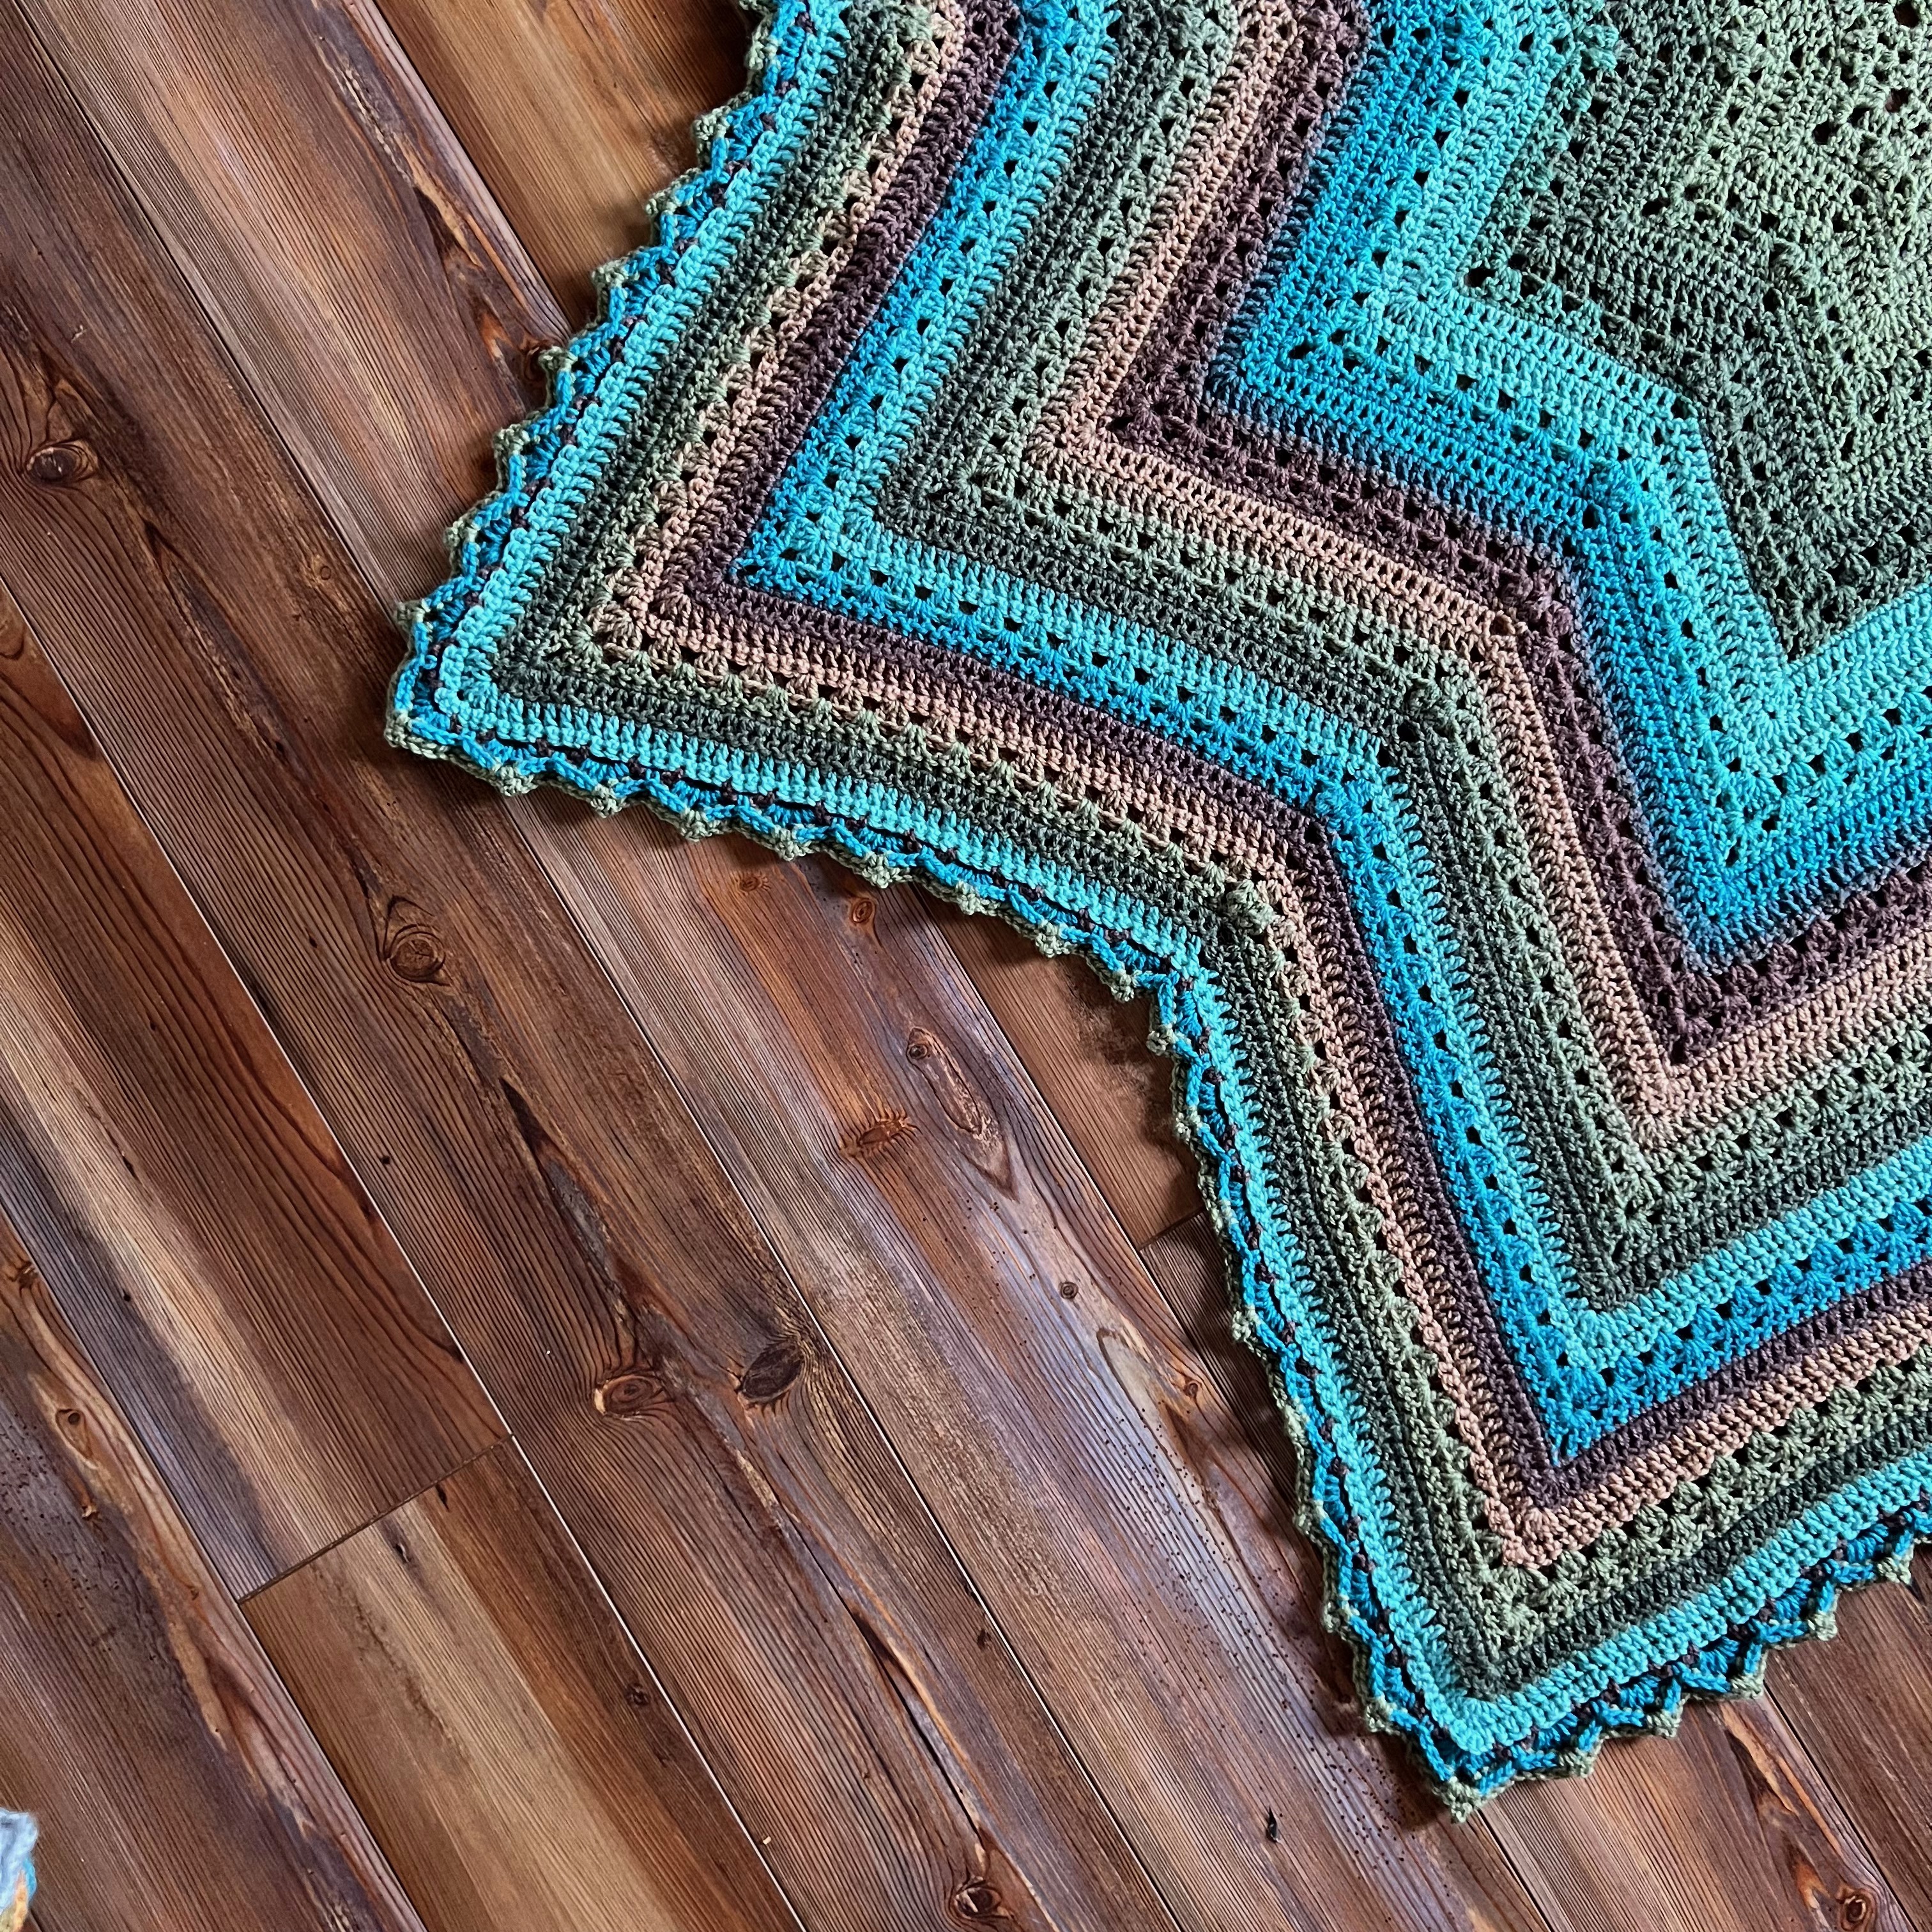
Option 3 – Square off
Some crocheters like to square off the chevrons on the top and bottom of the blanket. Pattern to square off is HERE. (There are actually instructions to start with a straight edge now!)
Weave in all ends.
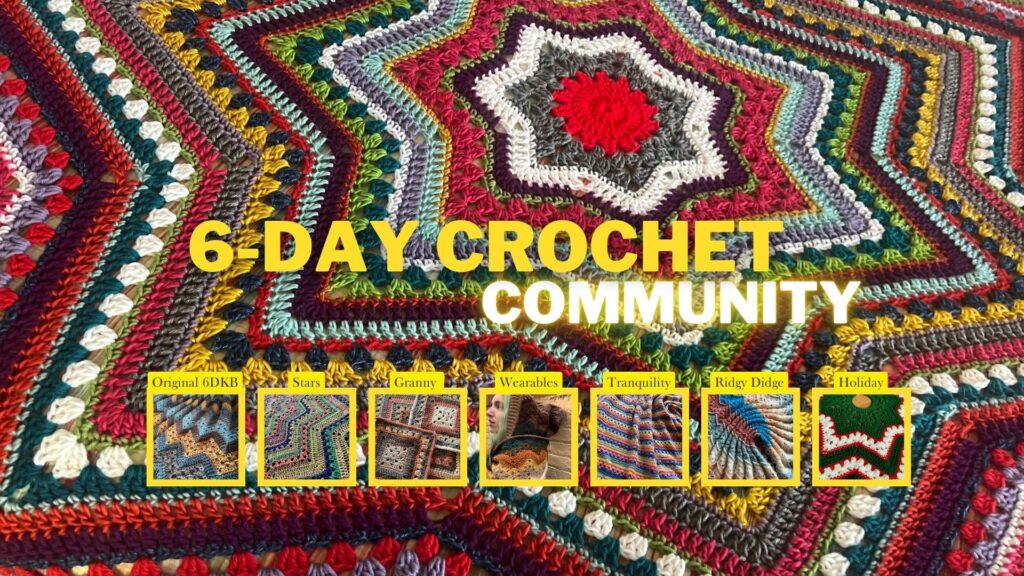
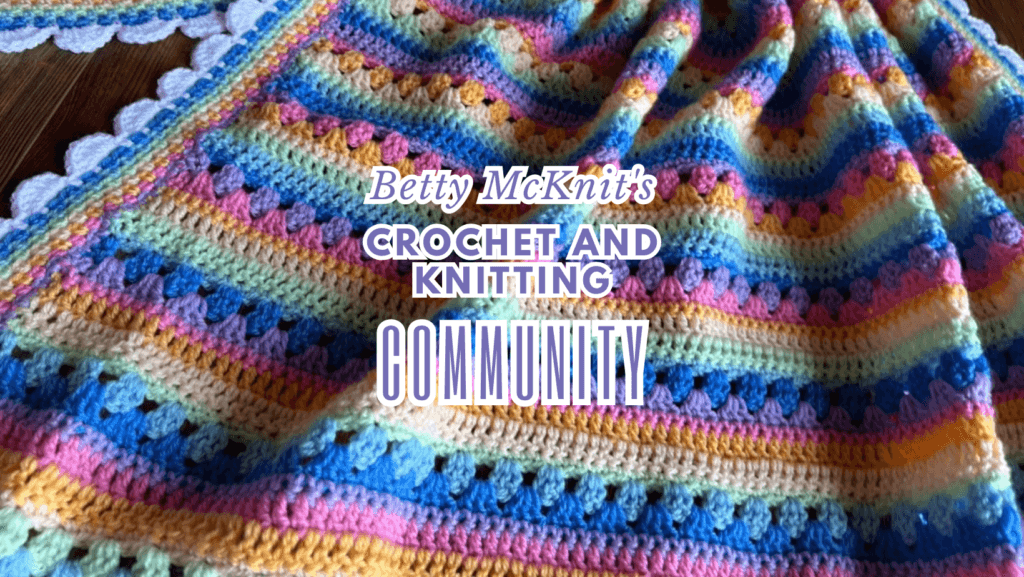
Join one of my online communities to knit and crochet along with friends, get help with pattern questions, show off your makes, and access tons of free resources for making 6-Day Crochet and other Betty McKnit designs.
This page contains affiliate links. If you click these links and buy something on the page they take you to, I may, at no additional cost to you, earn a commission. I only affiliate with products and companies I feel good about. Thank you for your support!
Beth McKee Elliott
aka Betty McKnit
Beth McKee Elliott, also known as Betty McKnit, is a crochet and knitting designer, instructor, community leader, and Master Somatic Movement Therapist and Educator. Her signature style, 6-Day Crochet, is showcased in the viral crochet patterns the 6-Day Kid Blanket and 6-Day Star Blanket.
She specializes in Somatic Crochet and Knitting, a mindfulness practice that combines crochet/knitting with body awareness techniques to prevent injury and promote well-being and creativity in crafting.
In addition to being a crochet designer, Beth is a choreographer. She is the creator and director of Small Plates Choreography Festival, Haven Movement Company, and the Dance Maker Podcast.
An international community of yarnful makers and friends.
- New pattern pre-releases
- Exclusive patterns never released to the public
- Have access to Betty’s ad-free .pdf library of patterns (3-4 patterns/month)
- Access to Betty’s Design Workshop
- Uplevel your knitting and crochet skills
- Enjoy regular crochet alongs, knit alongs, and classes
- Make like-minded friendships during our weekly social and educational events
- Bonus content every month
Thank you to Marian Faries D’Ambrosio for her tip about working the edge stitches from the back to the front to alleviate rolling.
This pattern is the intellectual property of Beth McKee Elliott aka Betty McKnit®. This pattern, The 6-Day Kid Blanket, 6-Day Crochet™, 6-Day Star Blanket™, and all derivative works are protected by copyright. Publishing translations, corrections, variations, or tutorials of this pattern, online or elsewhere without written permission from the owner is a violation of copyright.
Items created with this pattern may be used for commercial sale with credit to Betty McKnit in your listing. Mass production is not permitted.
The 6-Day Crochet stitch pattern was inspired by “Vivid Chevrons” #110 from 200 Ripple Stitch Patterns by Jan Eaton.