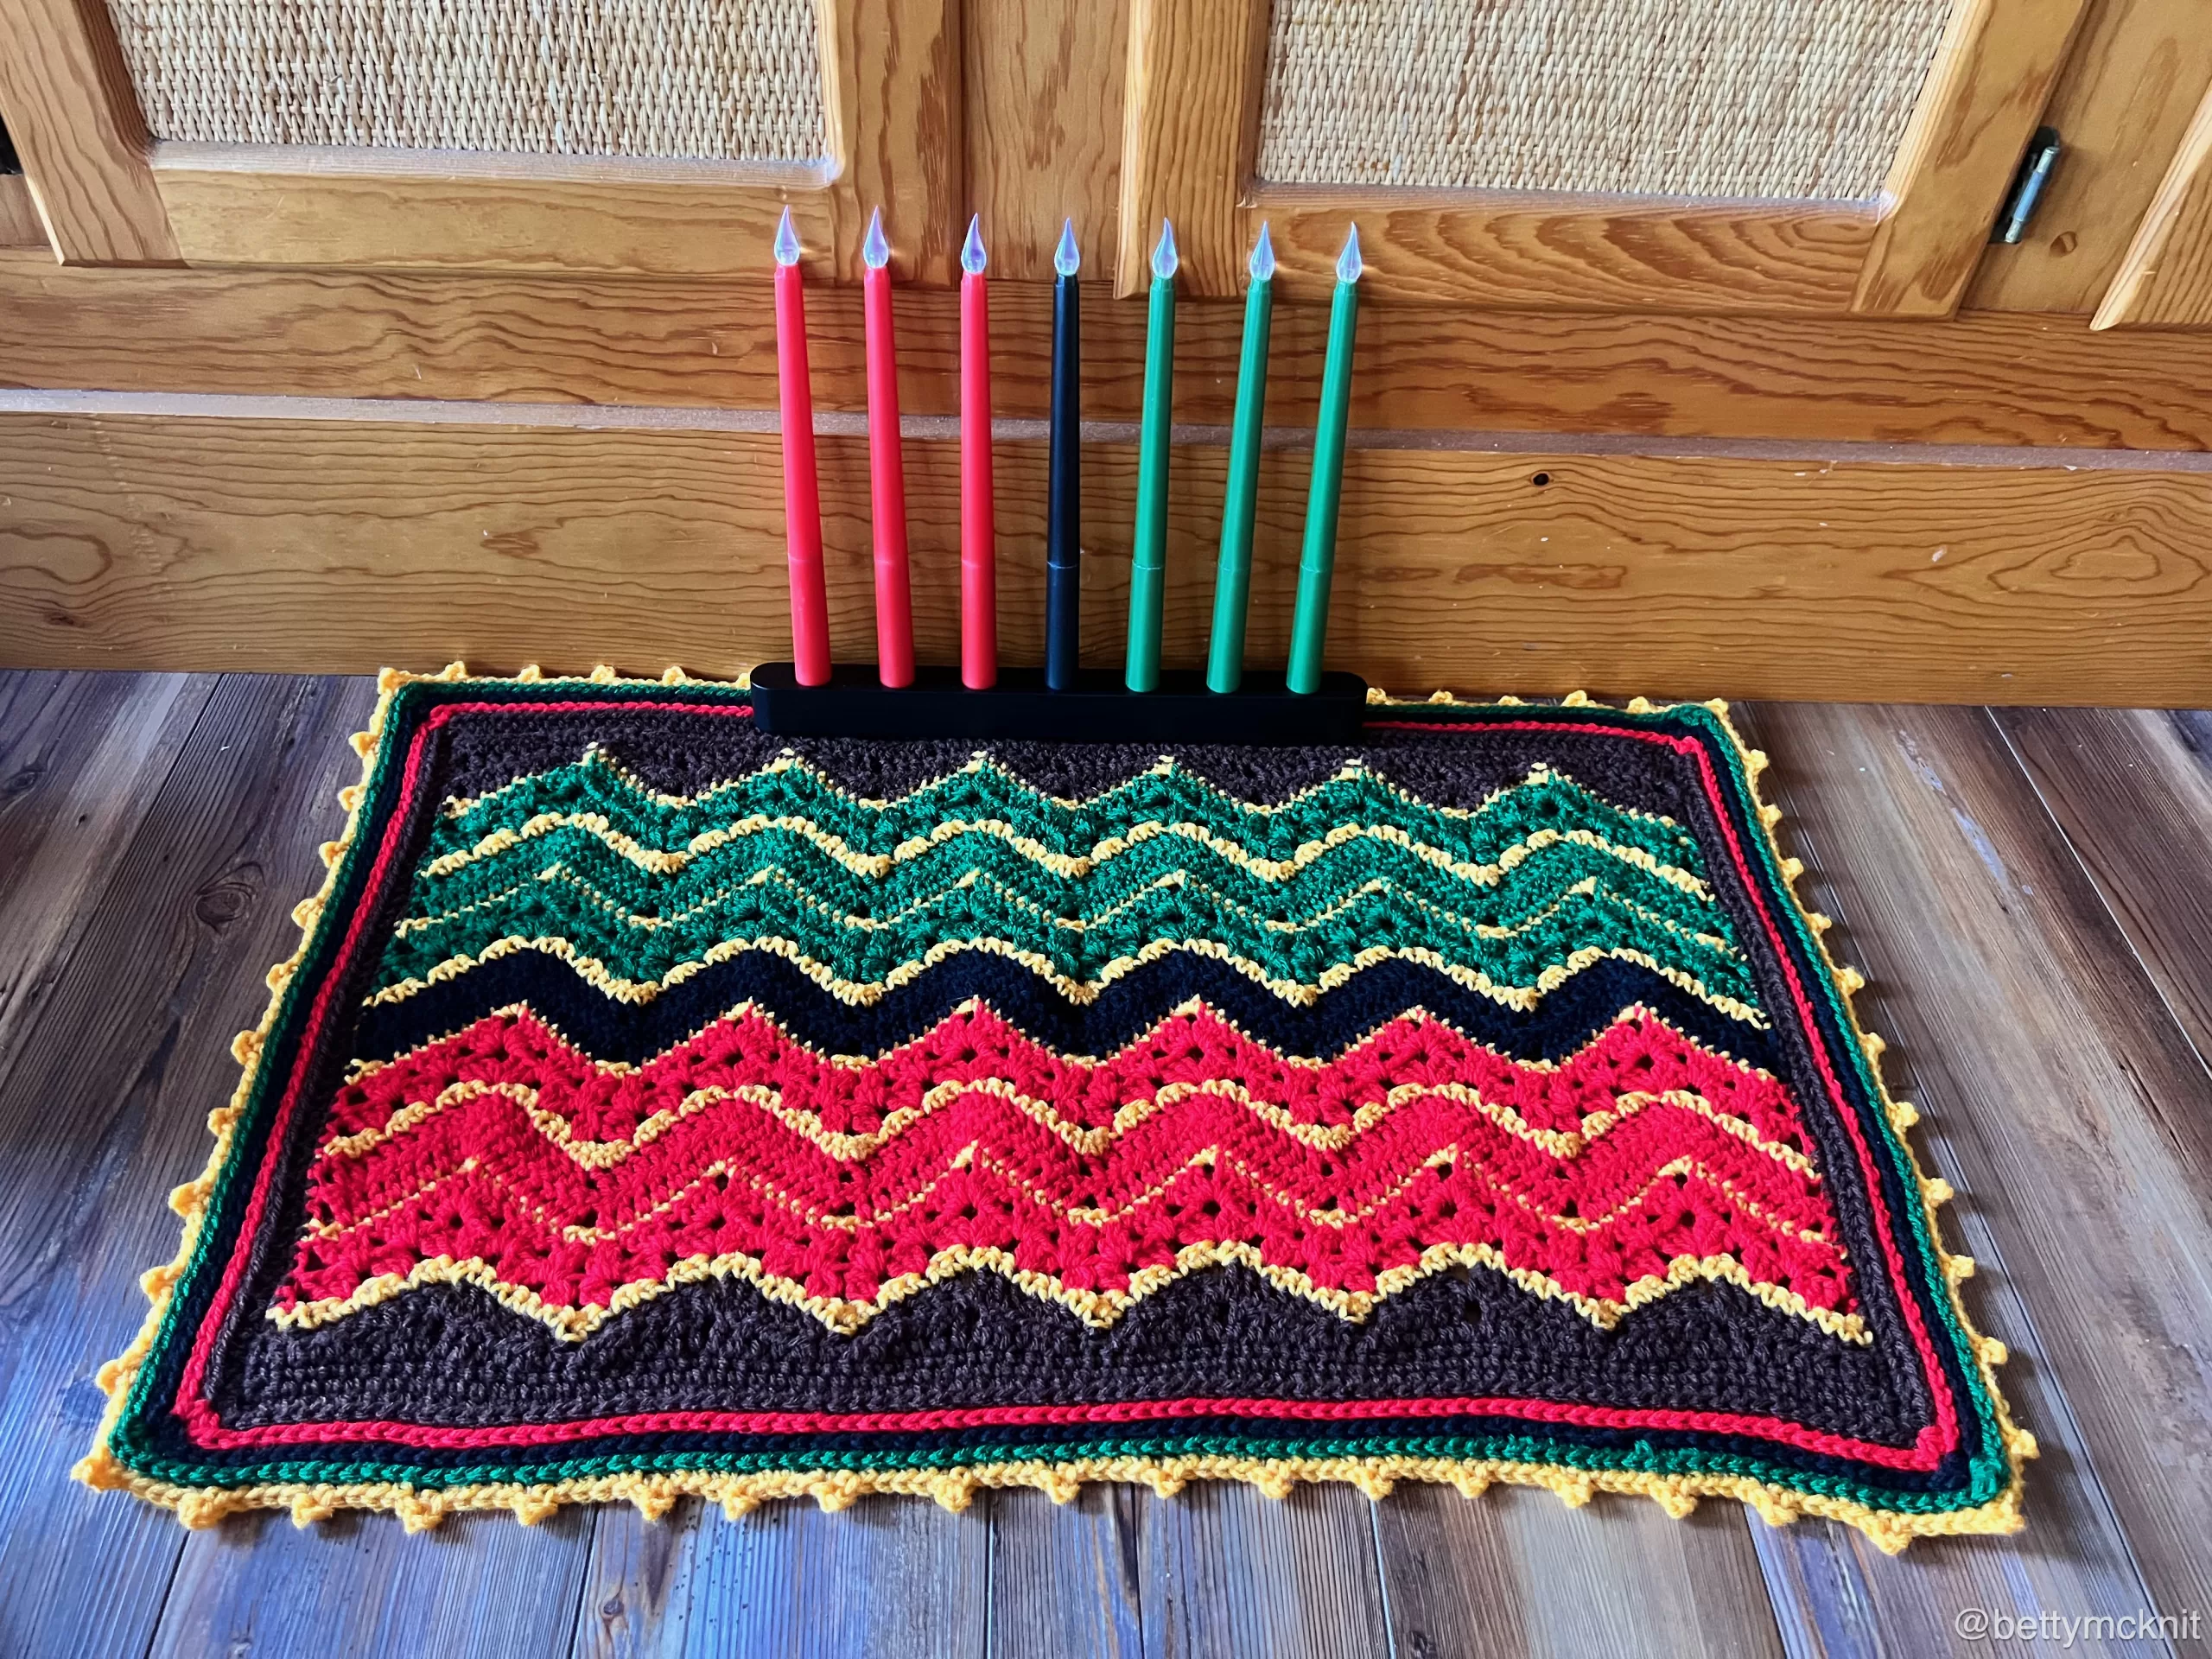
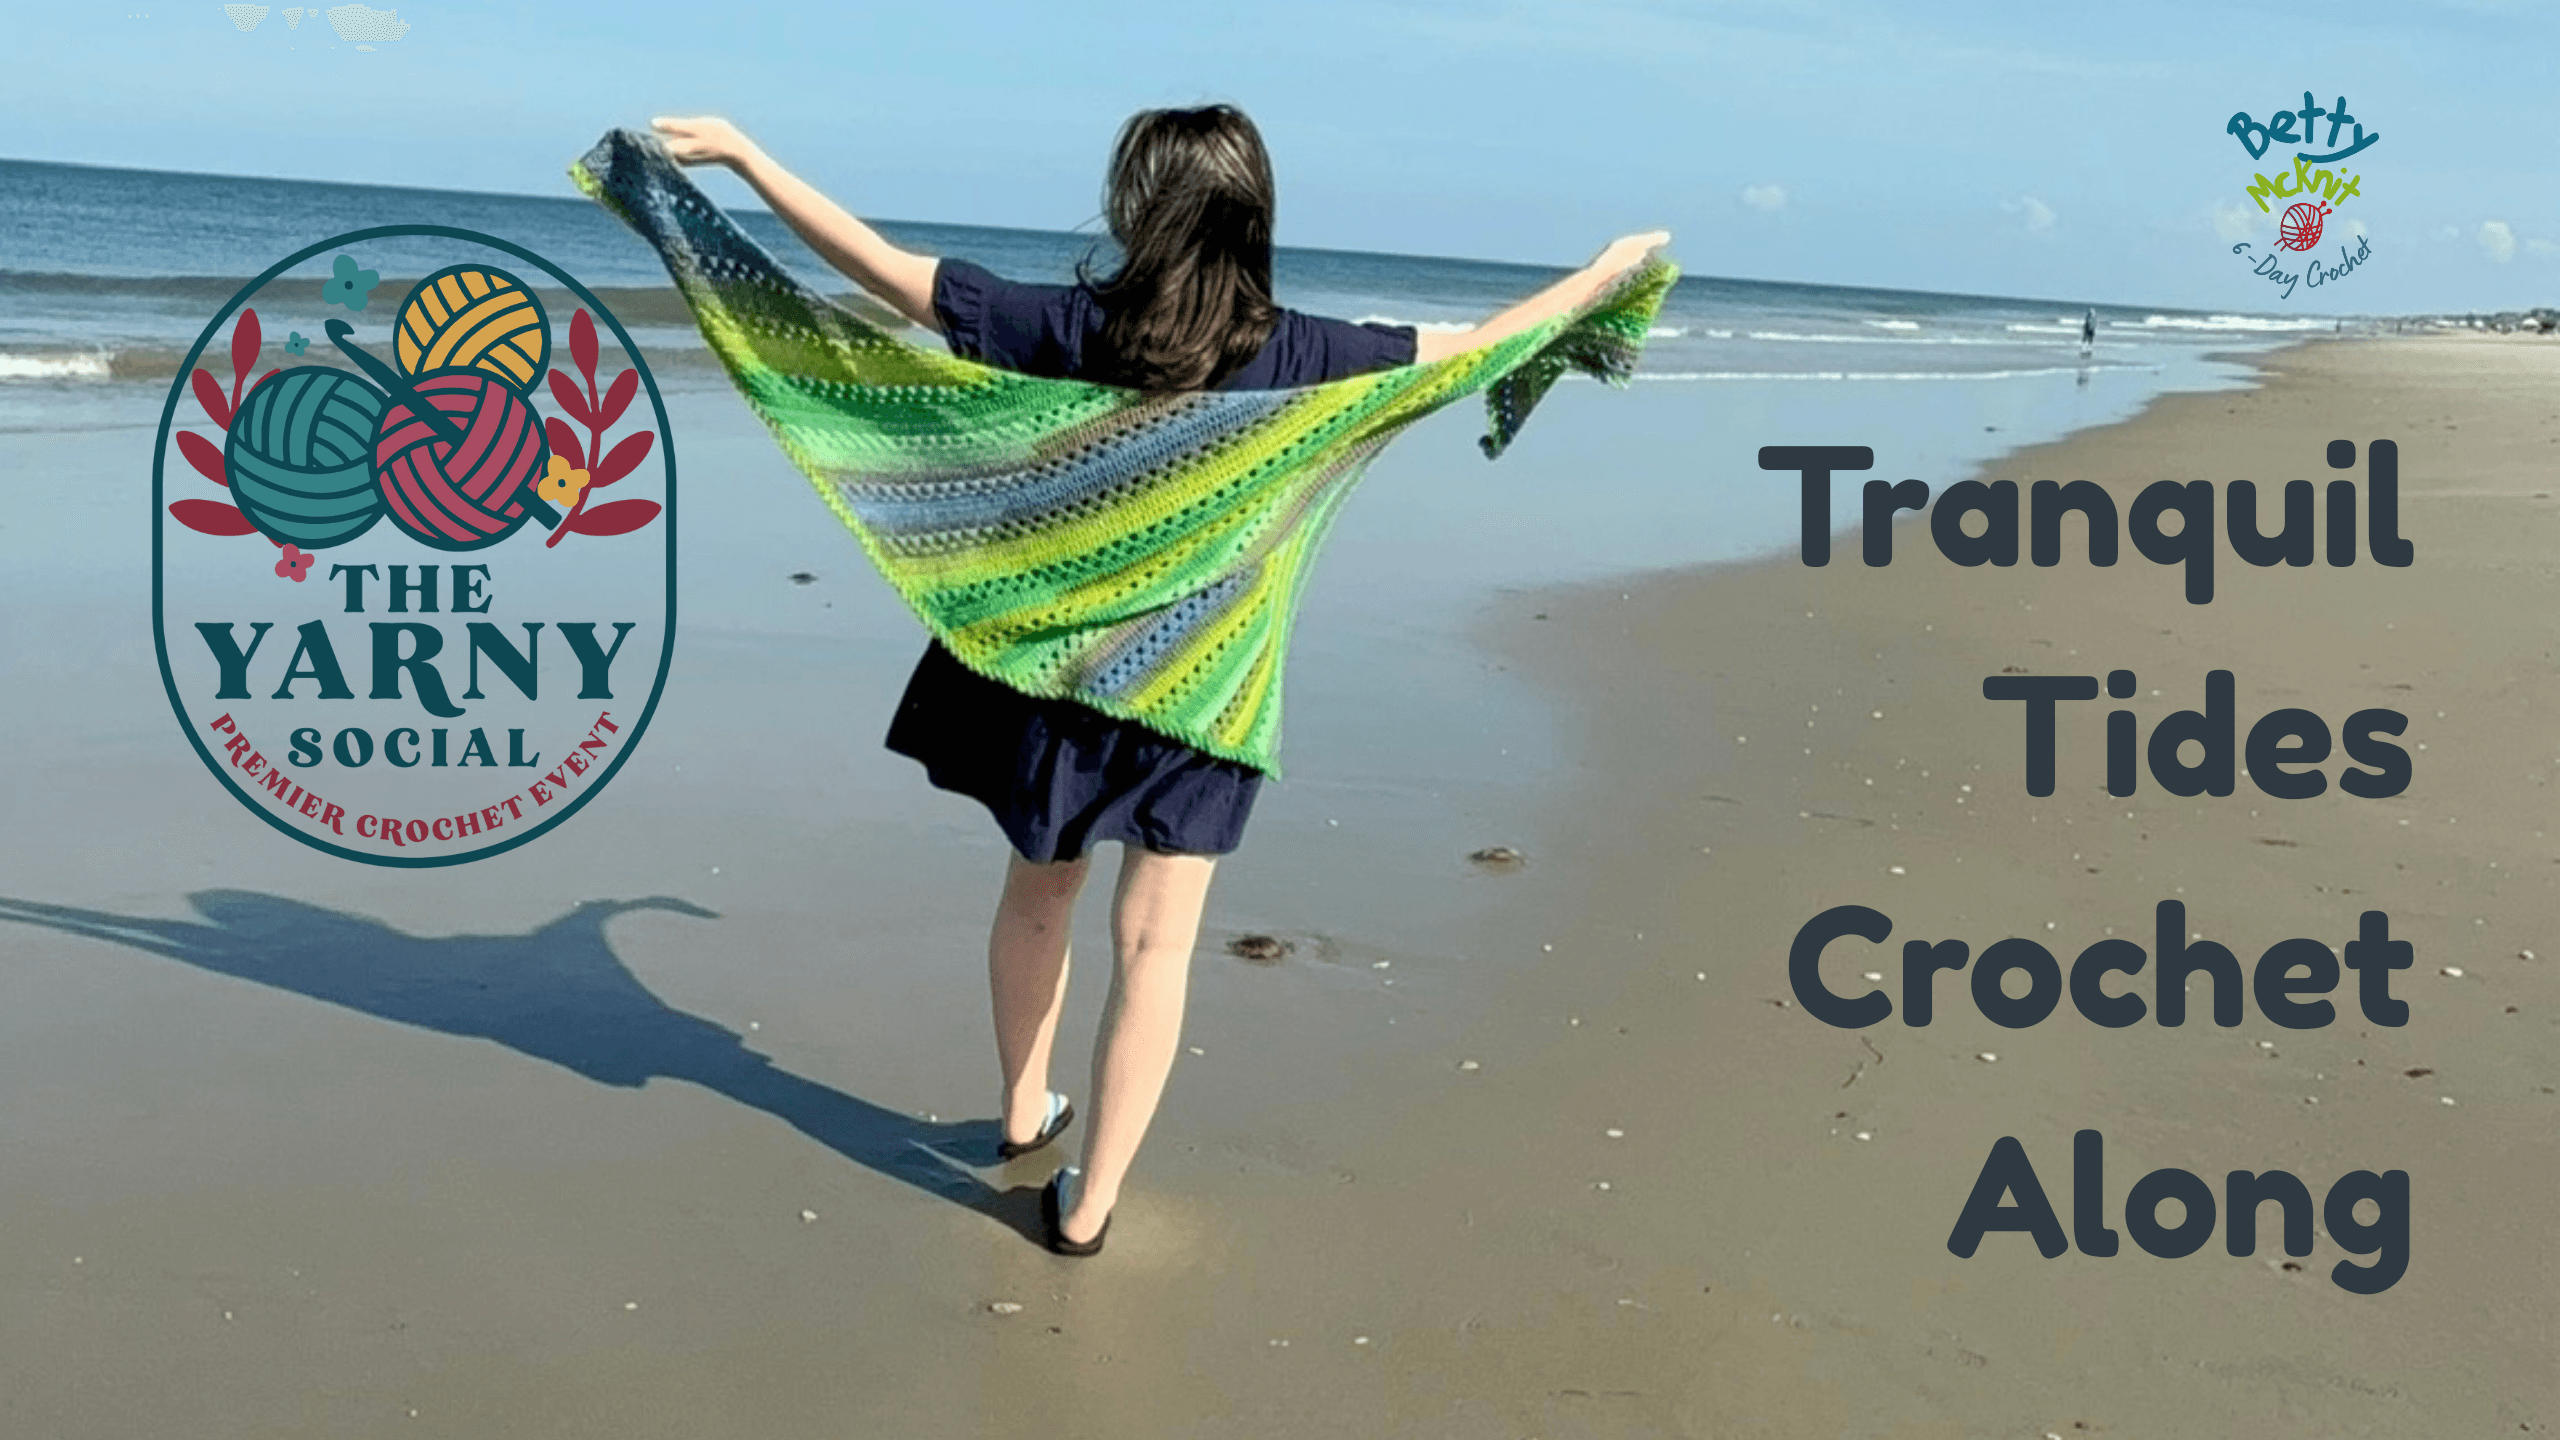
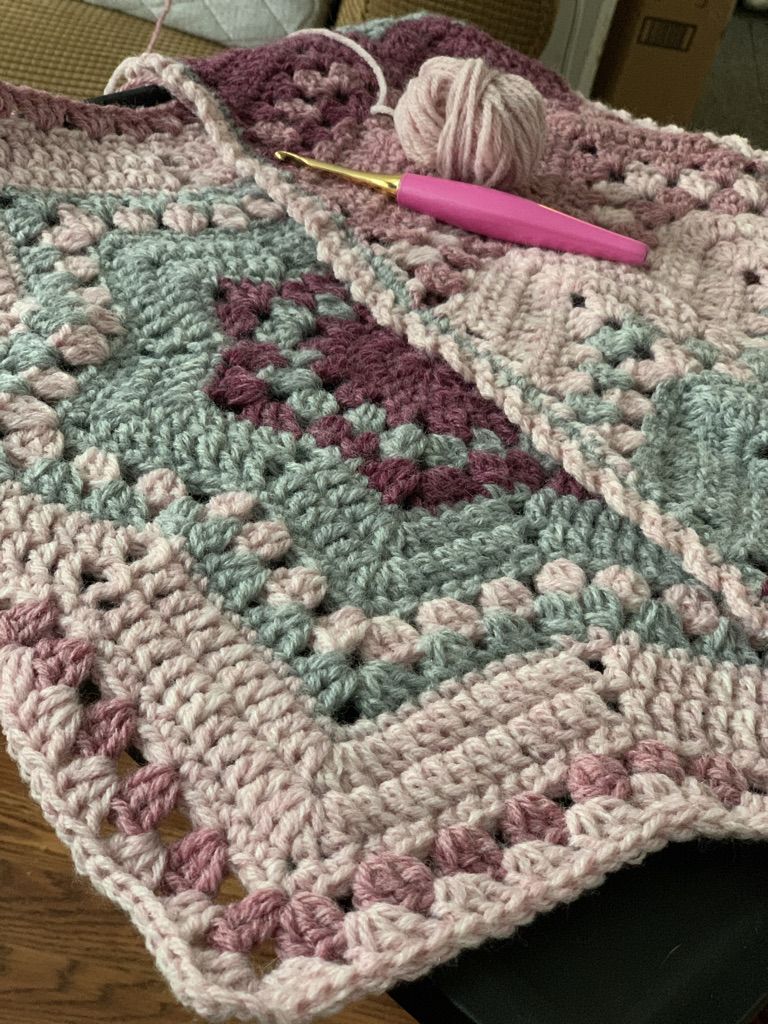
6-Day Sweetheart Star Blanket
A variation of the classic crochet pattern the
6-Day Kid Blanket by Betty McKnit
Striped in the Australian Confetti Effect created by Glynis
aka OldBoiler Robo.
Be sure to also try the 6-Day Sweetheart Blanket!
This pattern contains affiliate links. If you click these links and buy something on the page they take you to, I may, at no additional cost to you, earn a commission. I only affiliate with products and companies I feel good about. Thank you for your support!
Introduction
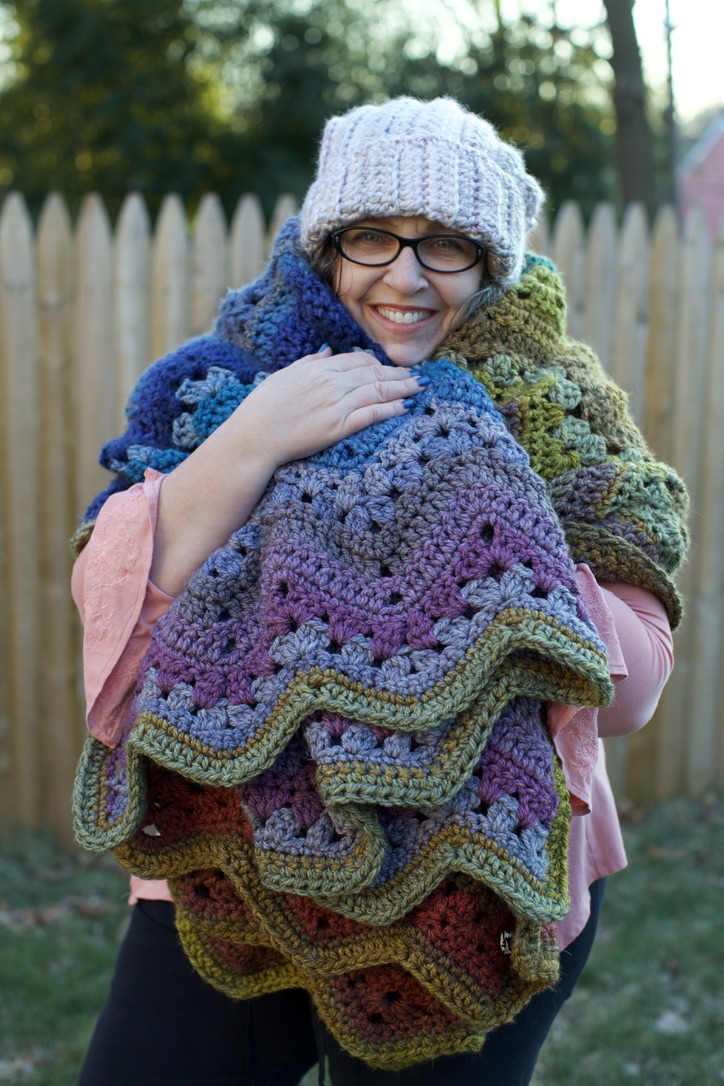
This variation of the classic 6-Day Star Blanket works from the center out into the shape of a seven-pointed star. It utilizes the striping effect known as Australian Confetti, created by Glynis Robertson, aka Oldboiler Robo. Glynis was inspired by the crochet pattern Confetti Waves designed Kate Rowell.
Details
Skill Level: Easy
Gauge:
Finished Size: This pattern is adaptable and can be made in four or more colors of any yarn and you can continue to grow it as big as you want.
Approximate yardage for 2 common sizes and weights:
For DK or #3 weight yarn you will need approximately 1200 yards for a 40” baby blanket and 2000 yards for a 60” throw-sized blanket.
For Worsted or #4 weight yarn you will need approximately 1000 yards for a 40” baby blanket and 2400 yards for a 60” throw-sized blanket.
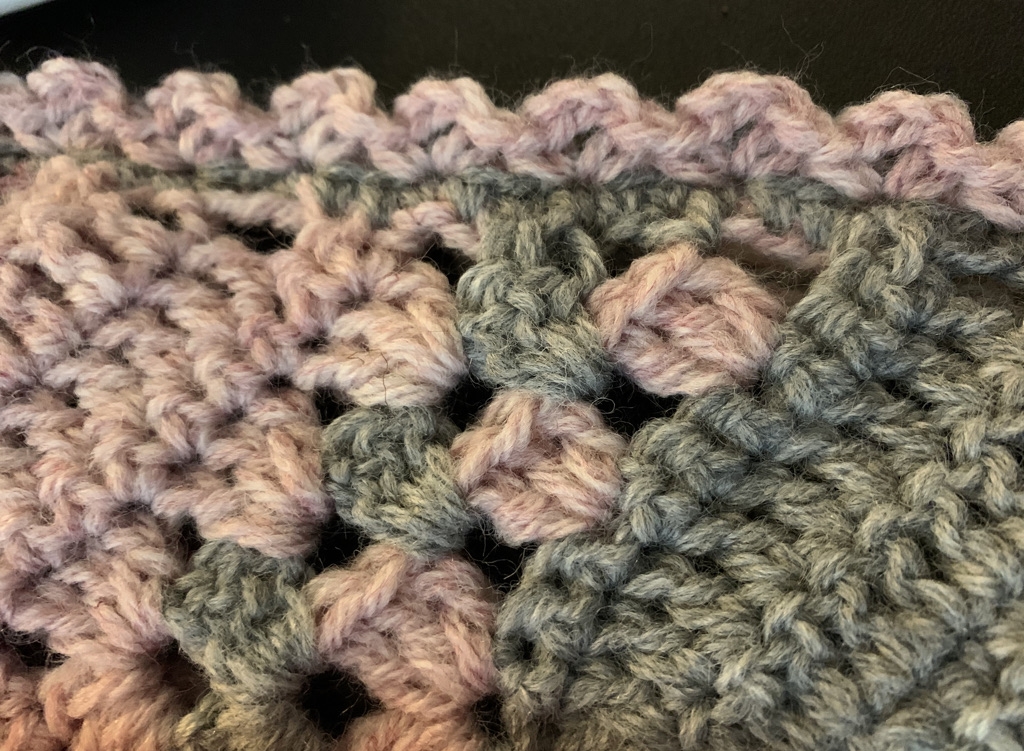
Yarn: 1200 – 2400 total yards total of #4 worsted weight yarn in four colors
Shown in Lion Brand Woolease, 200-600 yards (2-3 skeins) of each of the following colors:
Color A: Grey Heather
Color B: Blush Heather
Colors C: Rose Heather
Color D: Dark Rose Heather
Hook: Furls Odyssey H/5.0mm and I/5.5mm hook
About your hook size:
Hooks: test crocheters have found that we needed a slightly larger hook than we would normally use to avoid curling. Most worked the #3 weight with an H or 5 mm hook, and the worsted with a K or 6.5 mm hook.
I suggest starting with the hook size suggested on the yarn label, and have two larger hooks on hand, .5mm and 1mm larger than the recommended hook. Start with the smallest hook and if the points of your star begin to curl in the startup rows, increase your hook by 5mm. I’ve worked my blankets generally starting .5mm above the recommended size and moving up to 1mm. Lay your blanket down after each round and make sure it is laying flat. It’s usually okay to increase your hook size after the first round in which you experience curling without ripping back. Check out all of these tips for yourself and lay your work down often and “admire it.”
About the row numbers:
In order to provide consistency across all of the 6DKB pattern variations, I’ve numbered the rows to correspond to the original 6-Day Kid Blanket pattern. The cluster rows are always Row or Round 2 and 3, the dc rows are always Row or Round 5 and 6, and the sc rows are always Row or Round 4 and 7. This makes it easy to adapt any pattern to the Snowflake Effect, Half Snowflake, Popsicle, or the original Vivid Chevrons.
You will be guided to work the rows in the proper order; don’t let the numbers throw you off or overthink a change in the sequence. You’ll proceed from Setup Row 9 to Row 2. Trust the pattern, it works!
Joining the rounds:
Take care that you do not create extra stitches when you join your rounds, especially the sc rounds. See my YouTube Channel for a tutorial video guiding you to use stitch markers at the start of the sc rounds.
 Abbreviations
ch: chain
dc: double crochet
dc2tog: double crochet 2 together cluster
dc3tog: double crochet 3 together cluster
rsc: reverse single crochet
sc: single crochet
sl st: slip stitch
sp(s): space or spaces
st(s): stitch(es)
Special Stitches:
dc2tog (cluster) – this stitch is a cluster, not a decrease. It is worked as follows: yo, pull up a loop, pull through two loops, yo, pull up a loop IN THE SAME STITCH/SPACE, pull through two loops, yo and pull through all loops on the hook. dc2tog complete.
dc3tog (cluster) – this stitch is a cluster, not a decrease. It is worked as follows: yo, pull up a loop, pull through two loops, *yo, pull up a loop IN THE SAME STITCH/SPACE, pull through two loops, repeat from *, yo and pull through all loops on the hook. dc3tog complete.
Begin
With Color D, Ch 4, join with sl st to form a ring.
Set-up Round 1: ch 3 (counts as 1 dc), 13 dc into ring. Join with sl st to top of ch 3. (14 dc total)
Set-up Round 2: ch 3, dc in same st. 2 dc in each st around. Join with sl st to top of ch 3. (28 dc total)
Set-up Round 3: ch 3, dc, *ch 3, 2 dc, ch 1, 2 dc, repeat from * ending with ch 1, join with sl st to top of ch 3. (28 dc with 7 ch 3 sps and 7 ch 1 sps)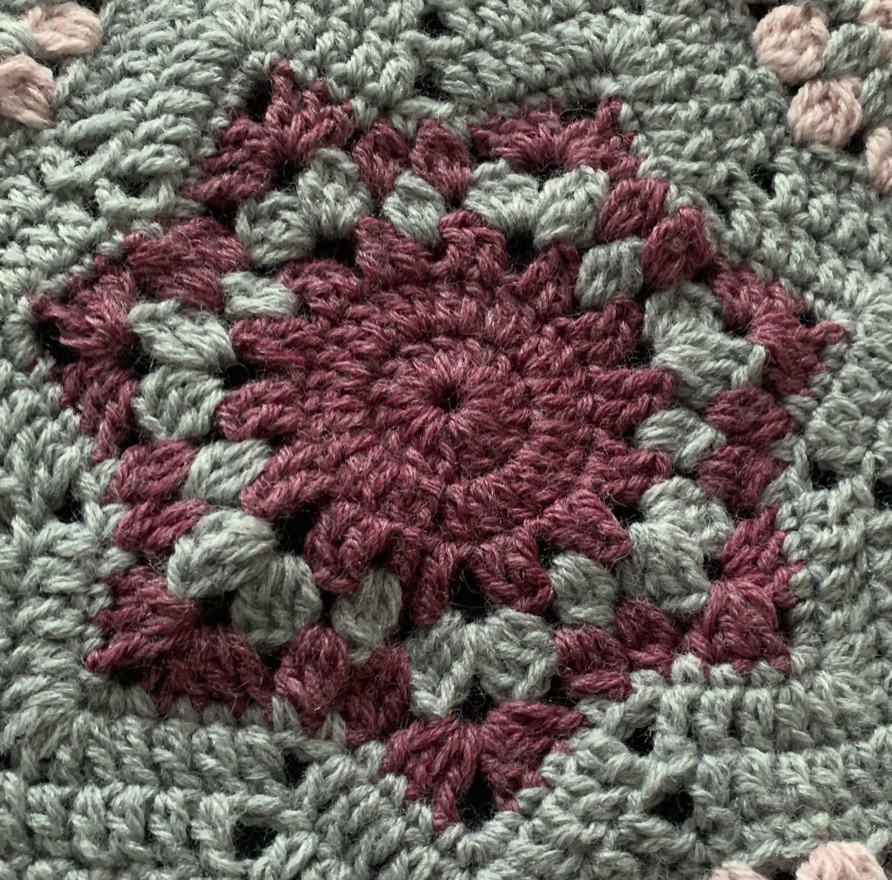
Change to Color A
*OPTIONAL: When changing colors, fasten off the old color. Rotate the work and begin the next color with a standing stitch in a different valley.*
Set-up Round 4: sl st in next dc and ch 3 sp, [ch 3, 2 dc, ch 3, 3 dc] in same sp. *dc3tog in ch 1 sp, [3 dc, ch 3, 3dc] in ch 3 sp, repeat from *, dc3tog in last ch 1 sp, join with sl st to top of ch 3.
Change to Color D
Set-up Round 5: sl st into the gap just below your hook (between the dc3tog and the 3 dc), [ch 2, dc2tog] in same sp, *[3 dc, ch 3, 3dc] in ch 3 sp, dc3tog in next 2 sps, repeat from * to last sp, dc3tog, join with sl st to top of dc cluster (be sure to join in the top of the cluster and not to the ch 2).
Change to Color A
Set-up Round 6: ch 1, sc in same st, sc in each st around, working 3 sc in ch 3 sps. Join with sl st to first sc (be sure to join to the top of the sc and not the sl st. You should have 4 sc on each side of the peak and 3 sc in each ch 3 sp).
Set-up Round 7: sl st in next st. ch 3, 3 dc, *[5 dc in center sc from row below], 4 dc, sk 2, 4 dc, repeat from *, 4 dc, join with sl st to top of ch 3.
Set up Round 8: sl st in next dc, ch 3, 4 dc, *[5 dc in center dc from row below], 5 dc, sk 2, 5 dc, repeat from *, 5 dc, join with sl st to top of ch 3.
Setup Round 9: ch 1, sc in same st and each st around, making 4 sc in each center of 5 dc from the row below. (Since we are working on all right sides and not turning, the top of the center dc is above and slightly to the right of the center stitch). Join with sl st to first sc. (You should have 7 sc on each side of the peak and 4 sc in each center dc st).
In order to make the row numbers correspond to the original 6-Day Kid Blanket row numbers, we are calling the next row Round 2. Round 2 corresponds to 6DKB row 2, and Round 3 to 6DKB Row 3, etc.
Proceed to Round 2.
Change to Color B
Round 2: ch 2, dc2tog cluster in same st, *[sk 2, 3 dc in next st], repeat from * to top of the mountain, [3dc, ch 3, 3 dc] in third of 4 sc from row below, **[sk 2, 3 dc in next st], repeat from ** making last 3dc in the third sc from the valley, sk 2, dc3tog in the center valley st, repeat from *, Join with sl st to top of starting dc2tog.
Change to Color A
Round 3: sl st in next sp, ch 2, dc2tog in same sp, *3 dc in next sp, repeat from * to top of the mountain, [3dc, ch 3, 3 dc] in ch 3 sp, **3 dc in next sp, repeat to the valley, dc3tog in sps before and after the dc3tog in the row below, repeat from *, join with sl st to first dc2tog.
Change to Color B
Round 4: ch 1, sc in same st, sc in each st around, working 3 sc in ch 3 sps. Join w sl st to first sc. (You should have 10 (16, 22, 28…) sc on each side of the peak and 3 sc in each ch 3 sp).
On subsequent sc rounds, the number of scs on either side of the mountain will increase by 6. The numbers in parenthesis show the number of scs on each subsequent repeat of the pattern.
Round 5: sl st in next st. Ch 3, 9 (15, 21, 27, etc.) dc, *[5 dc in center sc from row below], 10 (16, 22, 28, etc.), dc, sk 2, 10 dc, repeat from *, 10 dc, join with sl st to top of ch 3.
Round 6: sl st in next st. Ch 3, 10 (16, 22, 28, etc.) dc, *[5 dc in center dc from row below], 11(17, 23, 29, etc.) dc, sk 2, 11 dc, repeat from *, 10 dc, join with sl st to top of ch 3.
On subsequent rounds 5 and 6, the number of dcs on either side of the mountain will increase by 6. The numbers in parenthesis show the number of dcs on each subsequent repeat of the pattern.
Round 7: ch 1, sc in same st and each st around, making 4 sc in each center of 5 dc from the row below. (Since we are working on all right sides and not turning, the top of the center dc is above and slightly to the right of the center stitch). Join with sl st to first sc. (You should have 13(19, 25, 31, etc.) sc on each side of the peak and 4 sc in each center dc st).
Change to Color C
Repeat Rounds 2-7 changing to the next color in the sequence before Round 2, and working Round 3 in the previous color in the sequence.
Work approximately 3 repeats for baby blanket size, 5 repeats for a throw size, or continue as long as you like, ending on round 7.
Border
Join color B at any stitch on the side of any peak, * (sc, ch 2 sc) in same st, sk 2 repeat from * around. Adjust the number of stitches skipped so that (sc, ch 2, sc) lands on the points, and the sk 2 is worked in the valleys.
Fasten off. Weave in all ends.
————————
Thank you to Glynis aka Oldboiler Robo, who came up with this beautiful and creative 6DKB variation, Australian Confetti.
Join us in the 6-Day Kid Blanket Facebook Group for help with this pattern and to show off your finished creations. Be sure to tag @bettymcknit in your social media posts
Video tutorials available on my YouTube Channel.
This pattern contains affiliate links. If you click these links and buy something on the page they take you to, I may, at no additional cost to you, earn a commission. I only affiliate with products and companies I feel good about. Thank you for your support!
This pattern is the intellectual property of Betty McKnit/Beth Elliott, and it is protected by copyright. Publishing corrections, translations, written or video tutorials, or variations of this pattern, online or elsewhere, without written permission from the owner is a violation of copyright.
Betty McKnit (Beth McKee Elliott) is a knitting and crochet designer and teacher. She has been crocheting and knitting since she was a little girl and enjoys making and designing simple, versatile “go-to” projects that can be adapted for different yarns and sizes. Her most well-known design is the viral crochet pattern the 6-Day Kid Blanket. She promotes creativity as a joyful process and daily knitting/crochet as a mindfulness practice.
Sign up for my Newsletter
Join my Facebook Community
Become a Patron