No Two 6-Day Kid Blankets Are Alike
No Two 6-Day Kid Blankets are Alike
(and no one can make just one)
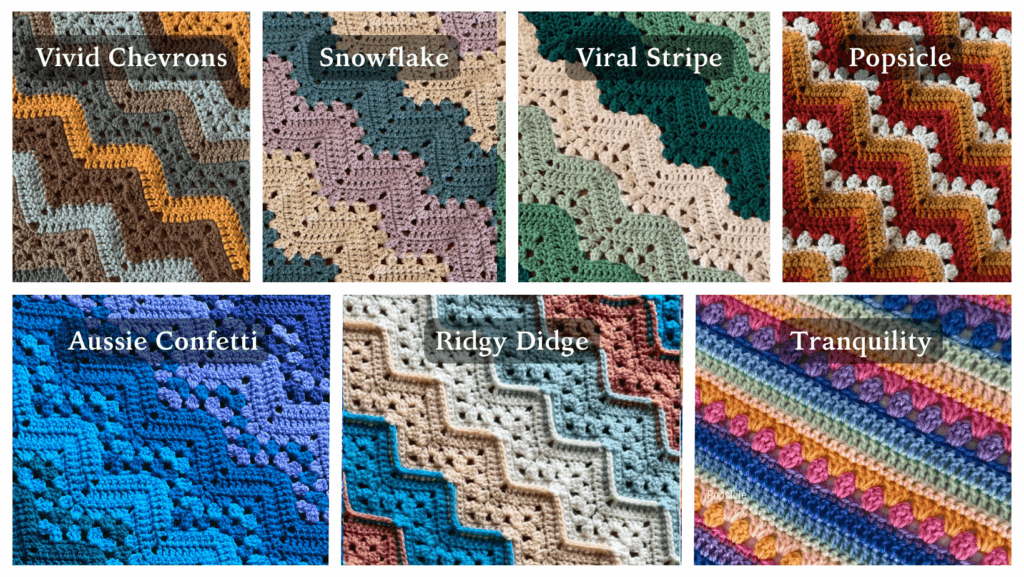
How to change colors on your 6-Day Kid Blanket to achieve the Snowflake, Viral Stripes, Australian Confetti, Popsicle Effect, Ridgy Didge, Tranquility Stripe, and of course the classic original Vivid Chevrons.
One of the best features of the 6-Day Kid Blanket crochet pattern is it’s versatility. This humble crochet blanket pattern can take on many different looks depending on how it’s striped. It’s a classic that you will make again and again.
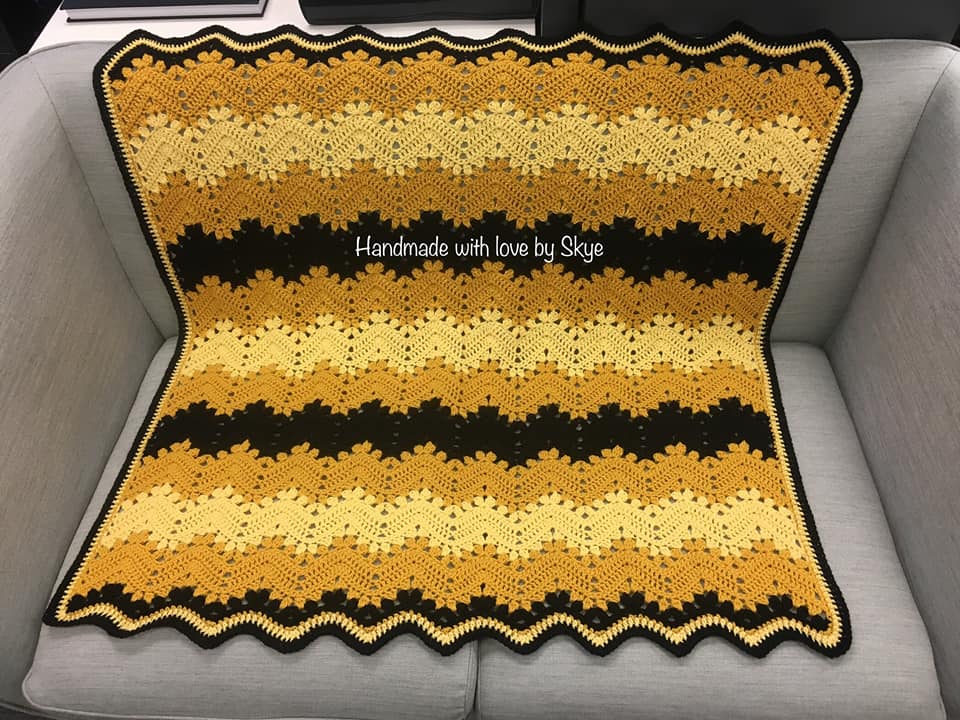
The classic original 6-Day Kid Blanket stripe is called Vivid Chevrons and consists of defined, alternating solid and double crochet cluster stripes, however there are many variations of this pattern that use different striping effects. This article explains the many striping variations for the 6-Day Kid Blanket and provides links to patterns that utilize the different stripes.
The six rows of stitches that make up the 6-Day Kid Blanket pattern have also been used to create star-shaped blankets, granny square style blankets, as well as a variety of garments and accessories. The rows/rounds of the different patterns and variations have been numbered consistently so that all of these stripes will work on any of the variations. But this article will focus on the original afghan-style chevron blanket.
Some crocheters love instructions that tell them exactly what to do. Others would never ever follow a pattern exactly (hello, yours truly!) and like to make their own creative changes to everything. If you’re the second type, you won’t need a pattern variation, you can make any of these effects by altering the original 6-Day Kid Blanket pattern.
If you need or want more precise instructions for the different stripe variations and sizes, Betty’s got you covered. Use one of my custom variations that provide exact pattern details.
Whatever your style or desire, I always recommend starting with a swatch to try out your color changes, learn the stitches, check for sizing, and make sure you are using the correct hook to get the tension and drape you want for your blanket.
Can I just make it in a solid color?
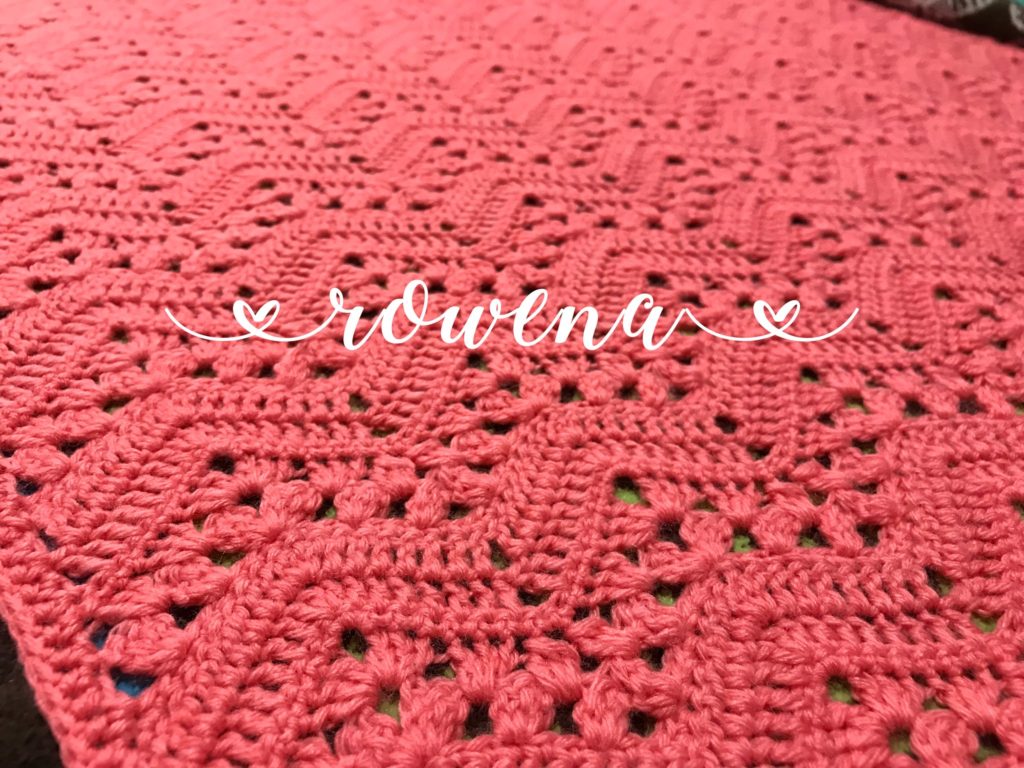
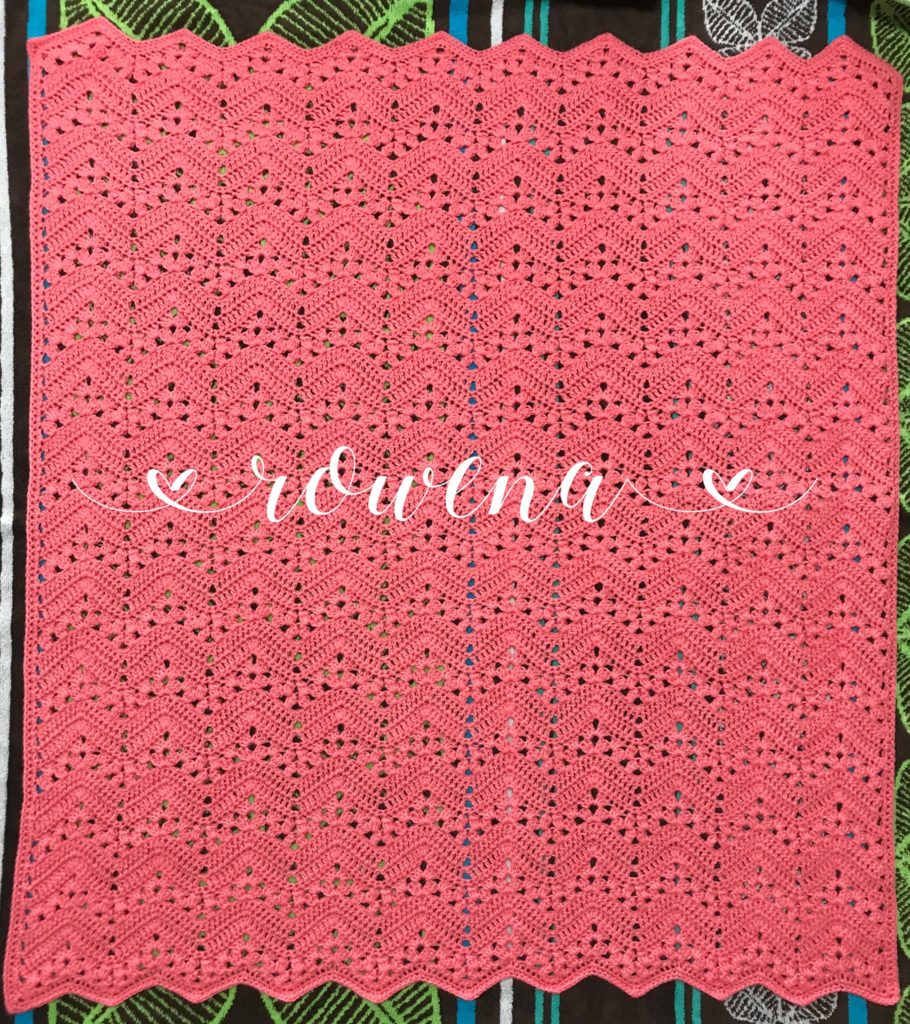
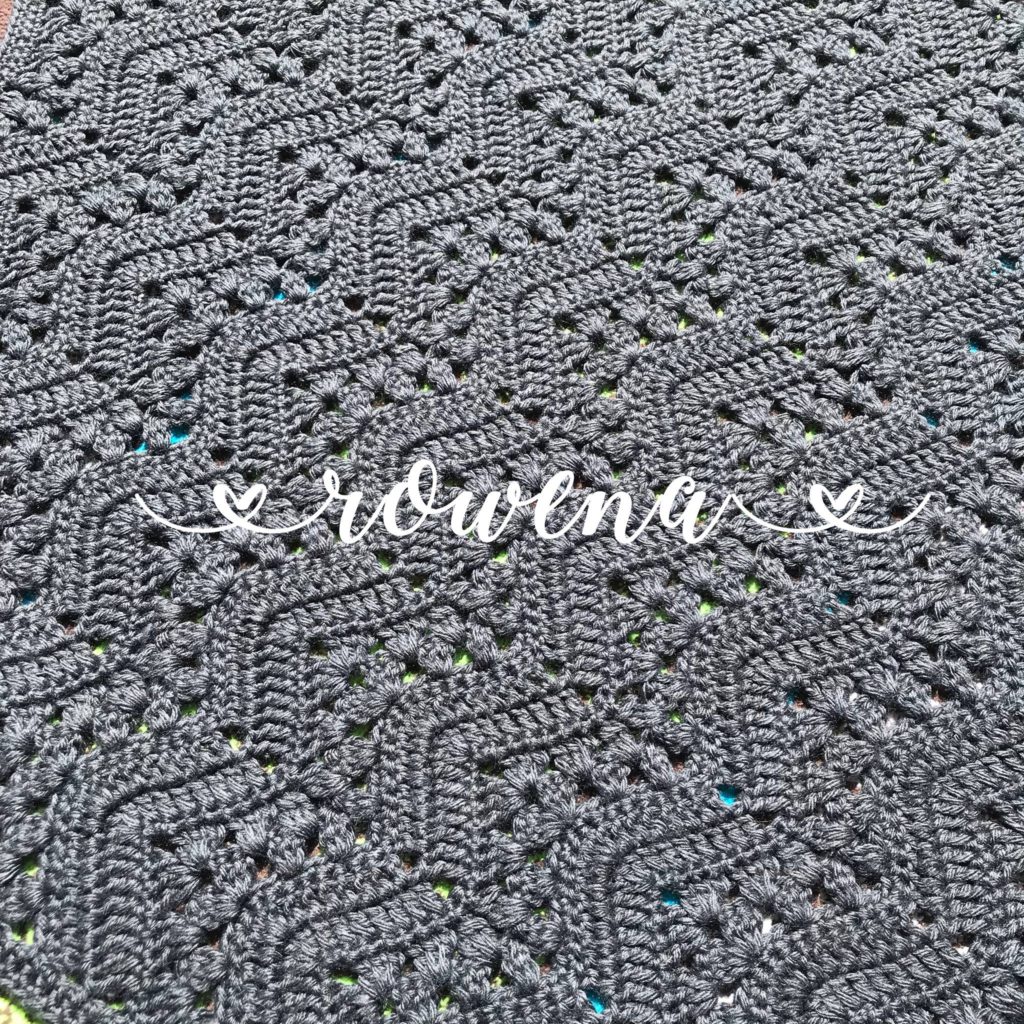
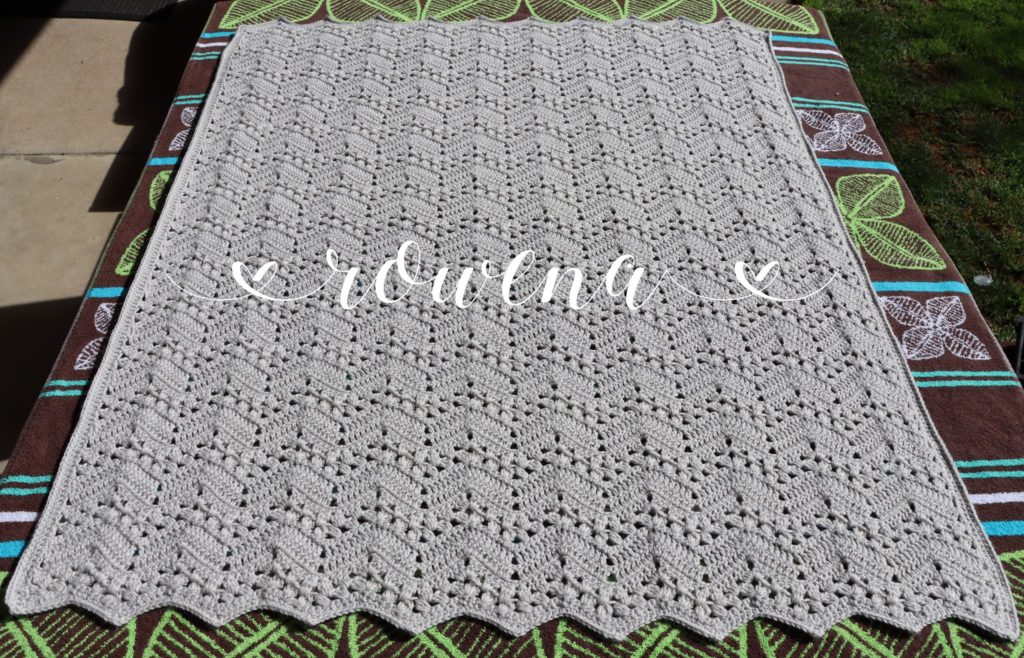
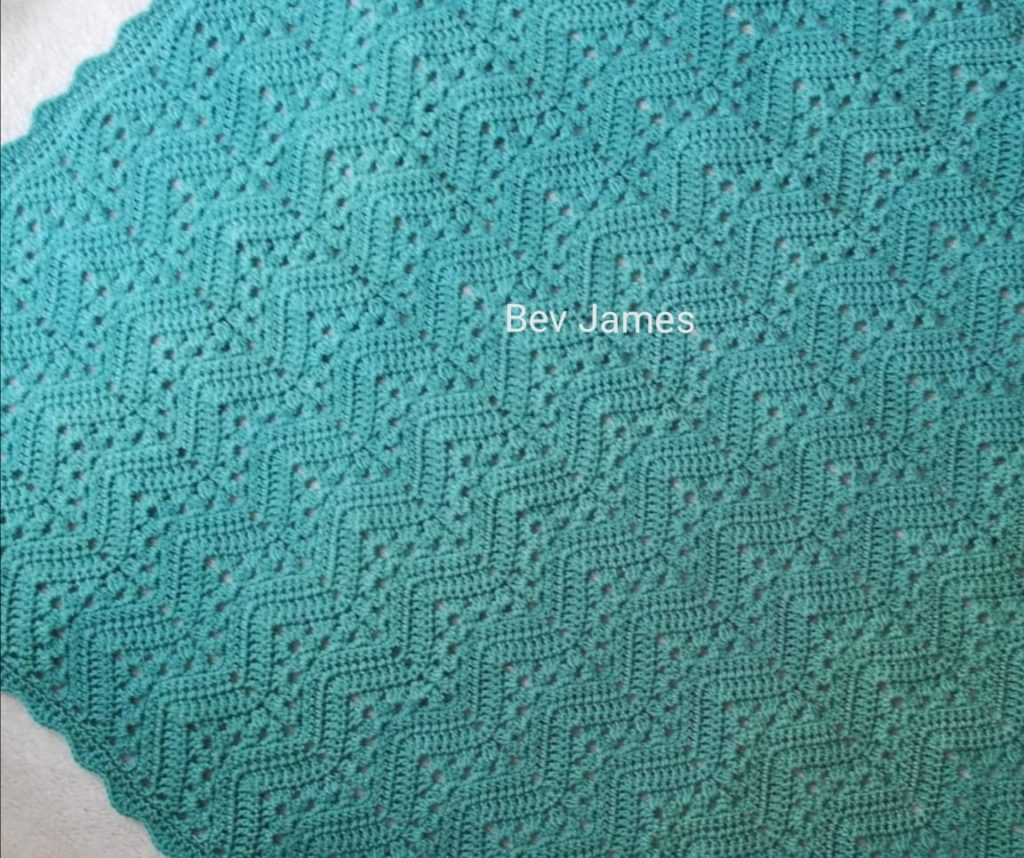
Yes! Of course you can always make your blanket in a solid color. This is a very classic and elegant option as an adult blanket, a baby blanket or a throw in any weight of yarn. Let the yarn tell the story! Honestly you don’t have to stripe at all to make a very beautiful blanket.
I love a solid 6-Day Kid Blanket. Here are a few examples:
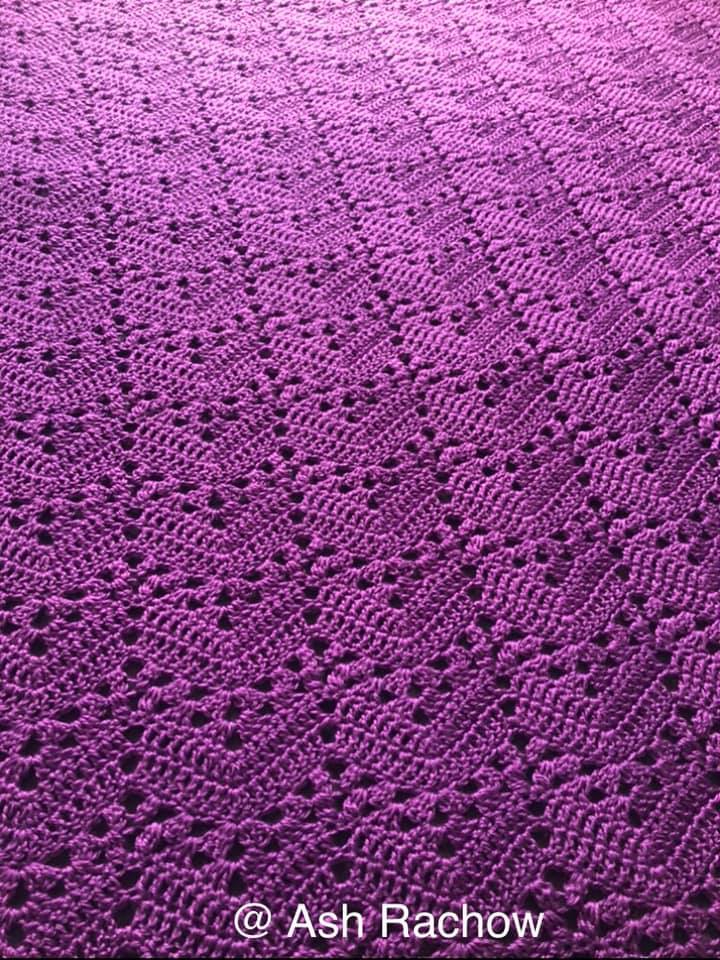
I want to take a moment right now and give you permission to try things that no one else is doing. That’s called creativity!
Can I just use cake yarn?
Yes! of course. Cake yarns were made for the 6-Day Kid Blanket. See more info and photos below.
Stripe it Good
What are all these stripes and effects?
In the 6-Day Kid Blanket community, we have come up for names for the different looks. This is not an all-inclusive list; there are lots of ways to make this blanket, and just when I think I have seen them all, some creative crocheter comes up with a new way to stripe the 6-Day Kid Blanket.
Join the 6DKB community and be inspired!
The most popular striping effects and some of the blanket patterns are as follows:
Vivid Chevrons – 6-Day Man Blanket, 6-Day Baby Boy Blanket, Betty’s Lazy Mix
The Snowflake Effect – 6-Day Snowflake Blanket, 6-Day Baby Girl Blanket
Viral Stripes – 6-Day Viral Baby Blanket, 6-Day Viral Blanket
The Popsicle Effect – 6-Day Popsicle Blanket, 6-Day Popsicle Hat
Australian Confetti– 6-Day Sweetheart Blanket, 6-Day Sweetheart Rainbow Baby Blanket
The Ridgy Didge – 6-Day Ridgy Didge Blanket, 6-Day Ridgy Didge Baby Blanket
The Tranquility Stripe – 6-Day Retro Rainbow Blanket, 6-Day Retro Rainbow Baby Blanket, 6-Day Tranquility Blanket
This article will give you an overview with some visuals. Click the links for more details, instructions, and links to patterns utilizing each striping method.
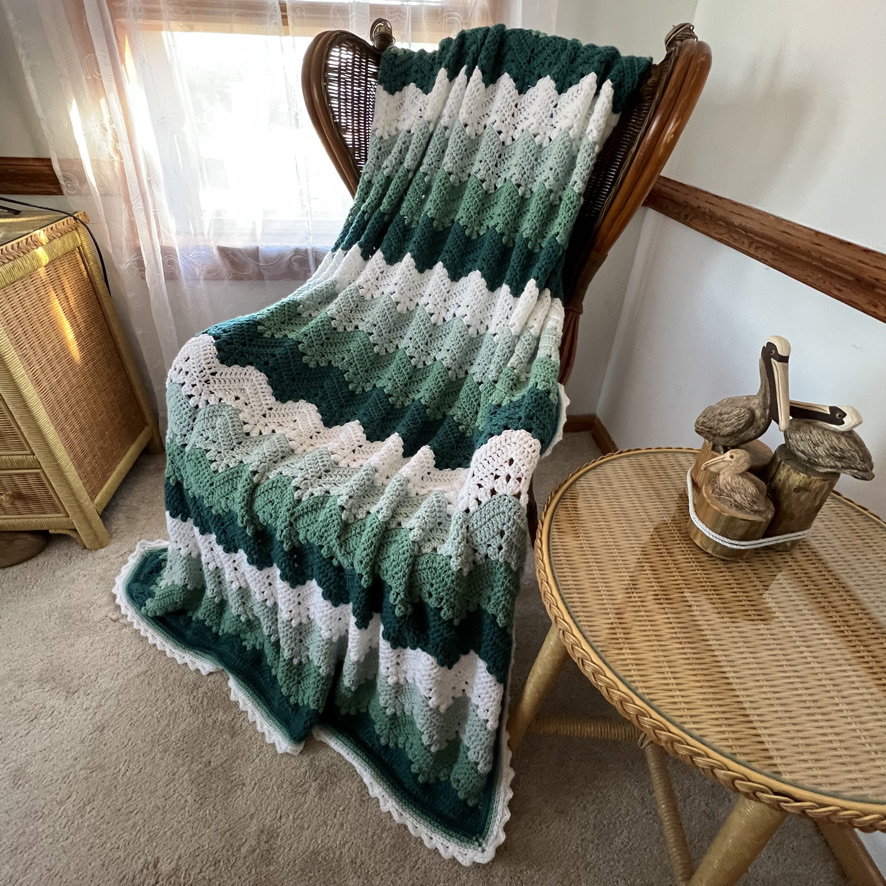
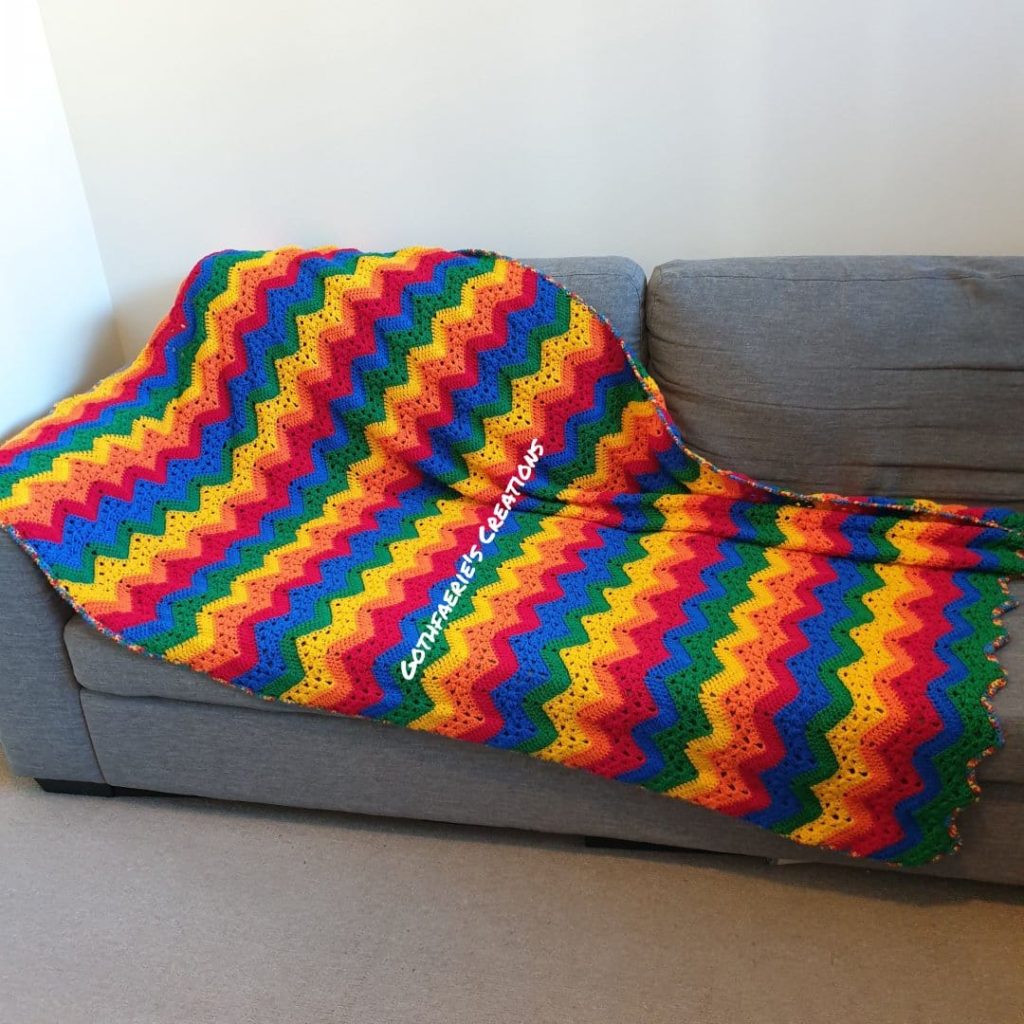
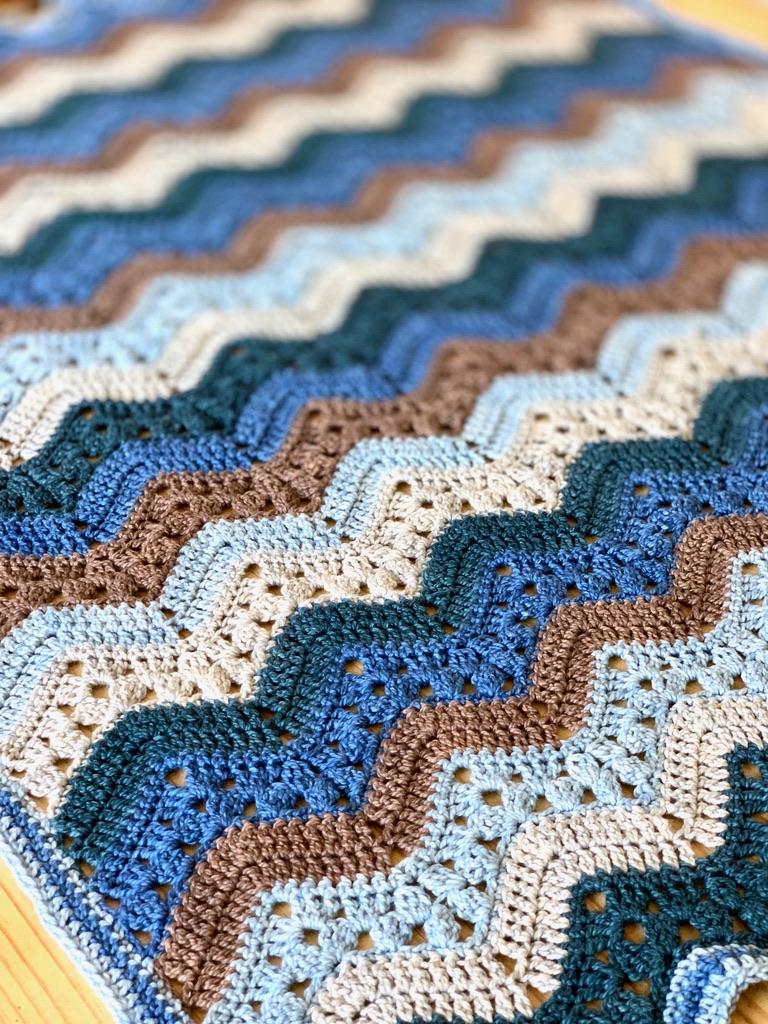
The classic original – Vivid Chevrons
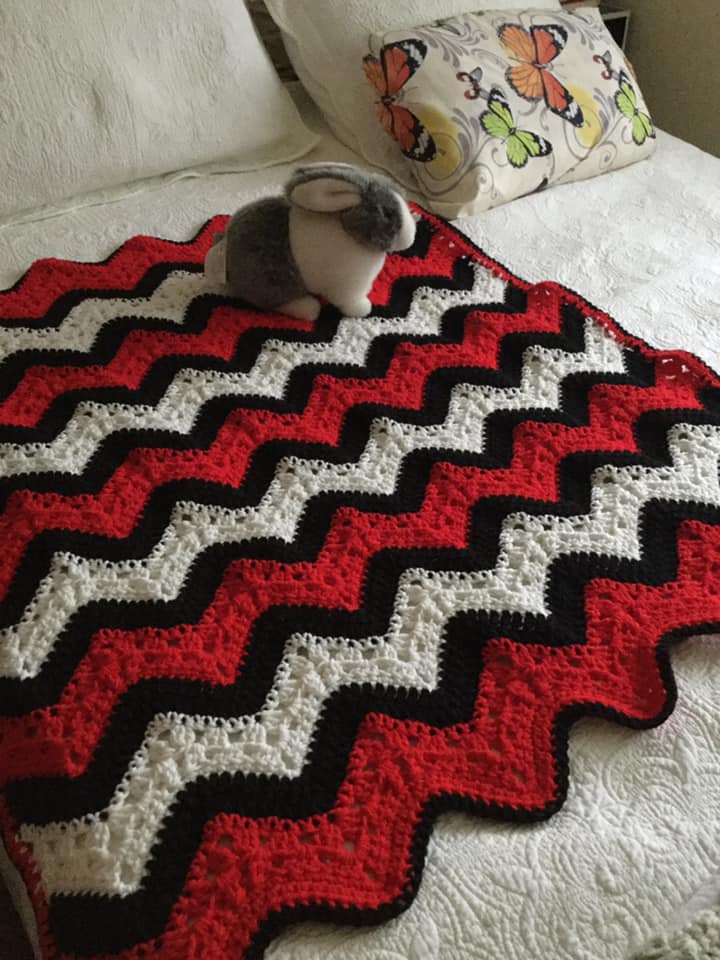
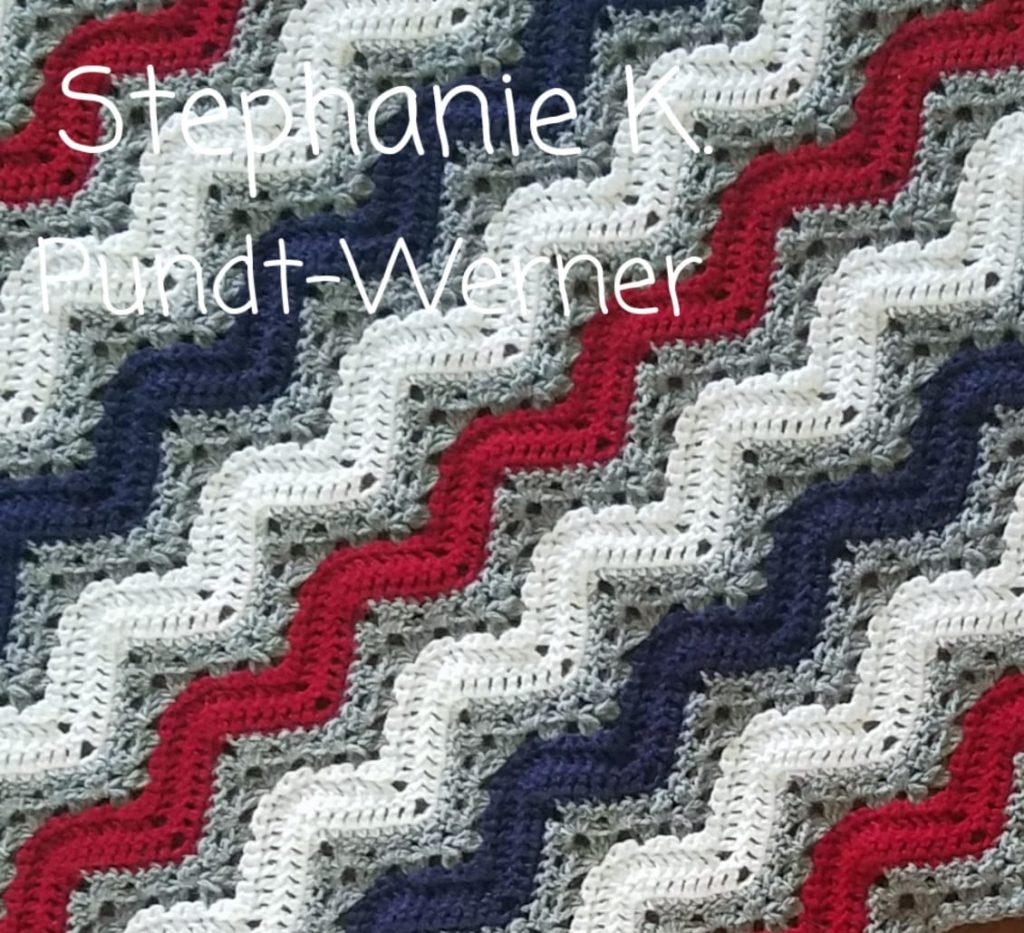
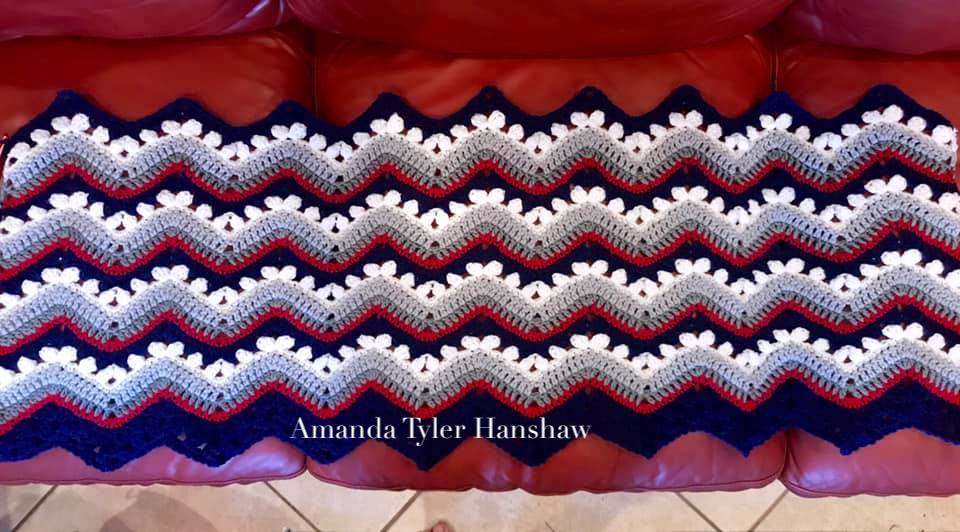
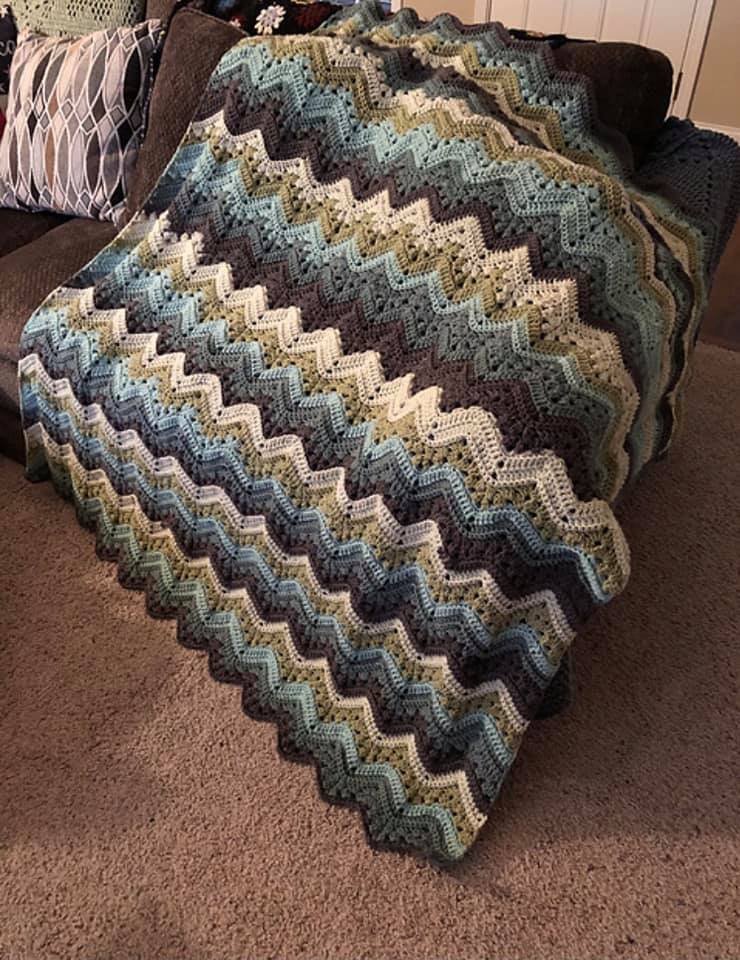
The original 6-Day Kid Blanket Pattern calls for defined color changes and striping that vividly highlights the chevron – hence the name of the stitch “Vivid Chevrons” from Jil Eaton’s classic book 200 Ripple Stitch Patterns.*
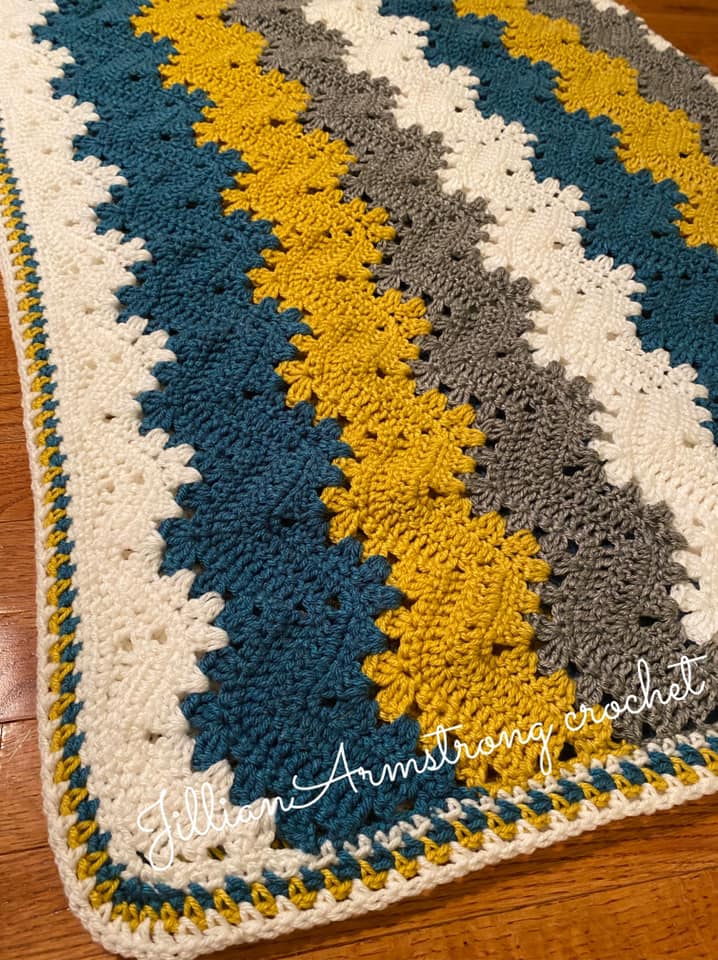
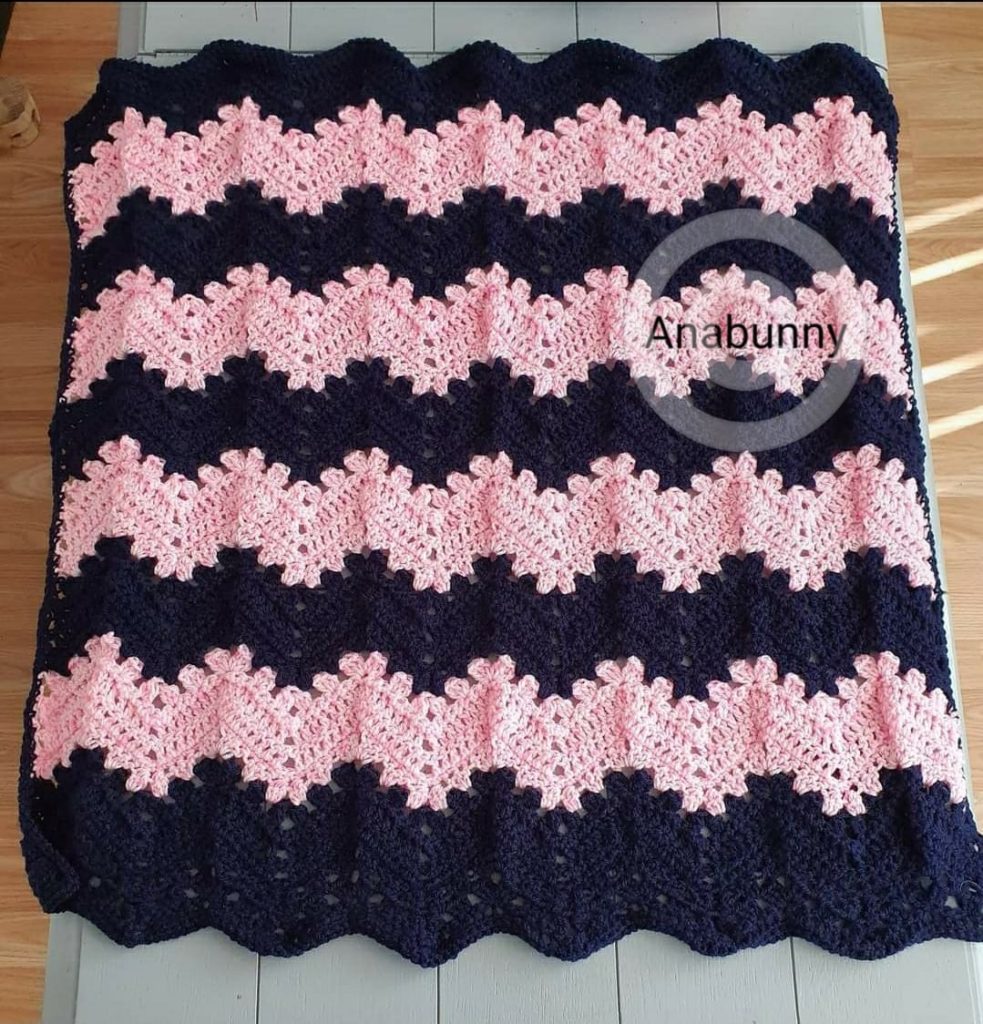
To create the Vivid Chevron look, you will change colors between rows 4 and 5, and again between rows 6 and 7. The single crochet rows are worked with the same yarn as the 3-dc group (“granny”) rows, creating definition. The double crochet rows (Rows 5 and 6) are worked in a contrasting color, and the resulting effect is solid stripes alternating with lacy, more textured chevrons.
The original 6-Day Kid Blanket pattern, 6-Day Baby Boy Blanket, and the 6-Day Man Blanket are examples of the Vivid Chevron look. Simply follow the instructions in the original pattern for color changes. You can also follow along with my YouTube videos as I go row-by-row working the original Vivid Chevron stripes.
The Snowflake Effect
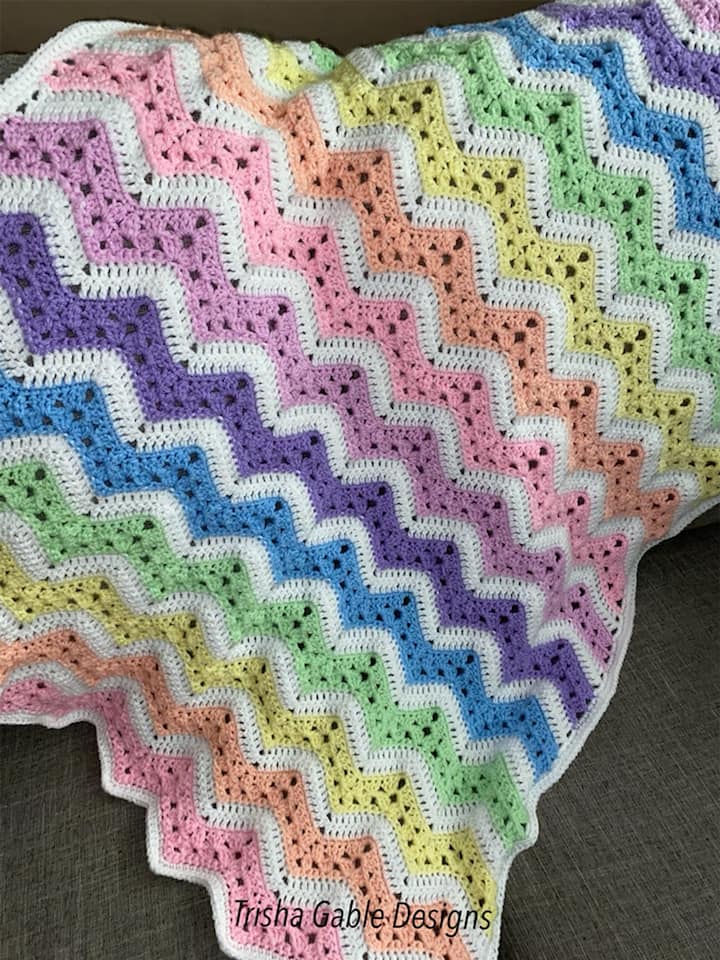
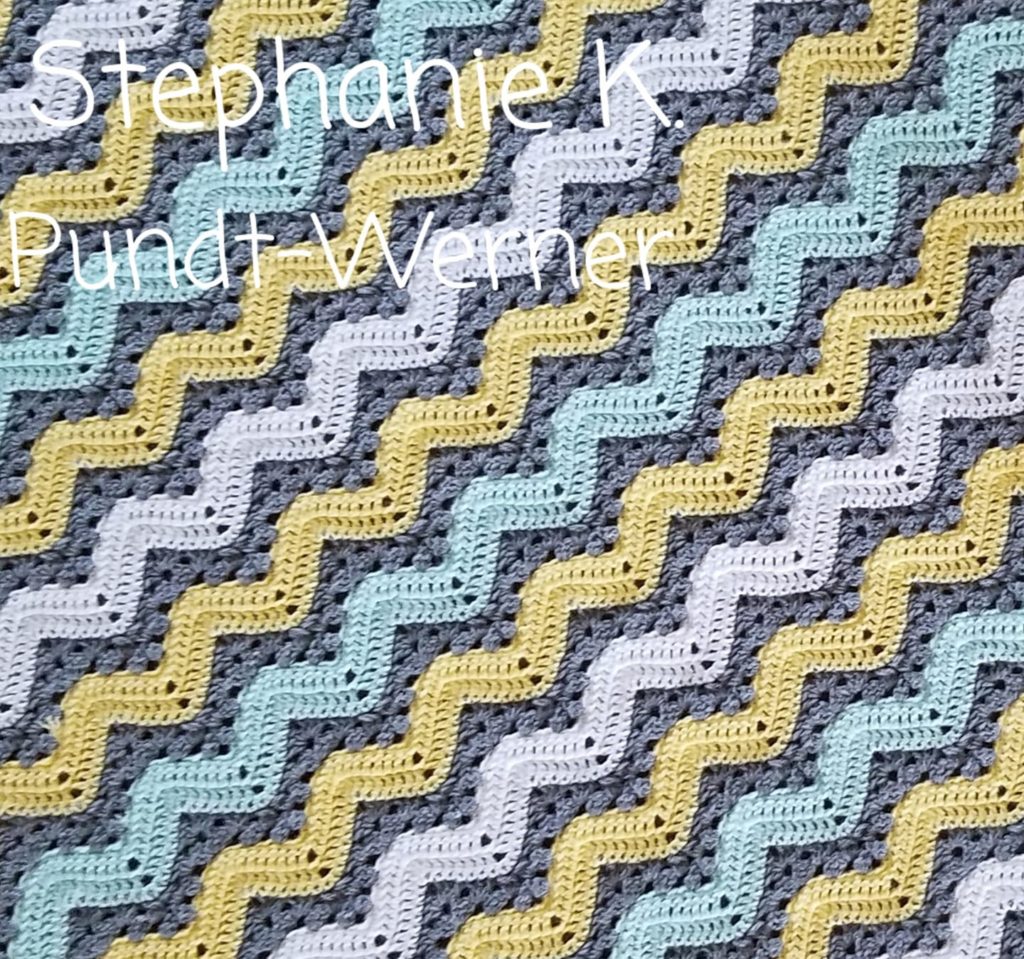
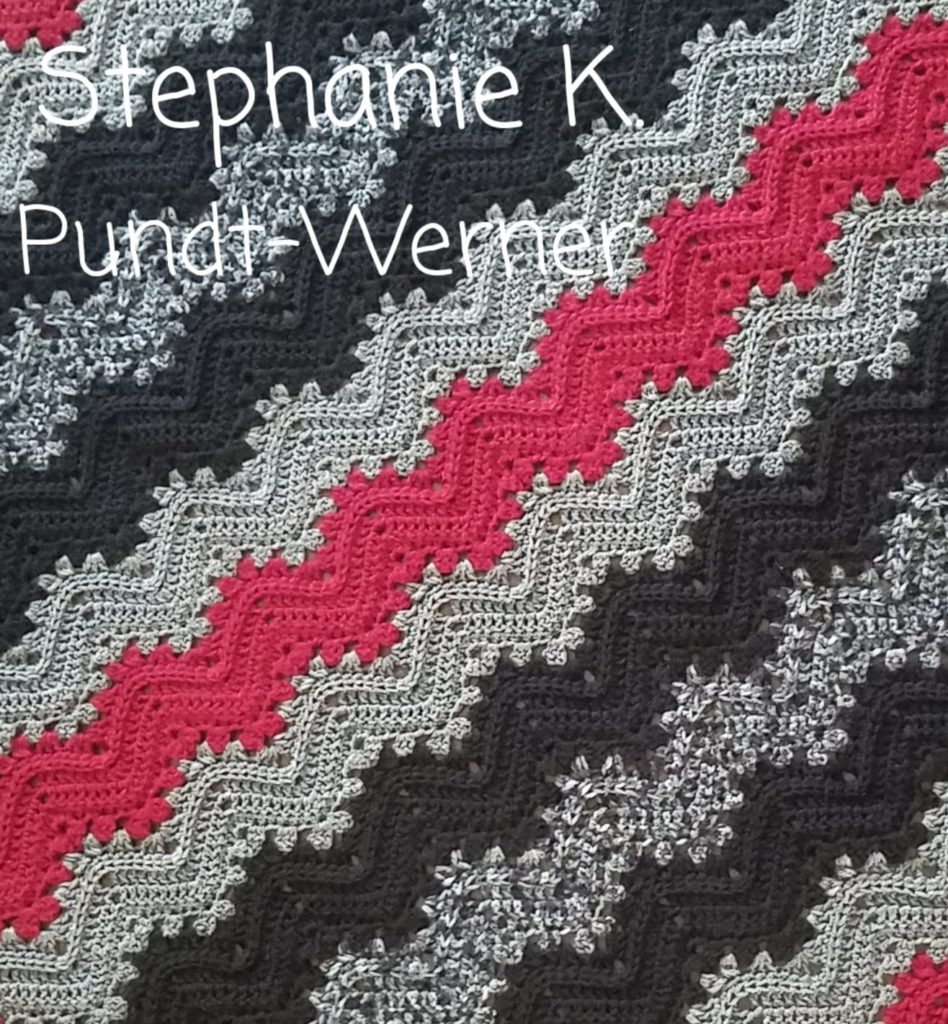
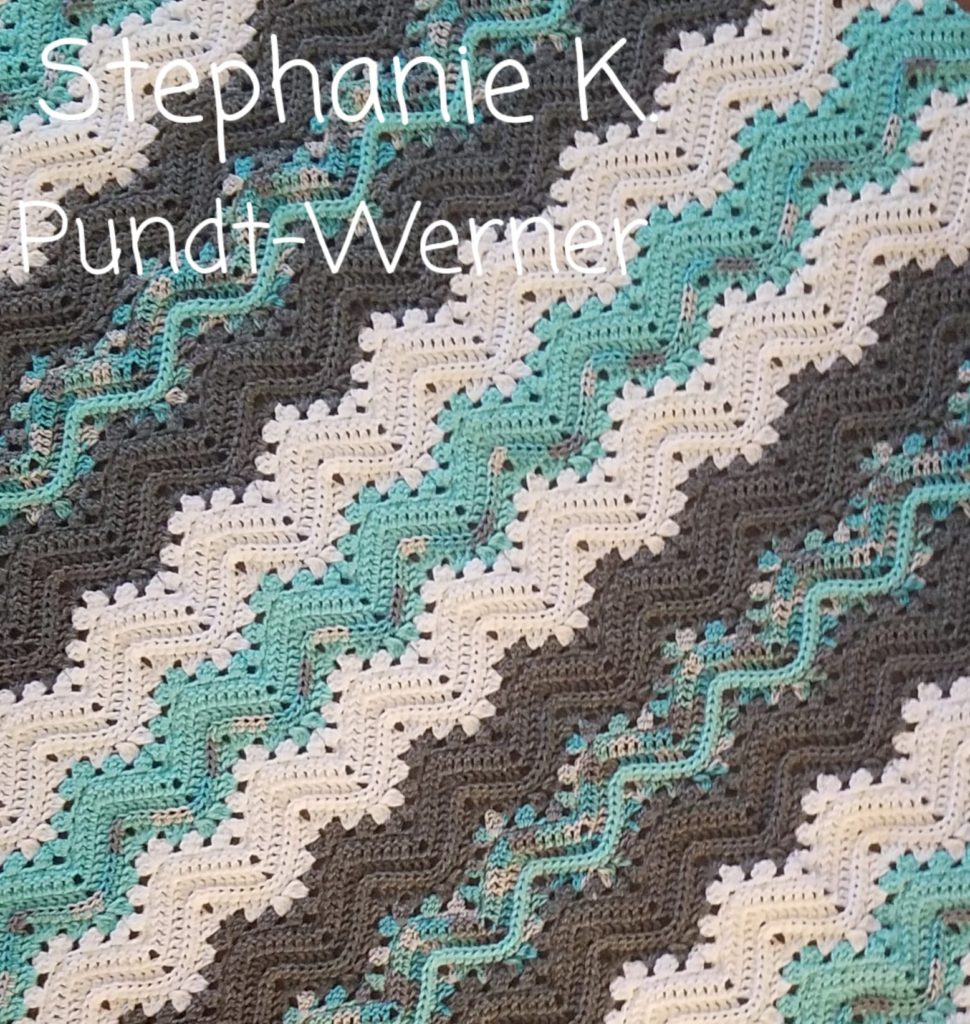
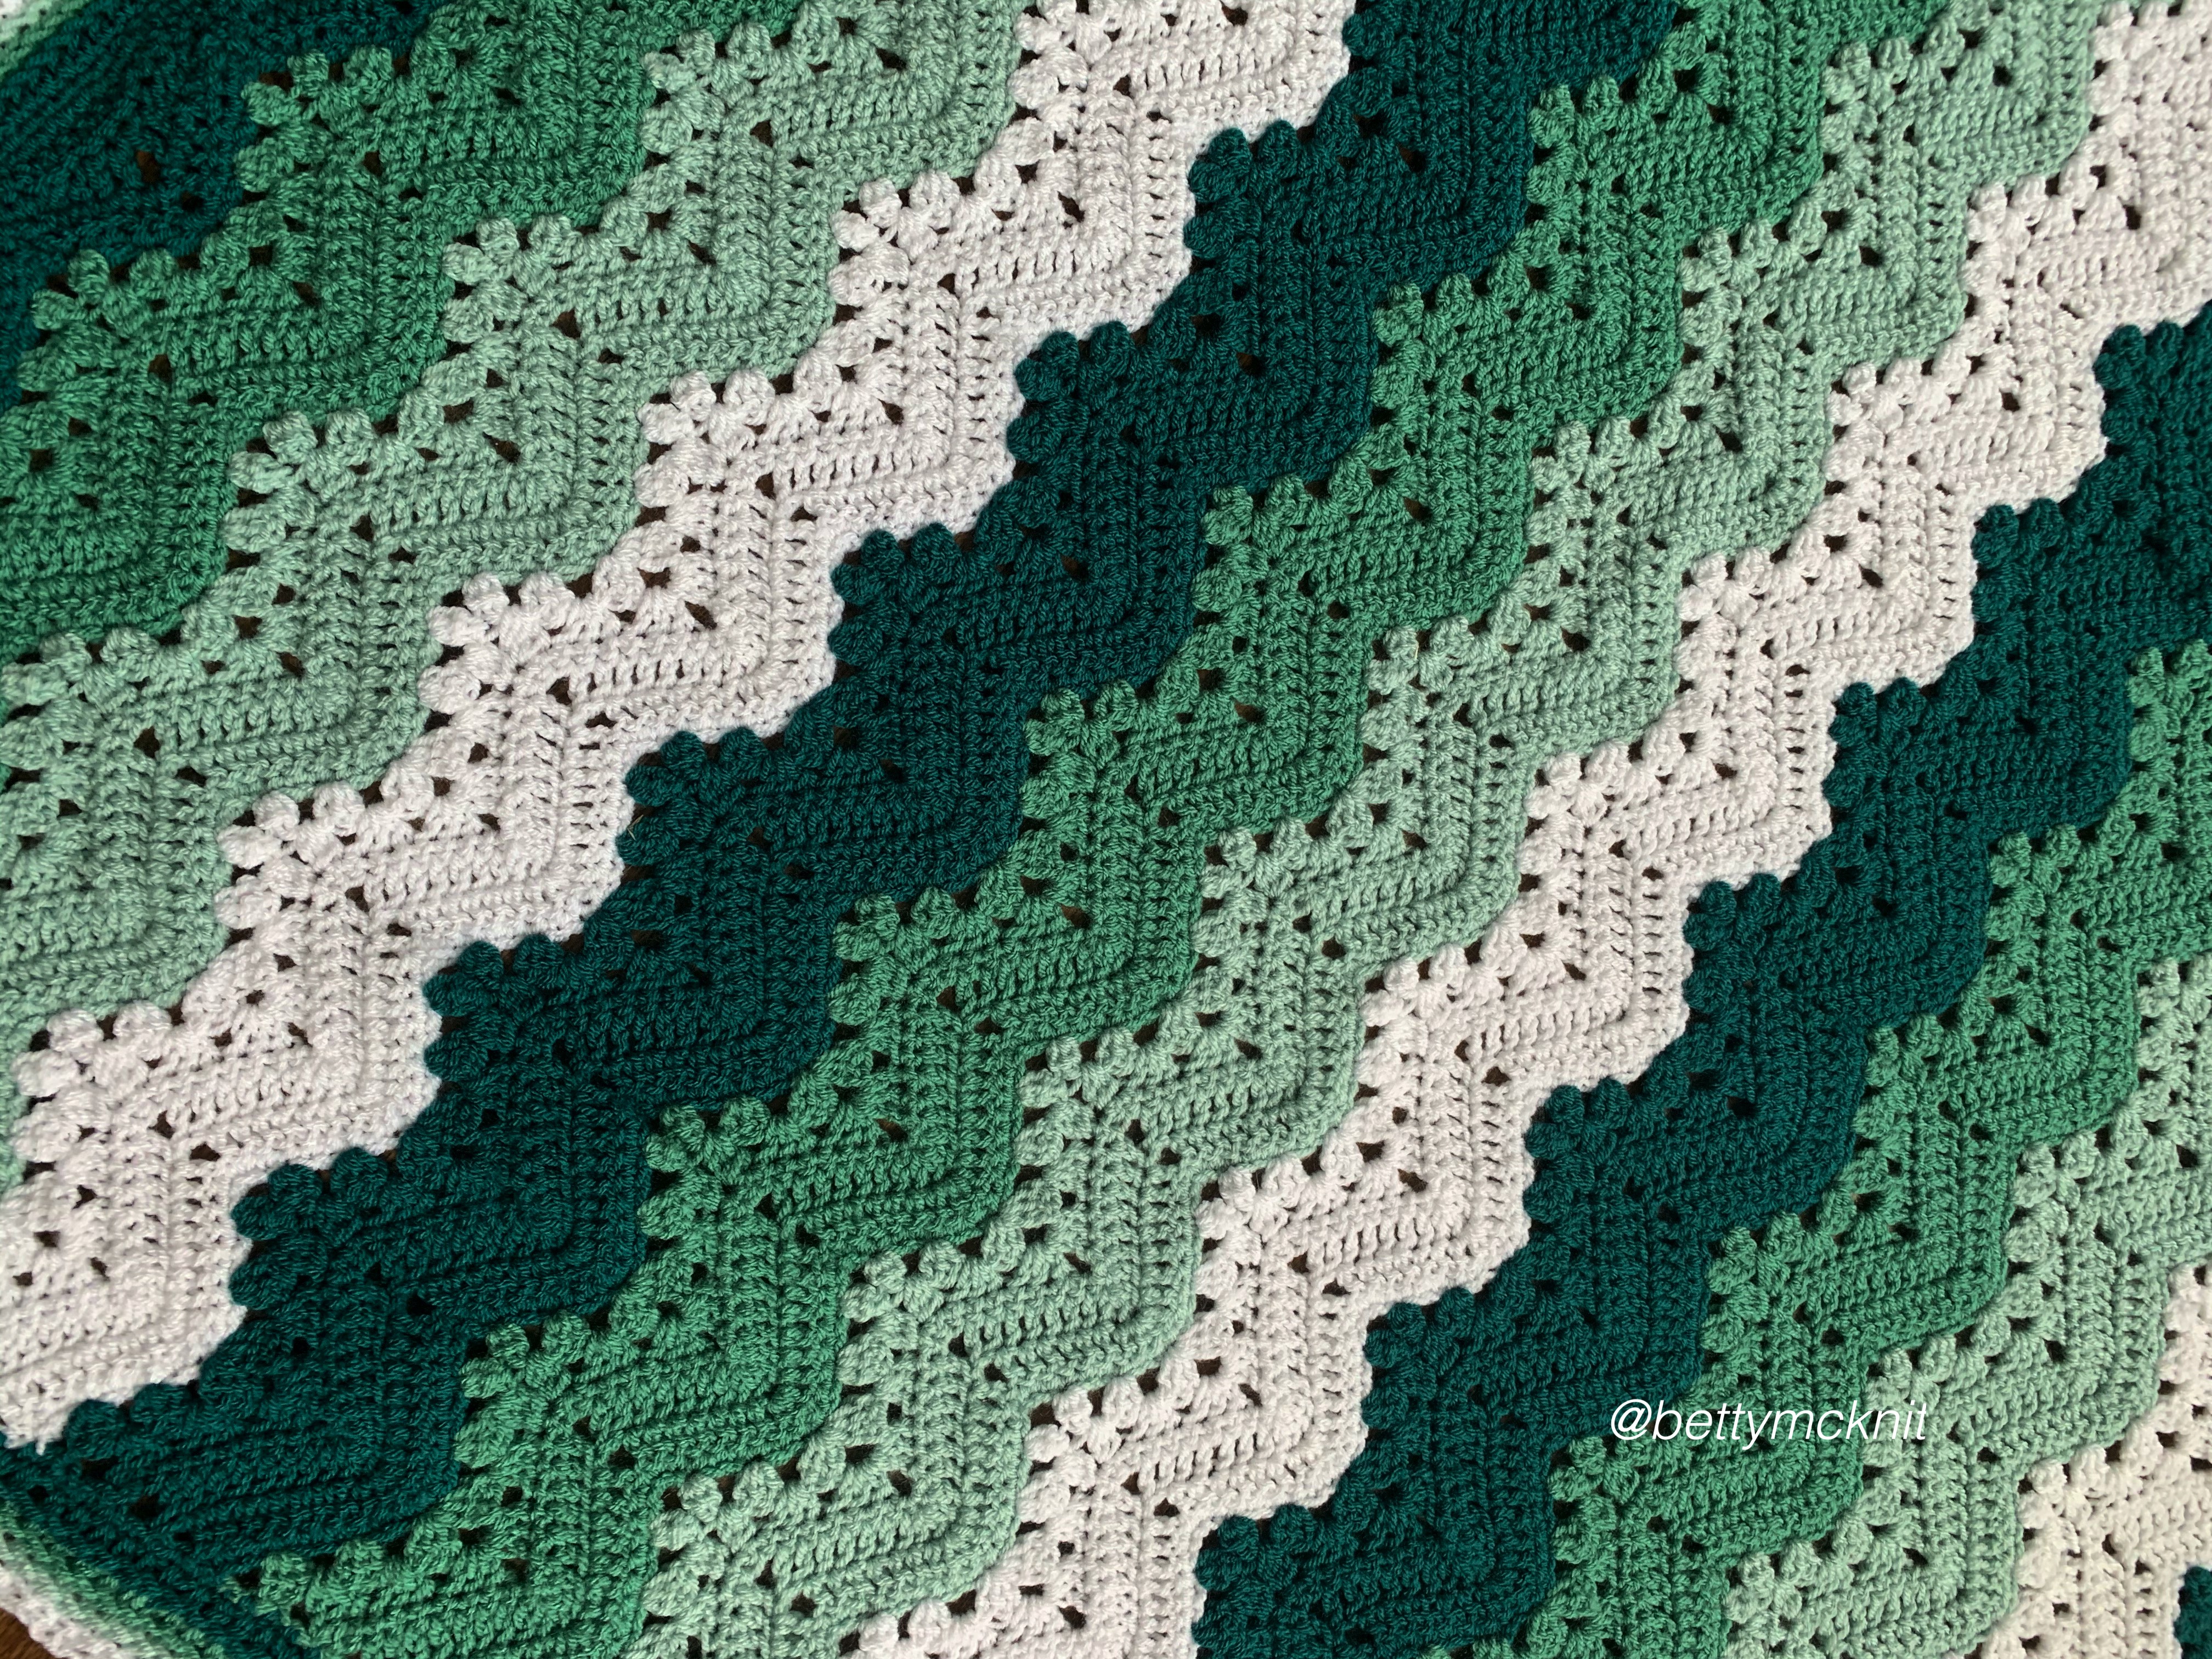
This is a very popular look for the 6-Day Kid Blanket and one that many crocheters ask about. Some clever crocheter, I have no idea who, figured out that if you change colors between rows 2 and 3 it creates a visual texture that 6DKB Blanketeers have nicknamed The Snowflake Effect.
The effect of changing colors here will create a wide stripe with granny stitches and holes on both sides of the stripe.
In order to make your stripes symmetrical, you must plan ahead to account for the extra 1/2 pattern repeat at the end of the blanket. More info in this article about the Snowflake Effect.
The 6-Day Snowflake Blanket and the 6-Day Baby Girl Blanket were both designed in Snowflake Effect.
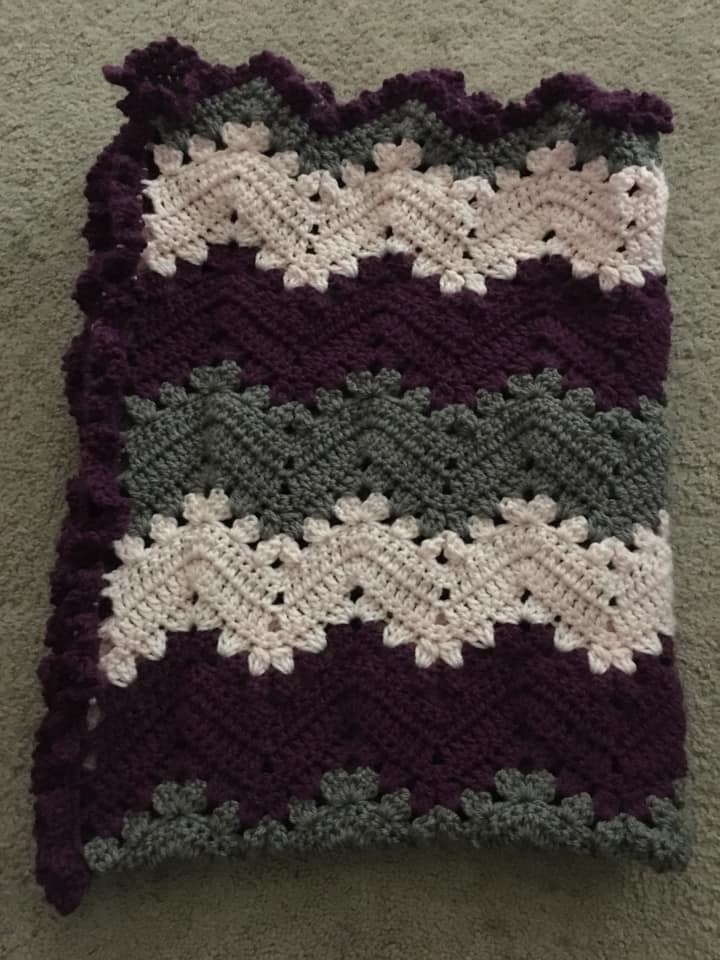
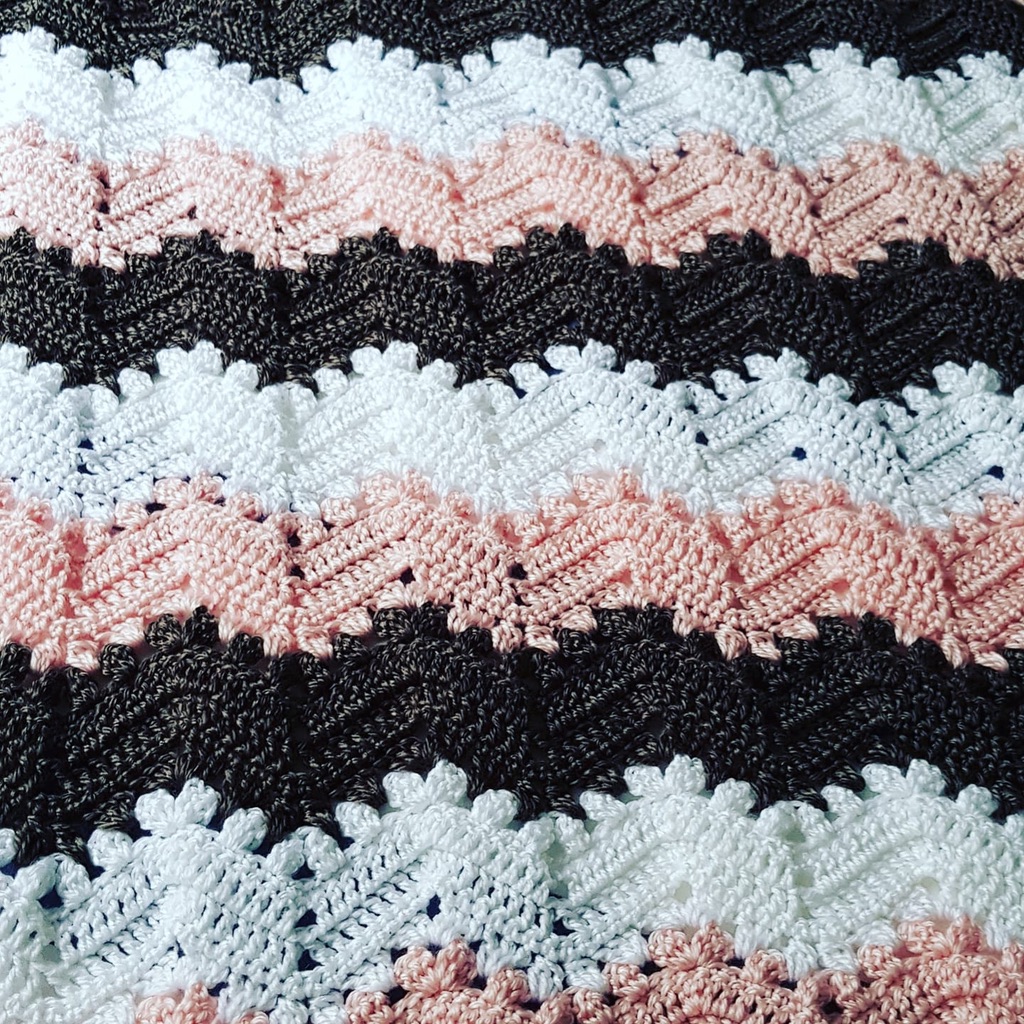
Viral Stripes
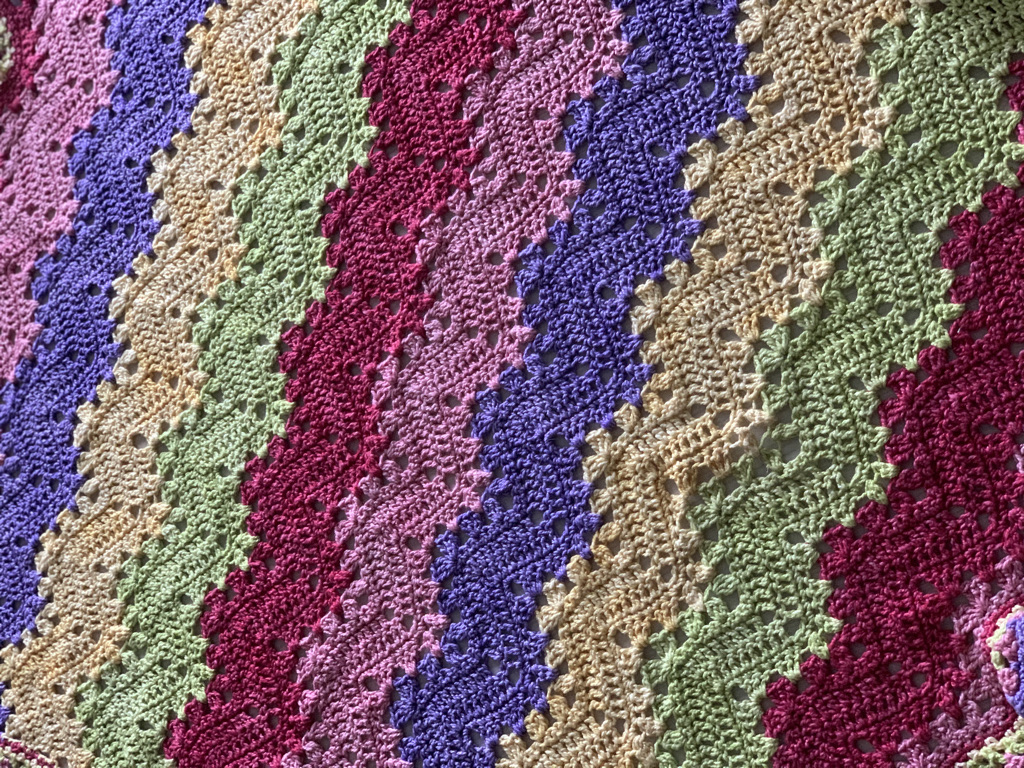
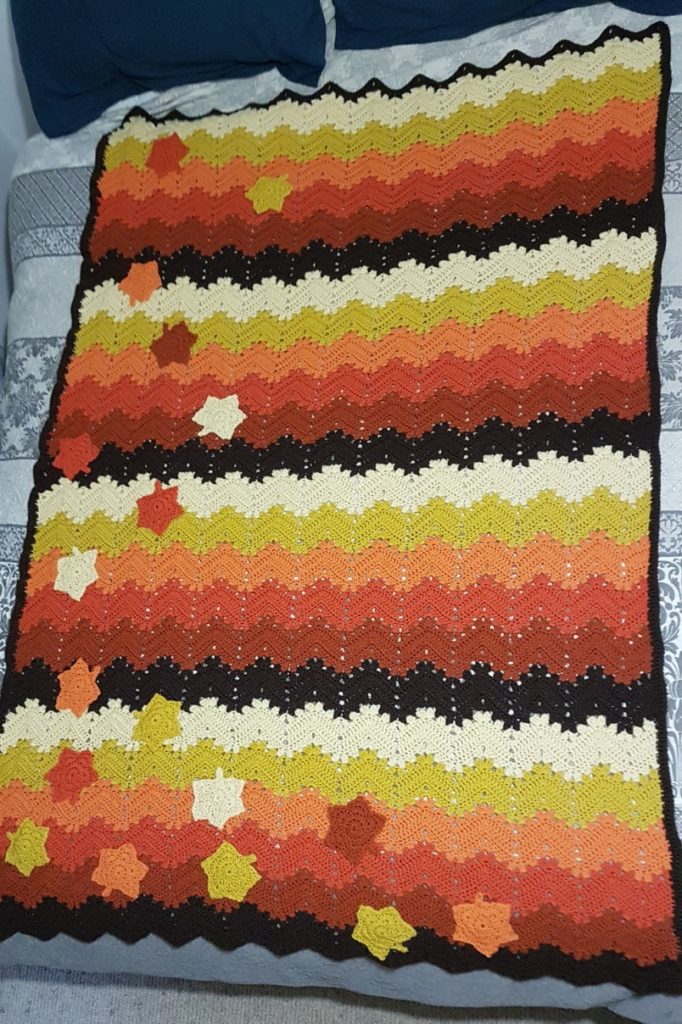
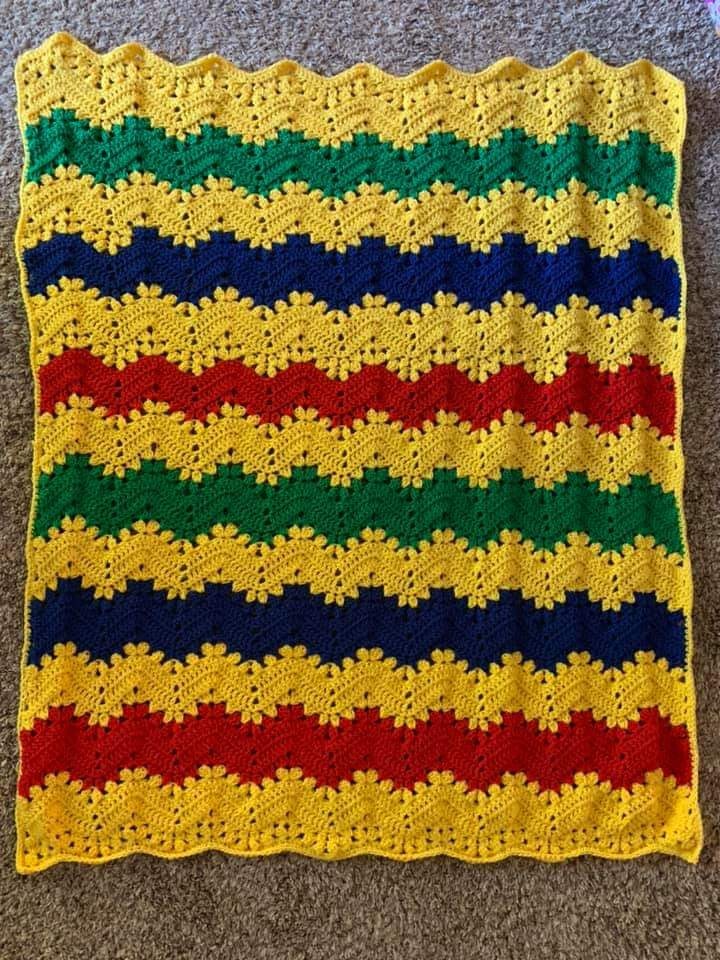
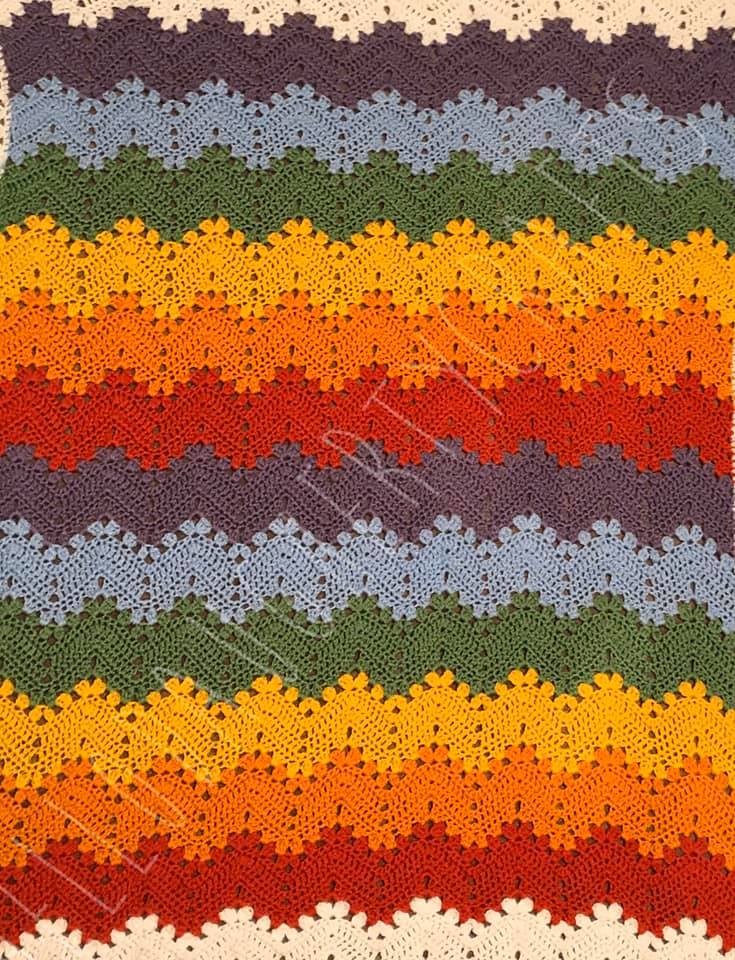
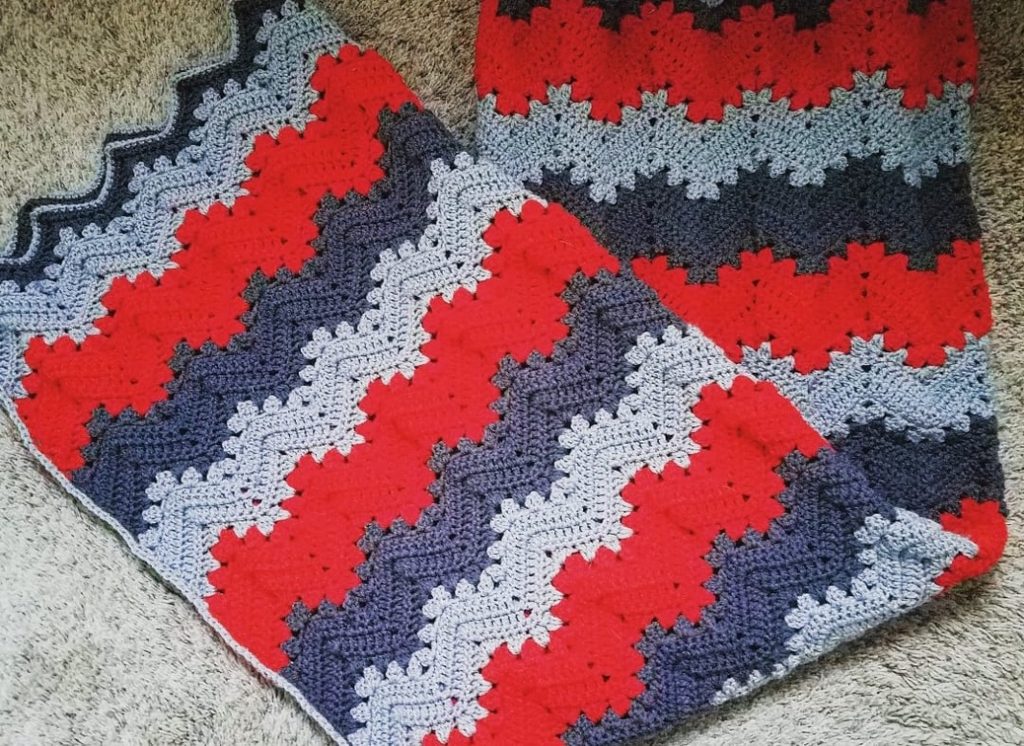
The Viral Stripe is the easiest of the striping methods because the stripes follow the stitch pattern repeat. It’s makes a nice wide-striped blanket and is shown in many viral 6-Day Kid Blanket photos by Claire Milburn, Tilly Wood and Hanan Hanaway.
There is a problem with making Viral Stripes, and that Is that following the pattern repeat creates some symmetry issues, since the blanket pattern is meant to end with a half repeat. That sometimes leaves crocheters halfway through their project wondering how to make the end of their blanket match the beginning.
Some crocheters have solved this problem by just ending on row 7, which works for color symmetry, but it does not work for shape symmetry. One crocheter who completed her blanket this way wondered why it had “ears” at the top because the top row flared open a bit. It is a minor detail, but if you want to avoid it you will have to plan ahead and make some decisions before you start crocheting (make a swatch, people!).
The 6-Day Viral Baby Blanket and 6-Day Viral Blanket were designed in the Viral Stripe striping pattern with the colors just like the colors in those viral photos. The squared-off top and bottom and edge solve the symmetry problem.
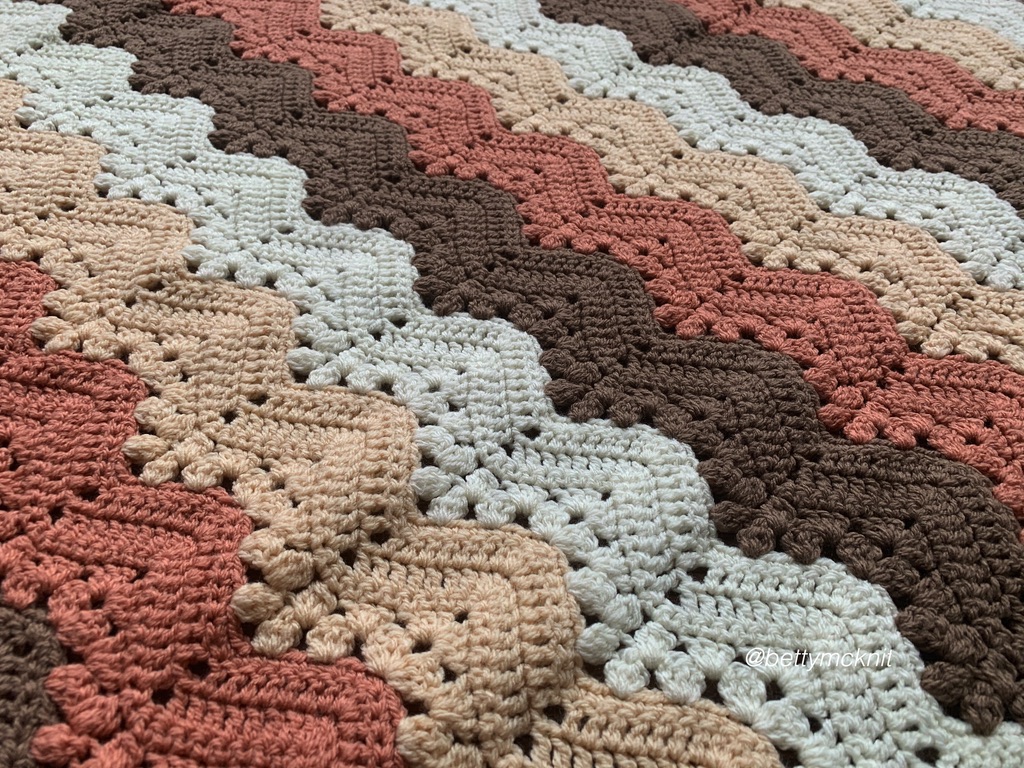
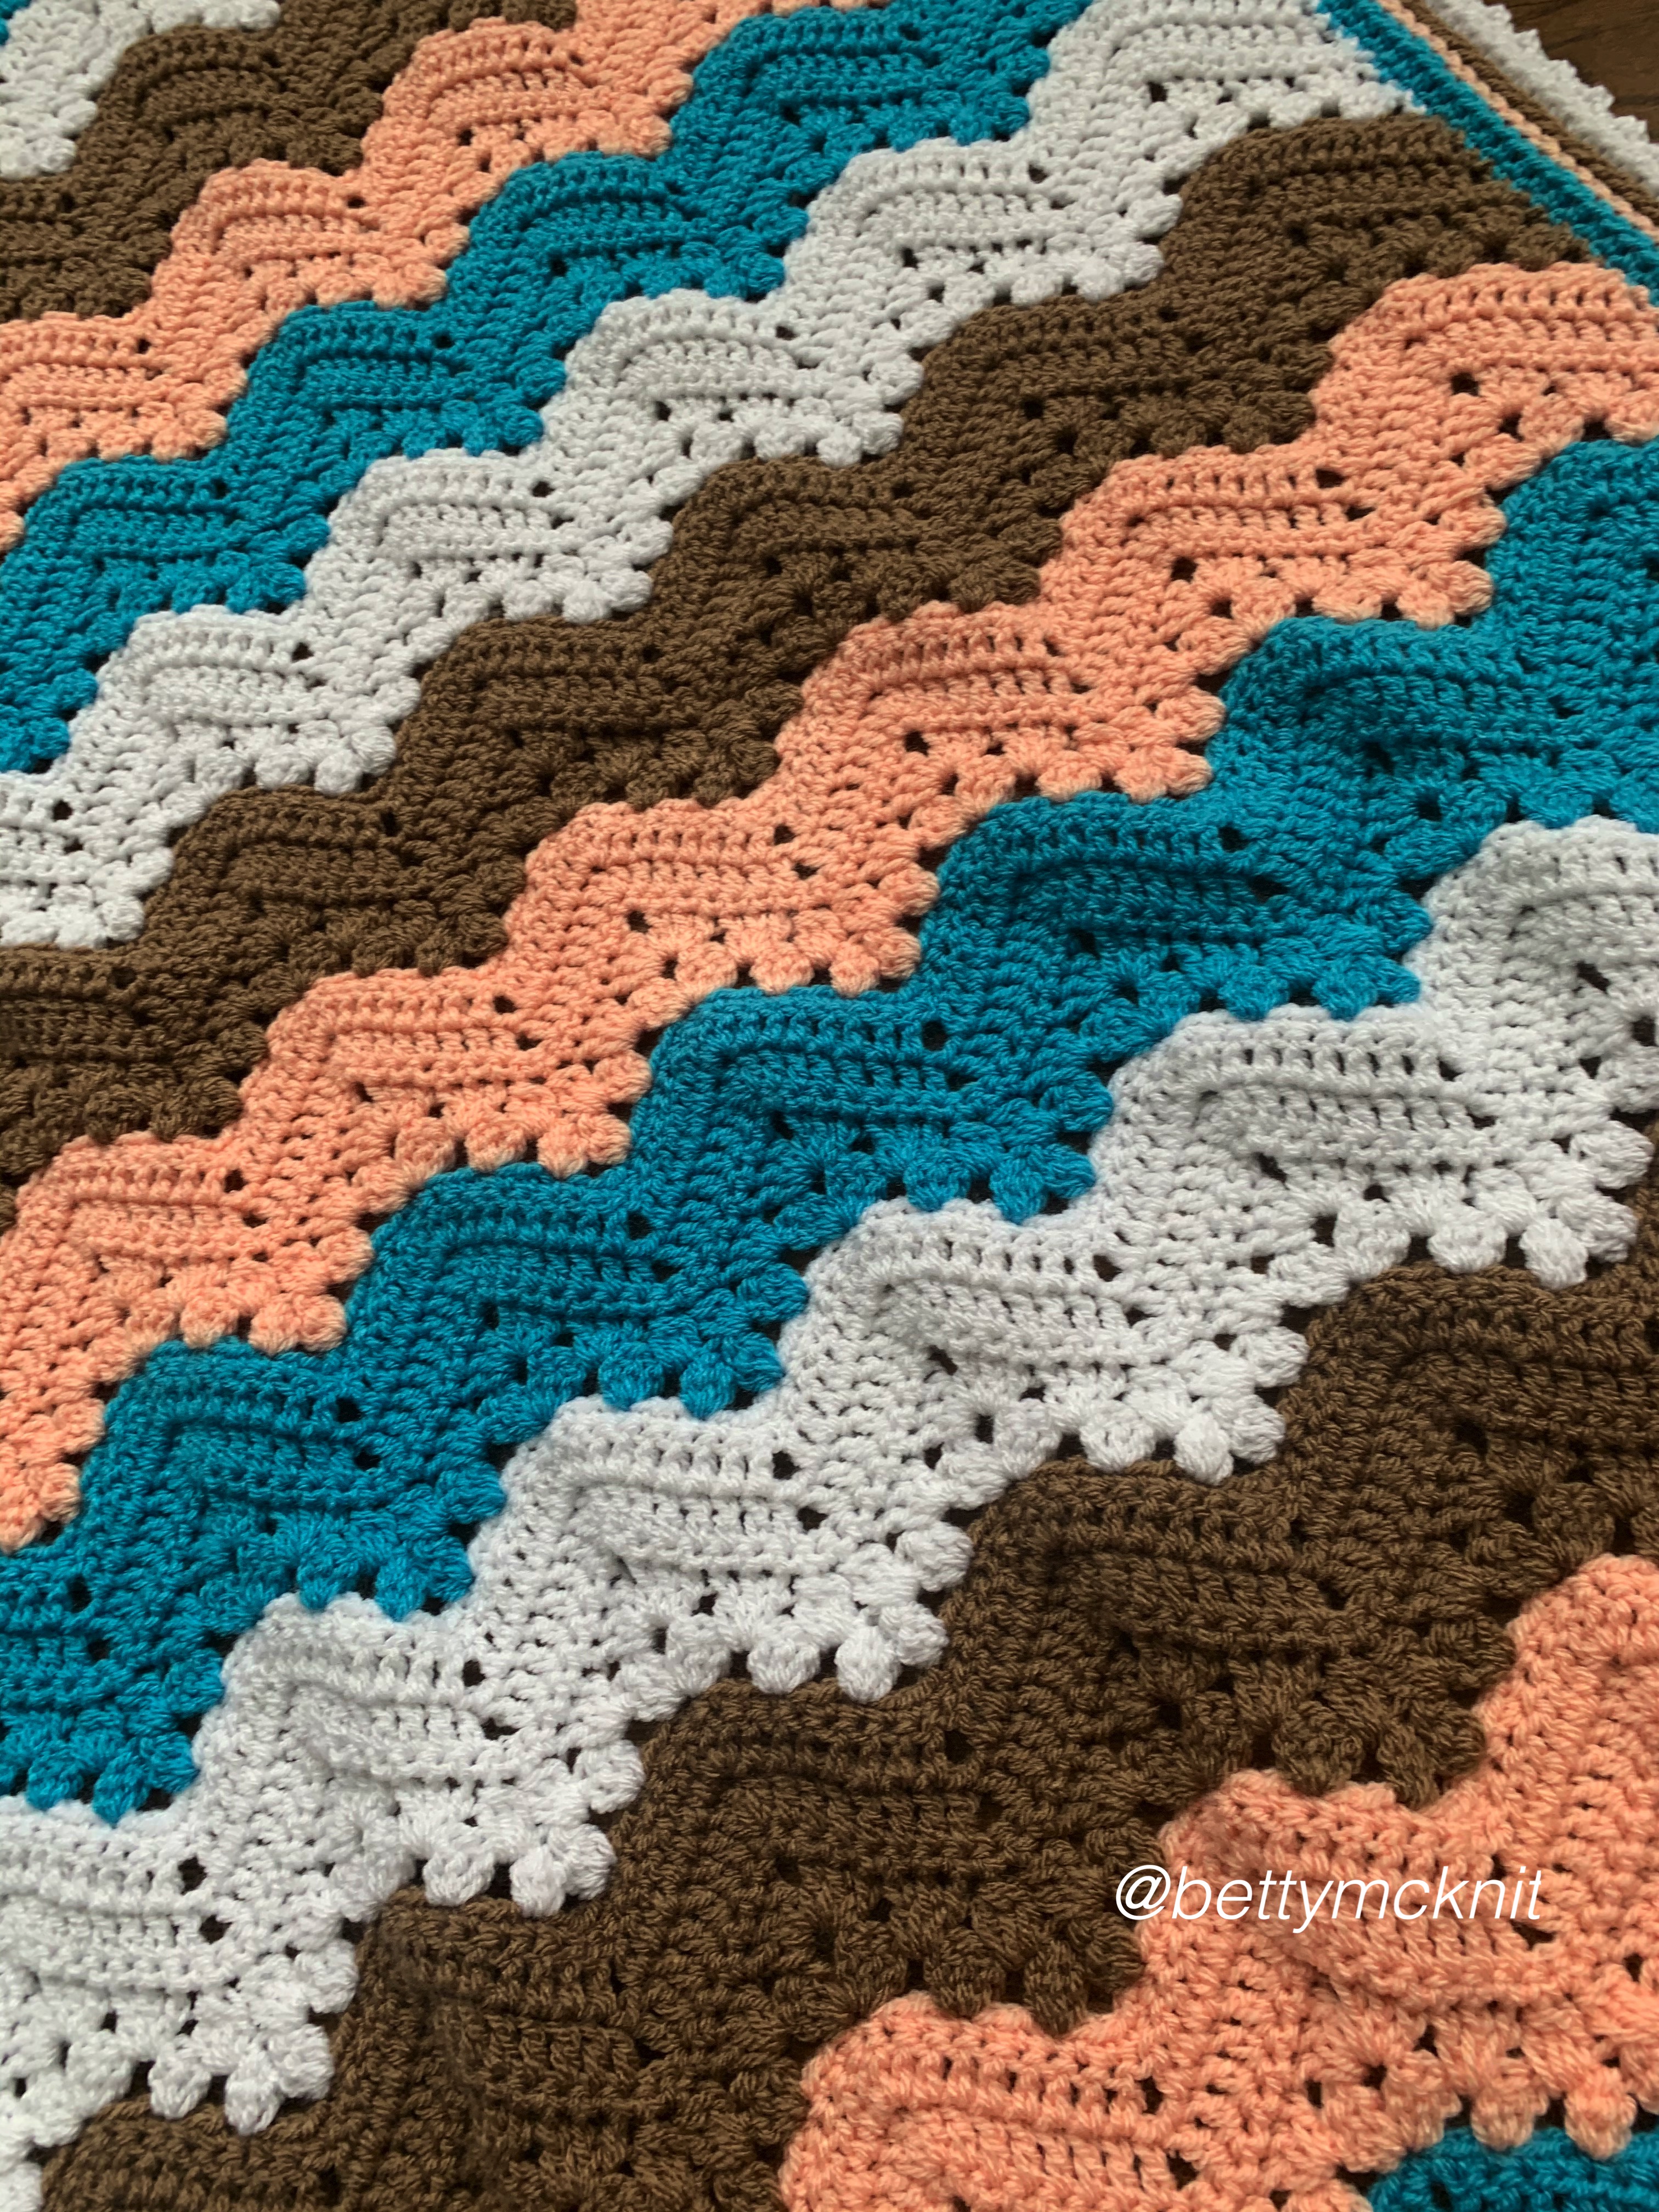
The Popsicle Effect
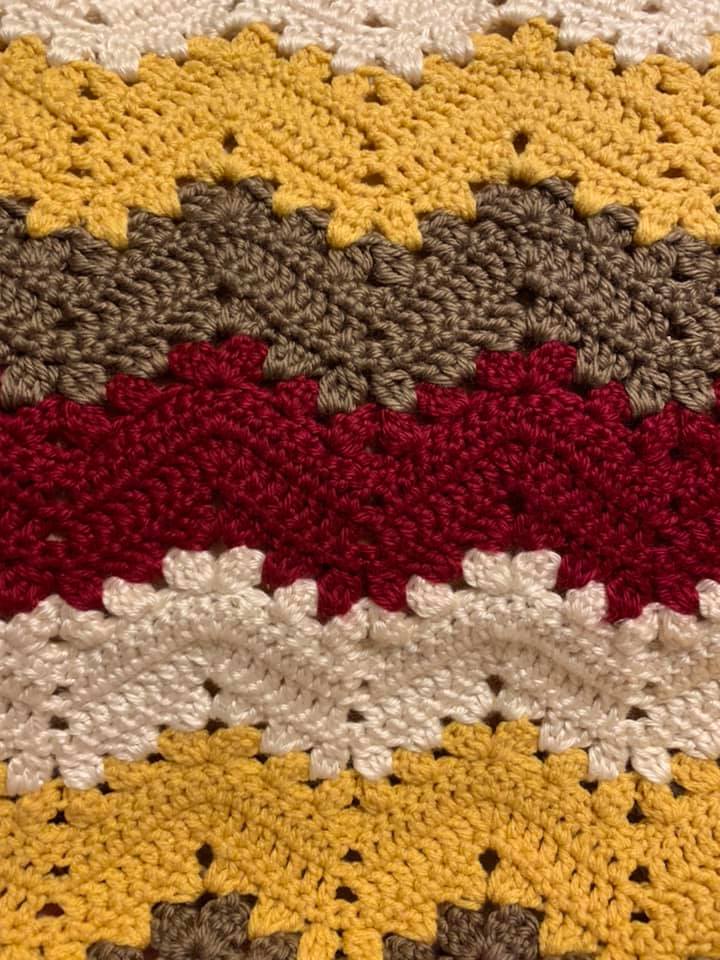
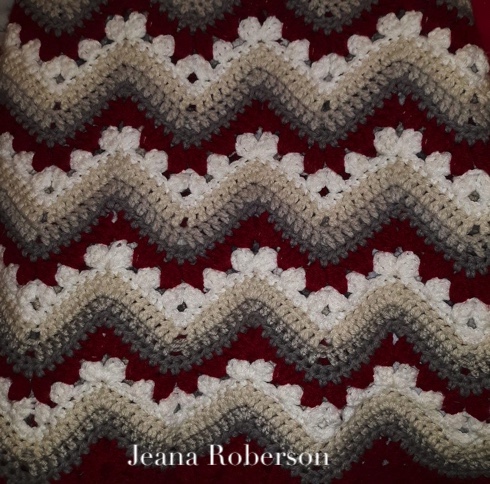
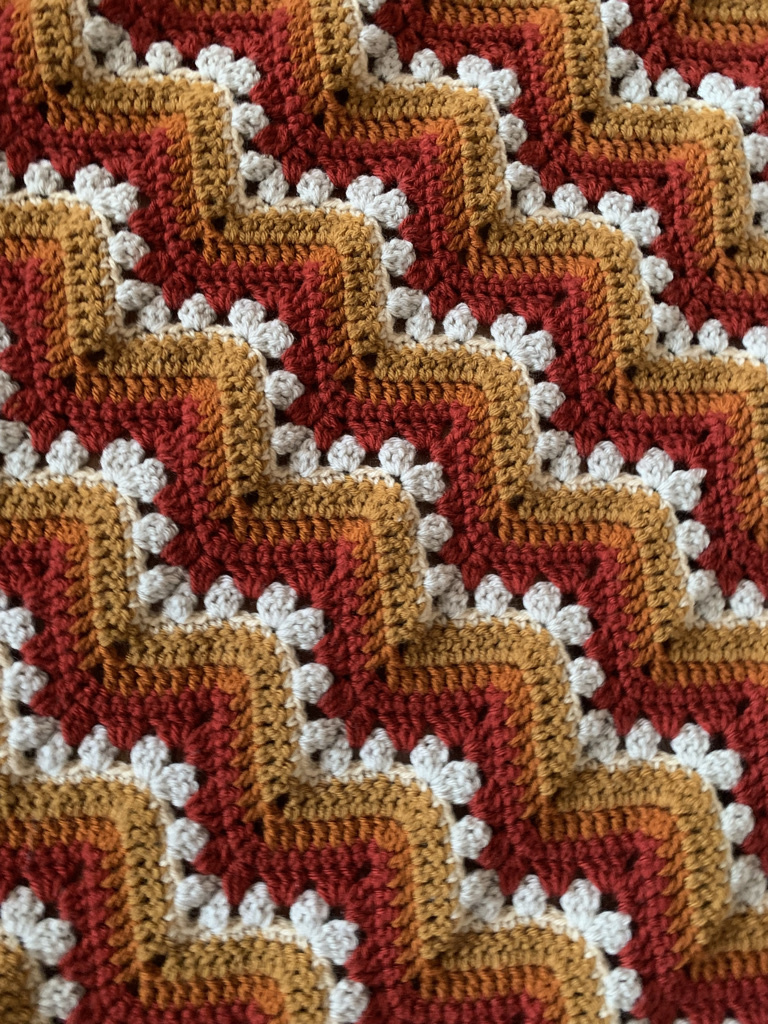
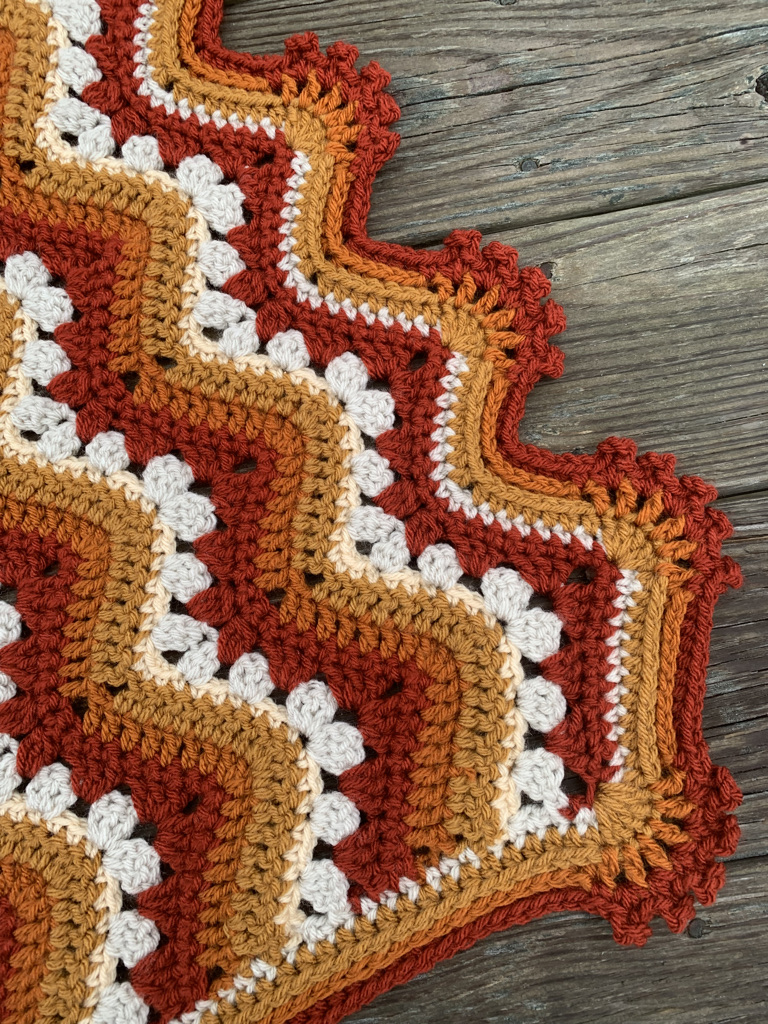
The Popsicle Effect is a 3D effect conceptualized and coined by Jeana Roberson. She used five colors of yarn ranging in tone from white to very dark to create a “color smear” technique that make the textured rows of crochet POP.
This striping effect is actually a variation of the Snowflake Effect. The most important part of this technique is that Color A and B are very highly contrasted since that is what creates the “pop” effect. The tone of the remaining three colors graduates from dark to light. If done right, the stripes pop and the blanket appears to be three dimensional.
The 6-Day Popsicle Blanket and 6-Day Popsicle Effect Hat both use this striking technique.
Australian Confetti Effect
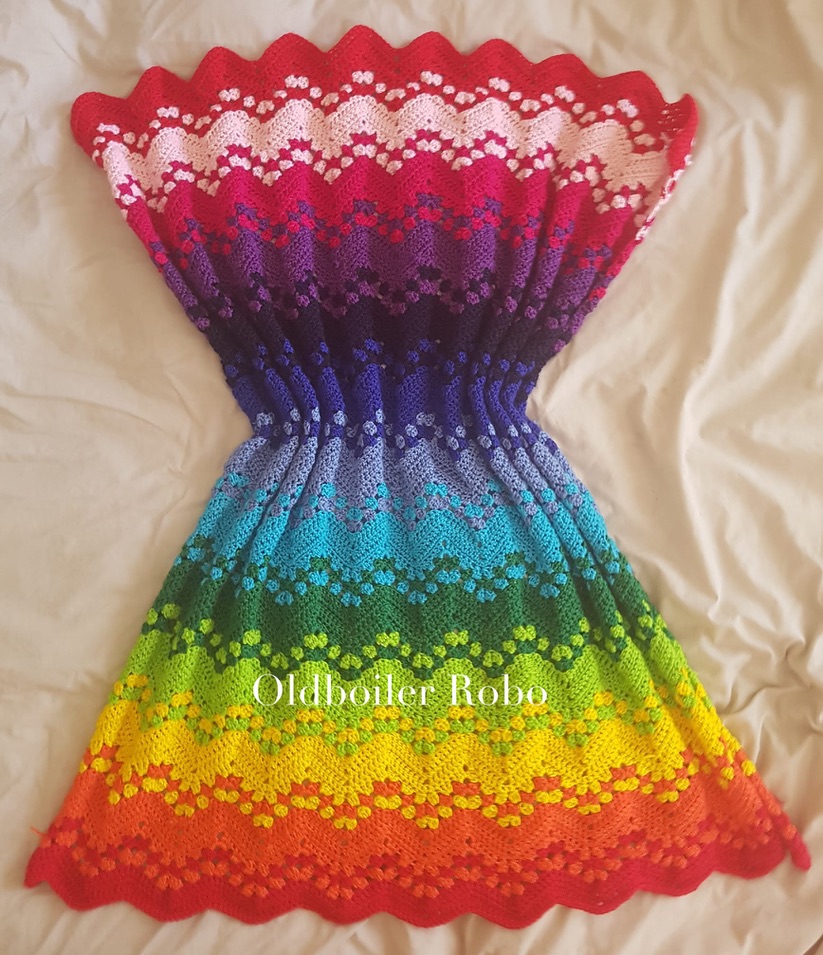
Australian Confetti effect is the genius brainchild of Glynis “Oldboiler Robo.” Glynis also came up with the 6-Day Pocket Shawl.
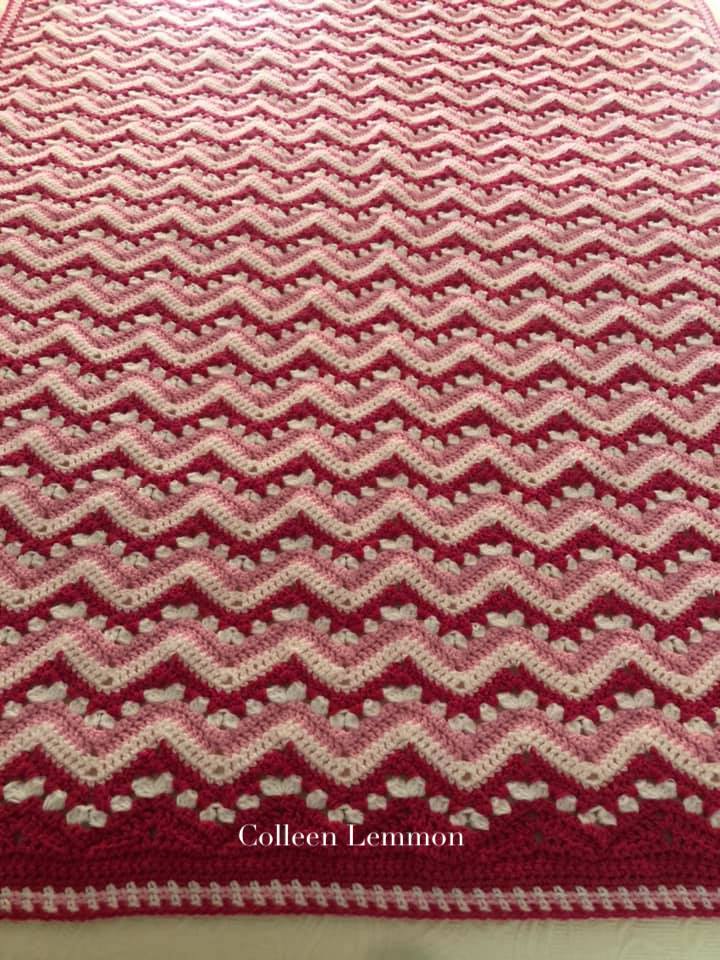
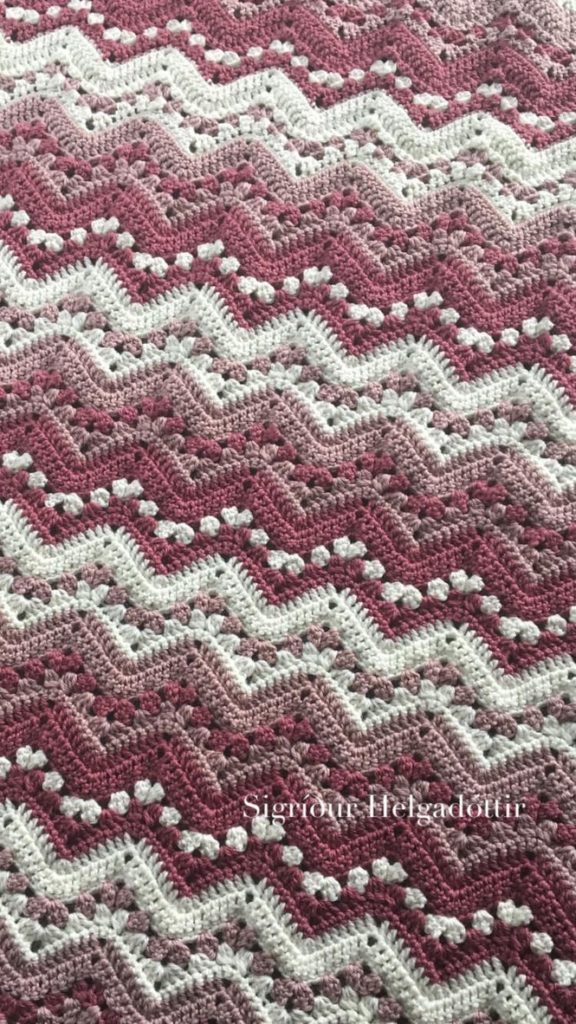
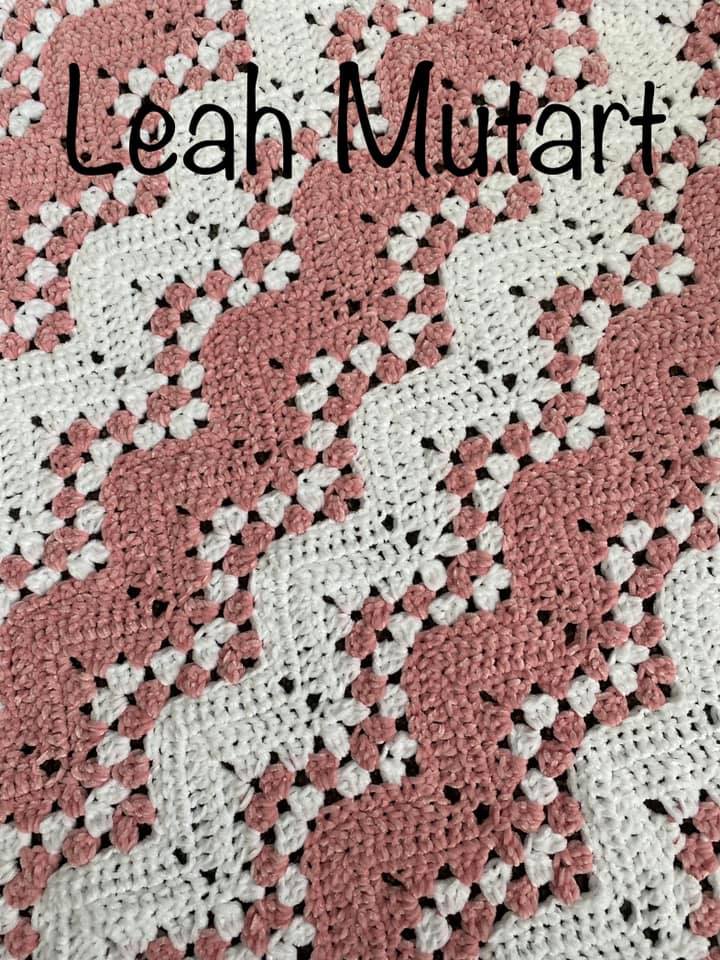
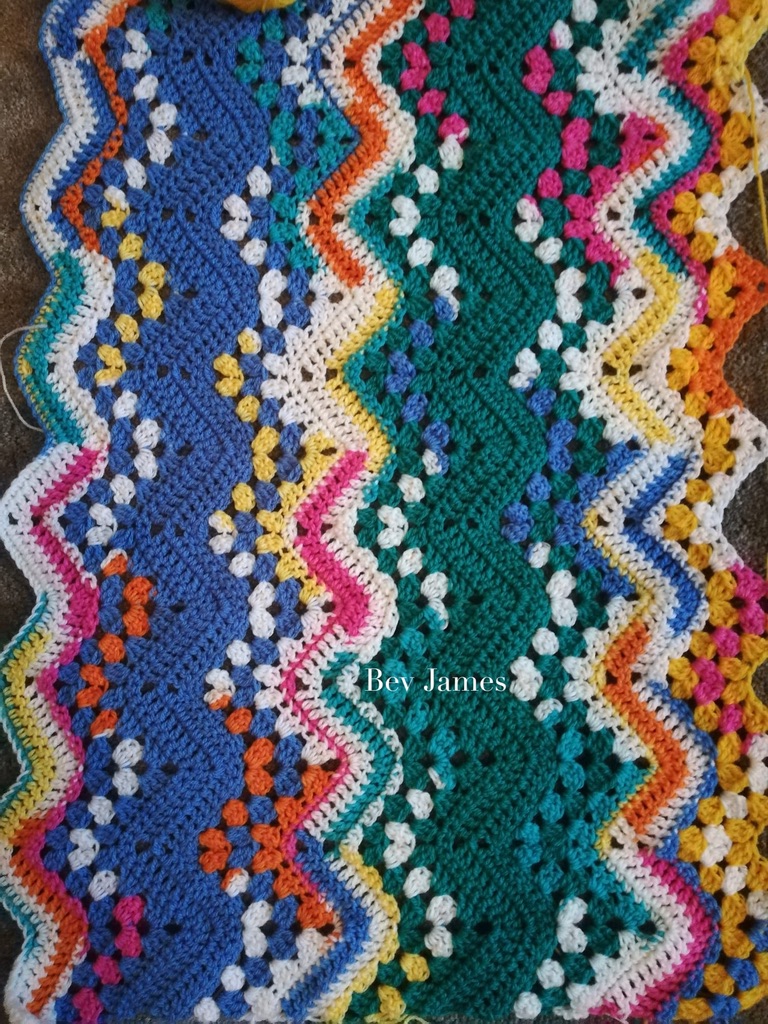
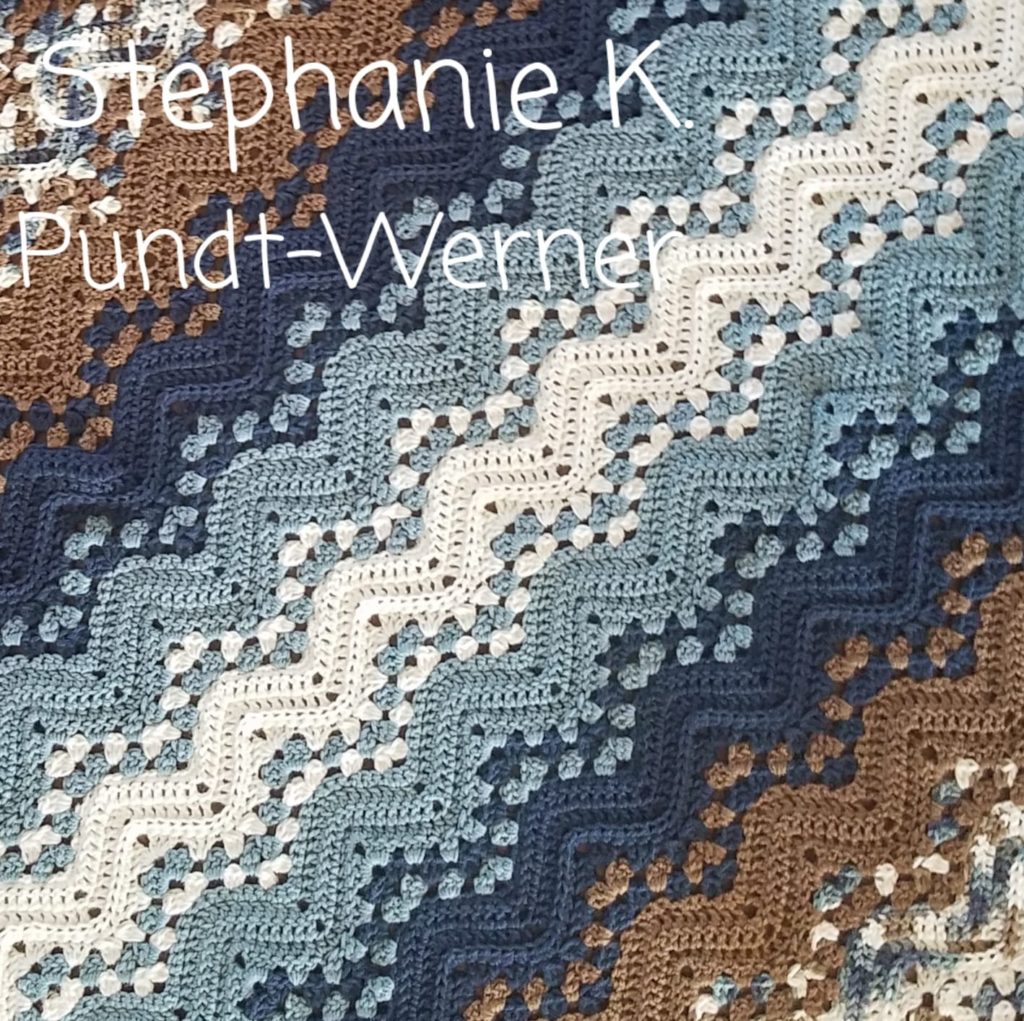
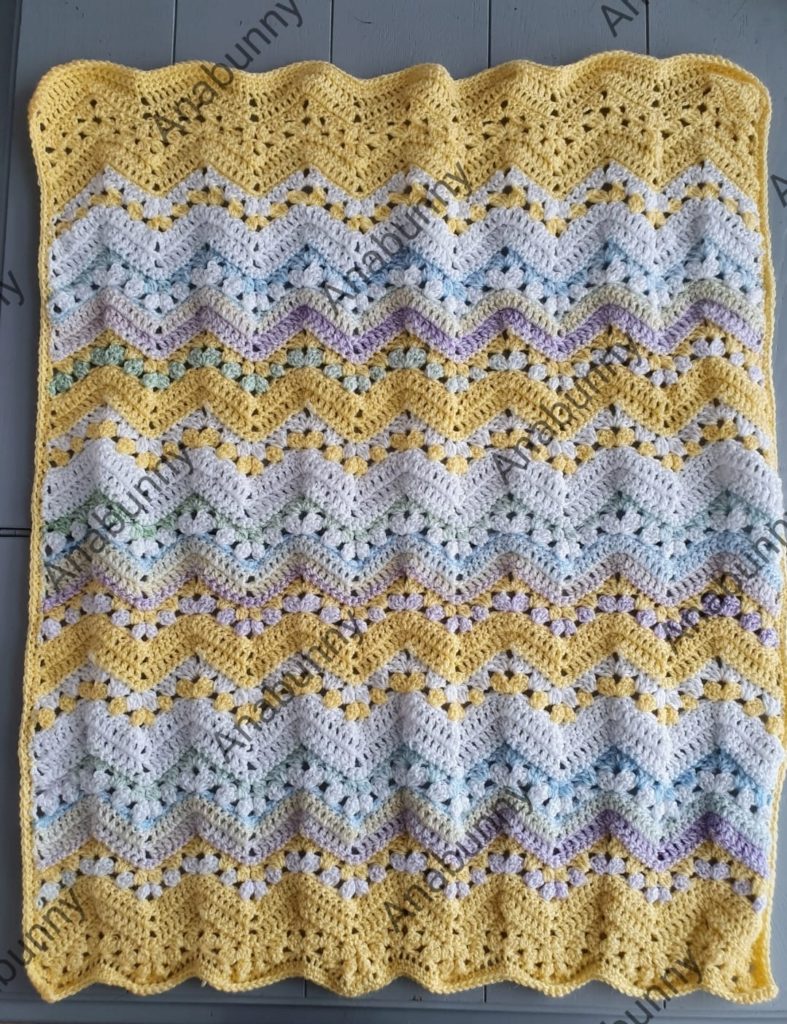
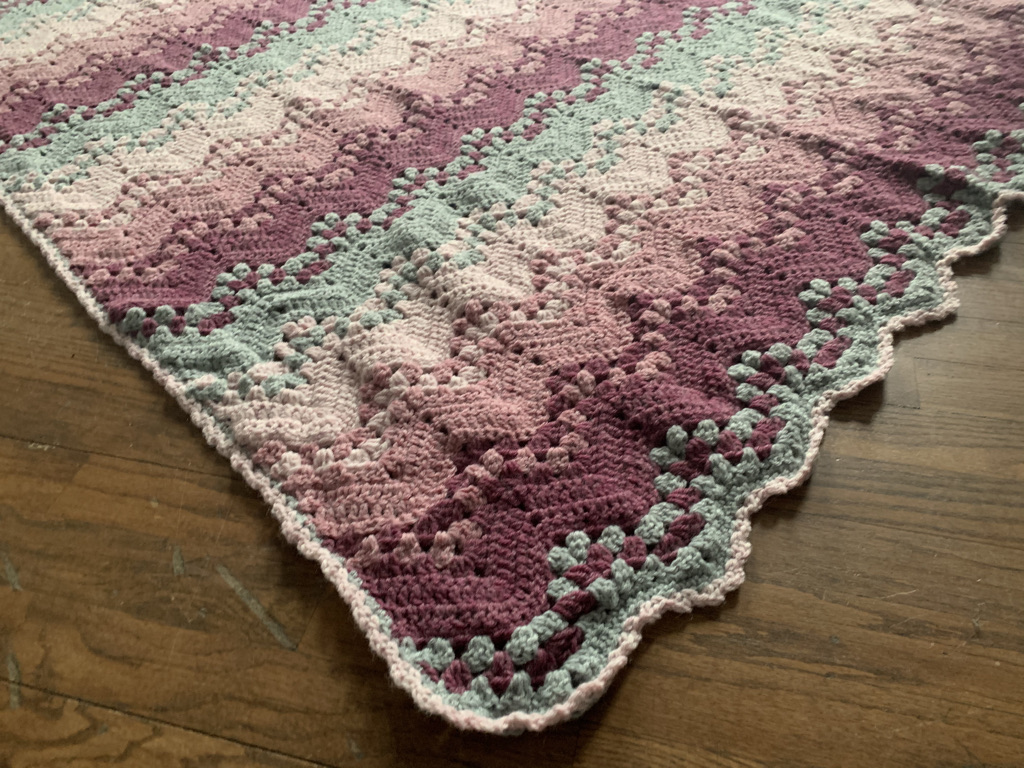
Taking inspiration from the crochet pattern Confetti Waves designed Kate Rowell, Glynis added a contrasting color for an interesting sprinkled effect. There are two ways to create this look, and I’ll post a longer article about different ways to make this effect and things to watch out for on the beginning an ends of your blanket.
The 6-Day Sweetheart Blanket, 6-Day Sweetheart Rainbow Baby Blanket, and the 6-Day Sweetheart Star Blankets are designed with the Confetti Effect.
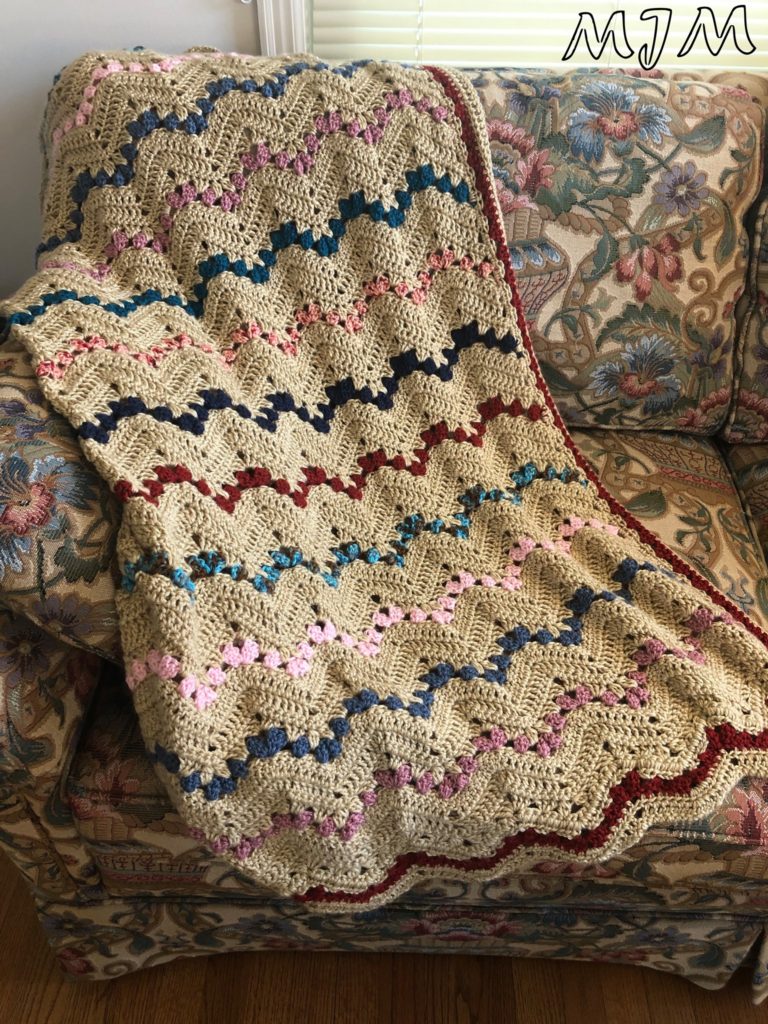
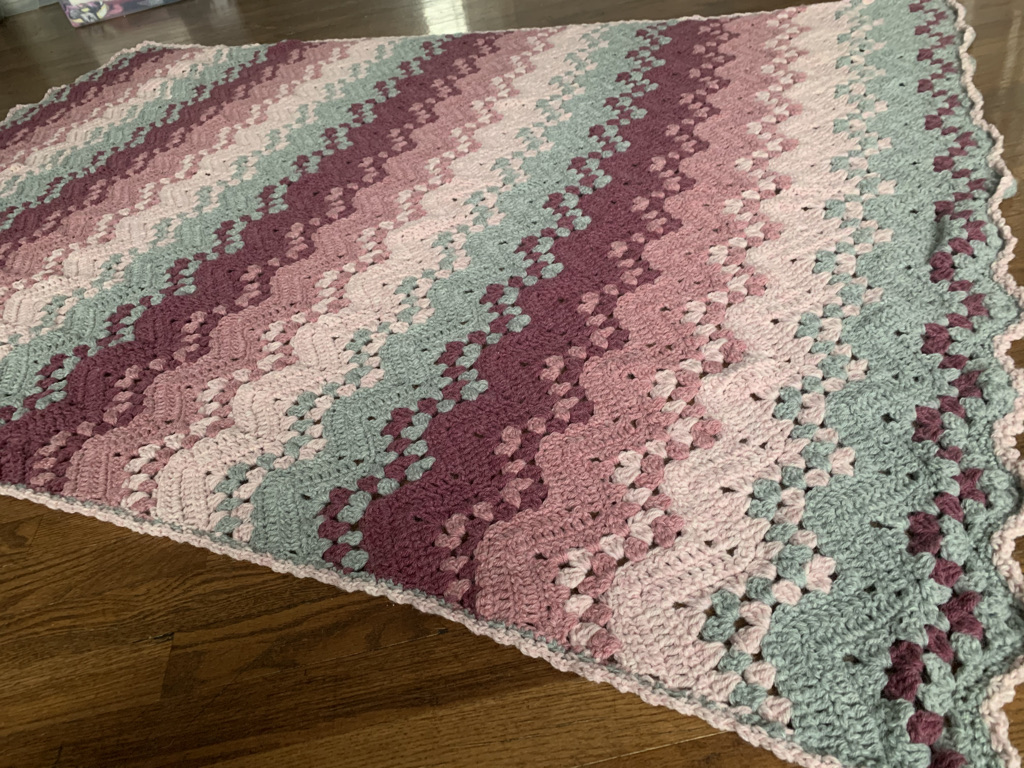
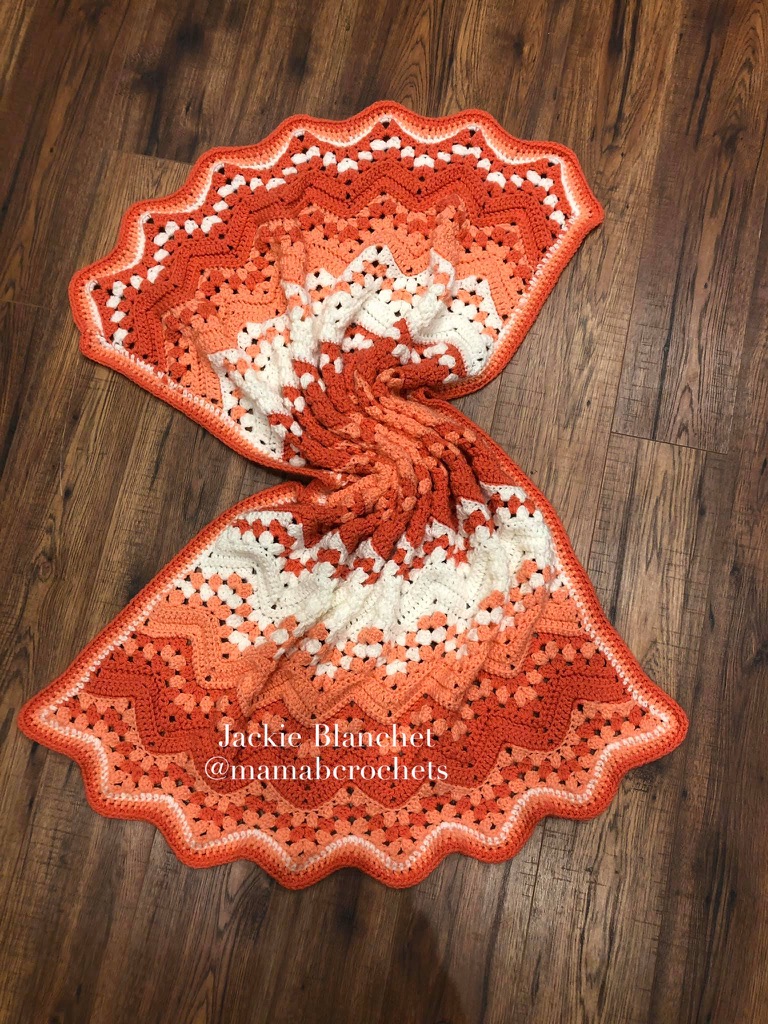
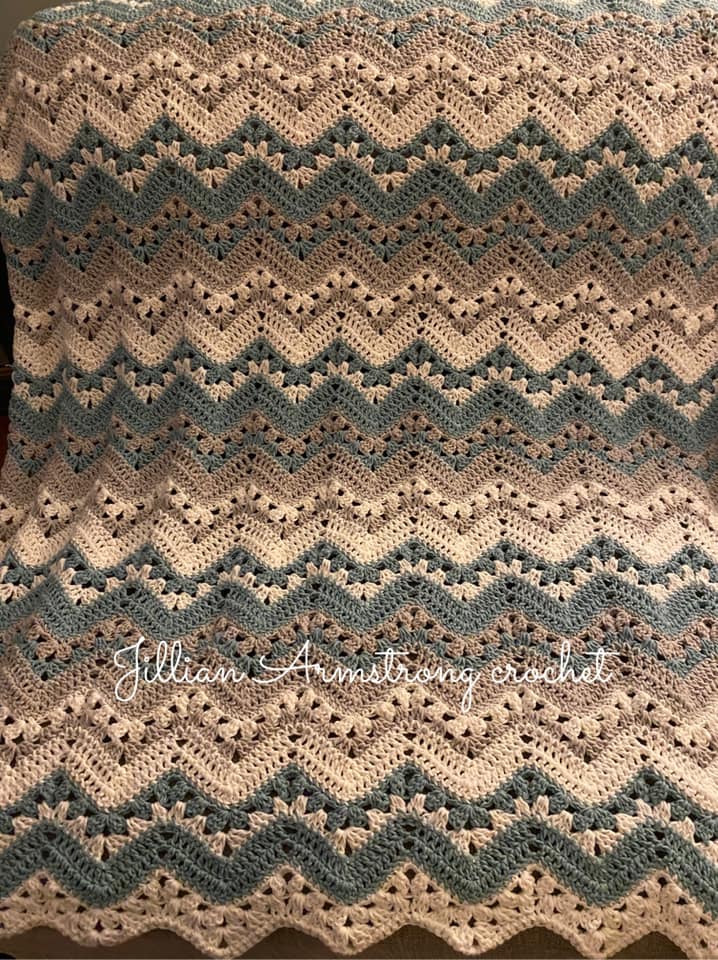
The Ridgy Didge
Adding texture to 6-Day Blankets can be done in a variety of ways, but the Ridgy Didge stripe technique uses post stitches to create a textured ridge that can be highlighted with an accompanying color change. The 6-Day Ridgy Didge Baby Blanket uses this technique.

Tranquility Stripe
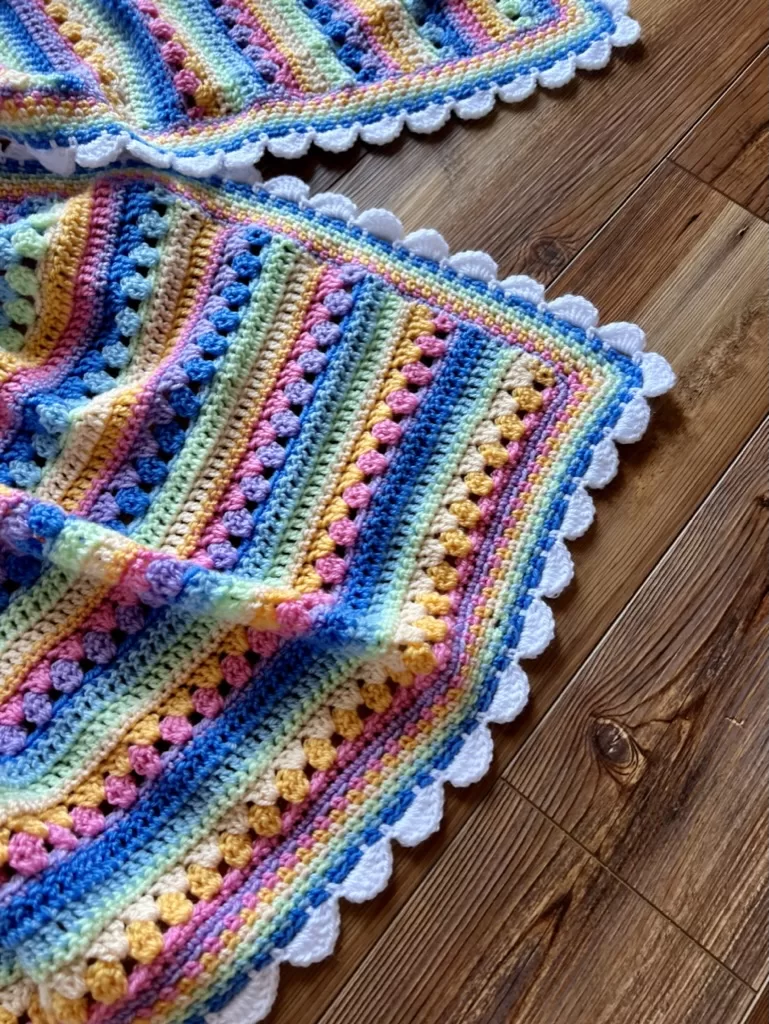
The tranquility stripe is a drama free 6-Day Kid Blanket version. It consists of the same rows of stitches without the chevron. Talk about easy! The 6-Day Retro Rainbow Baby Blanket is done up in Tranquility Stripe.
Self-Striping Cake Yarn – Let it Flow
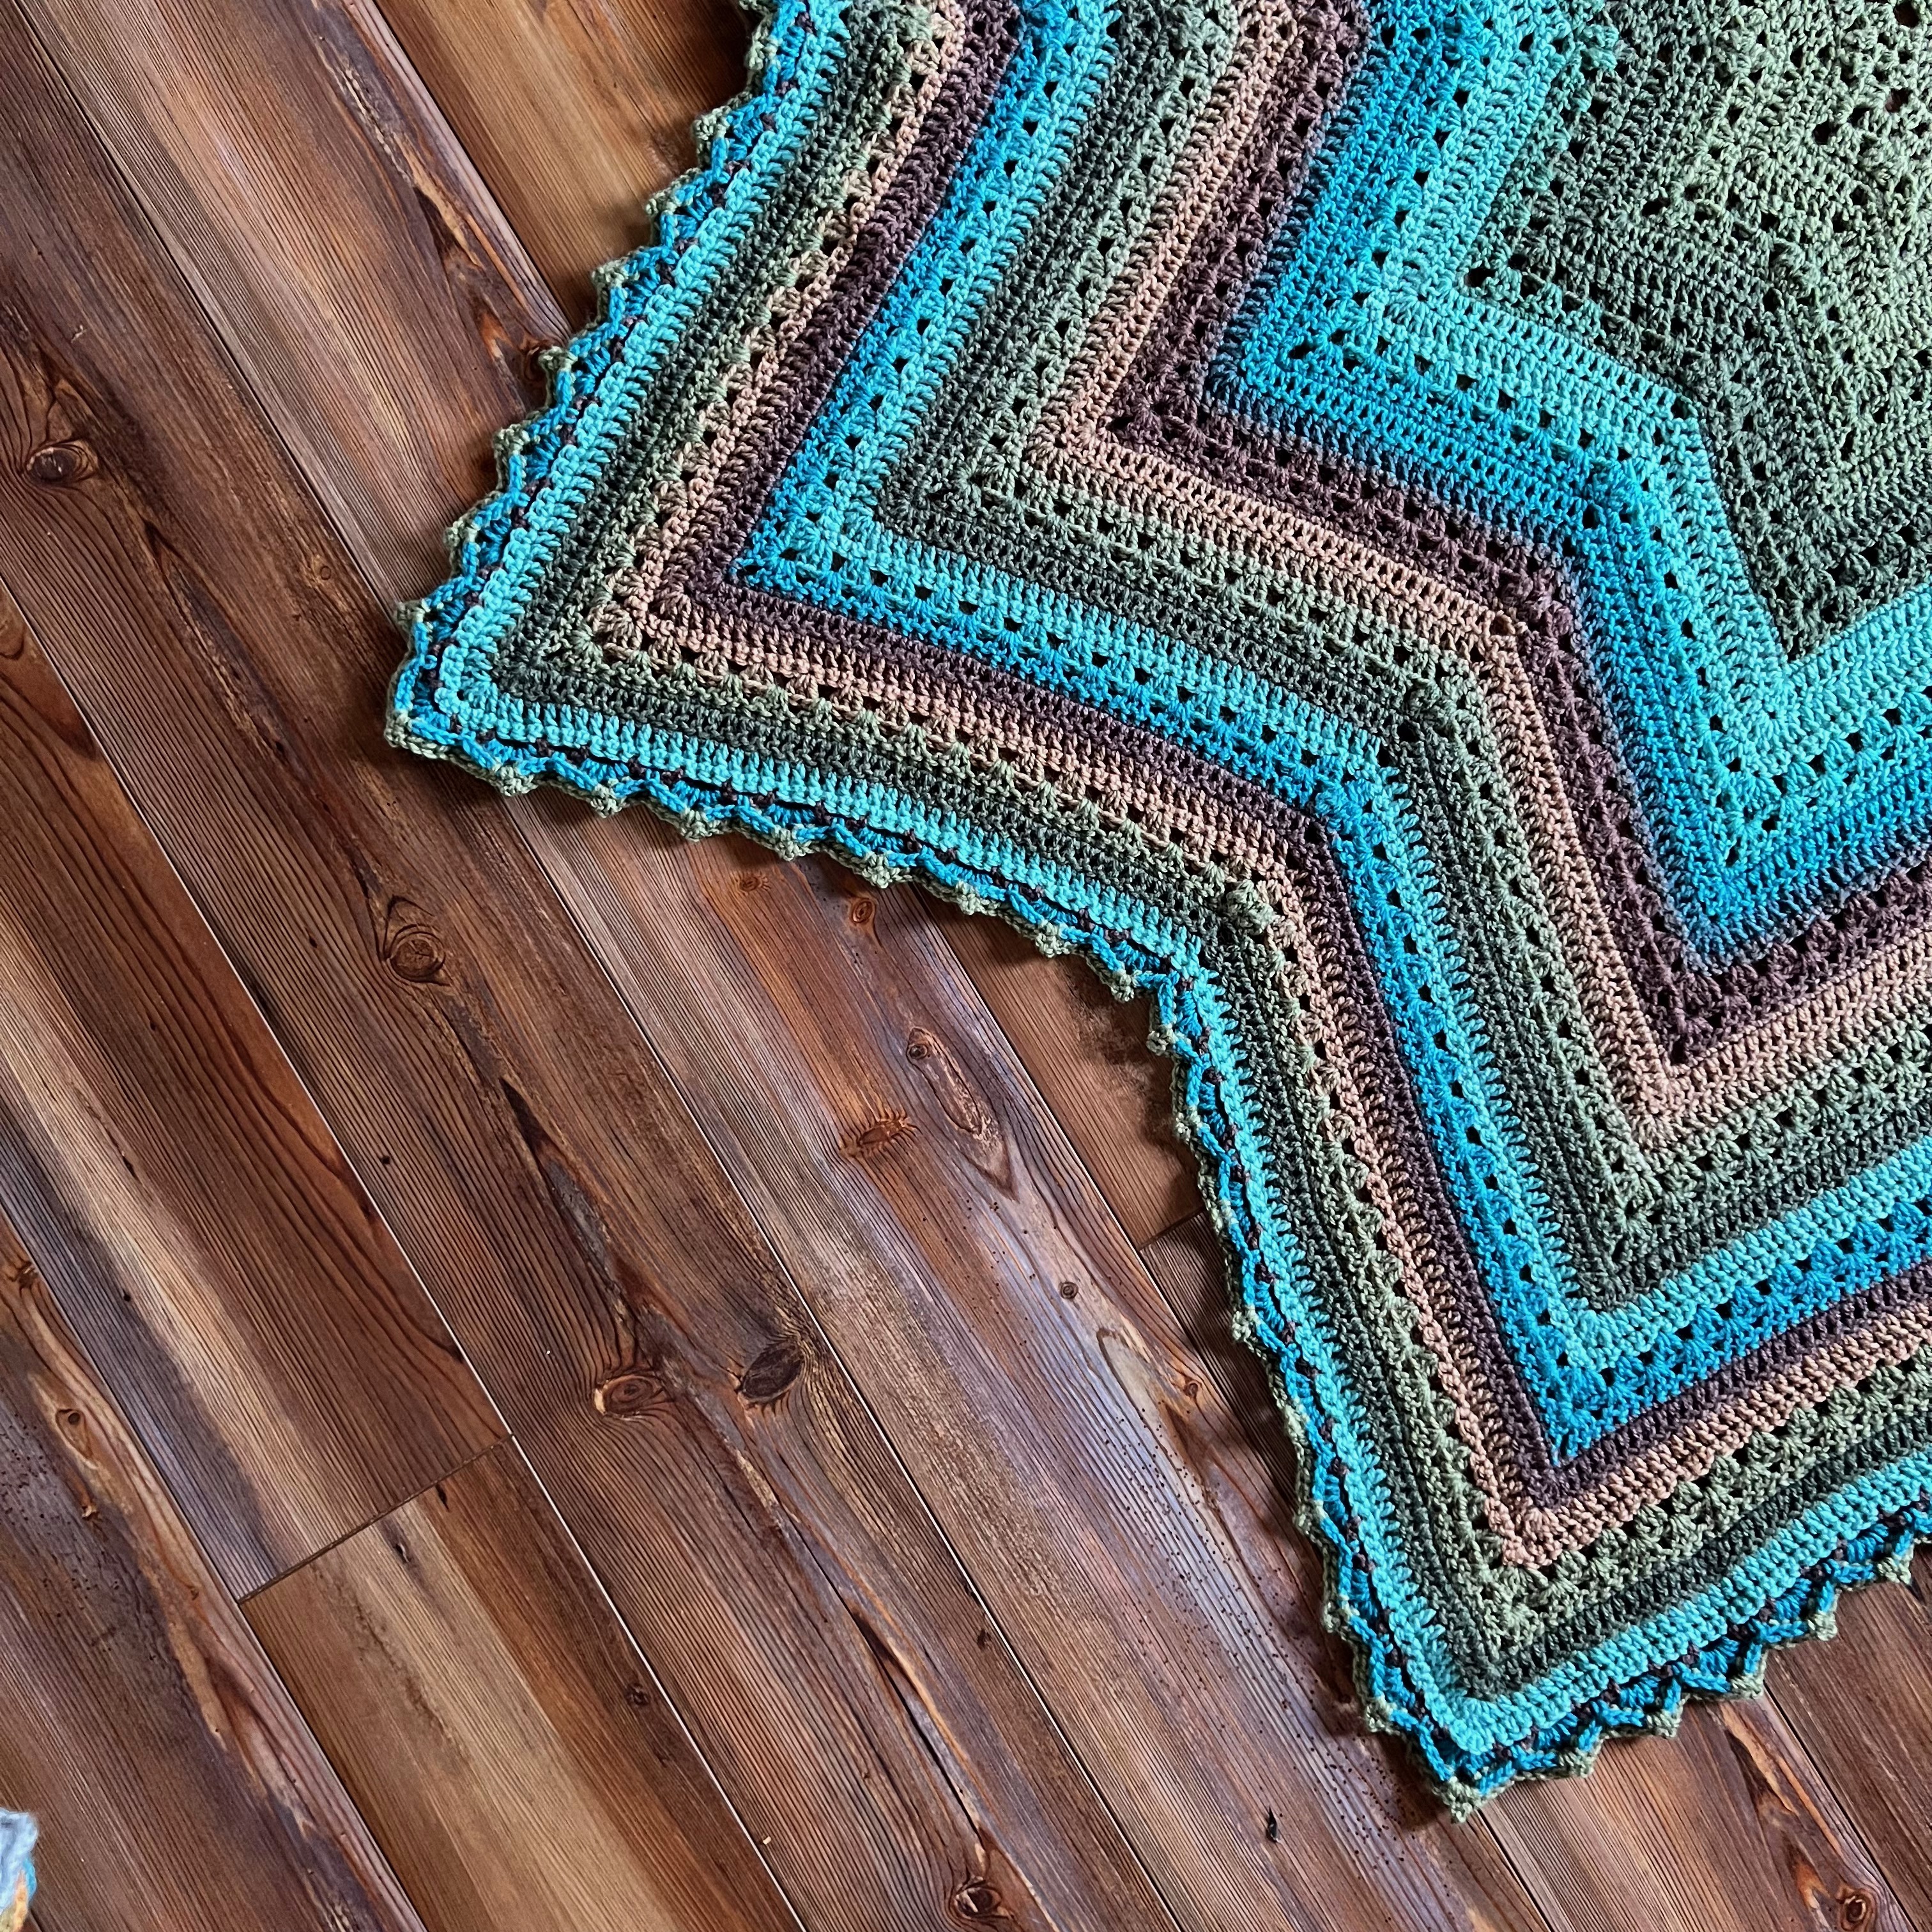
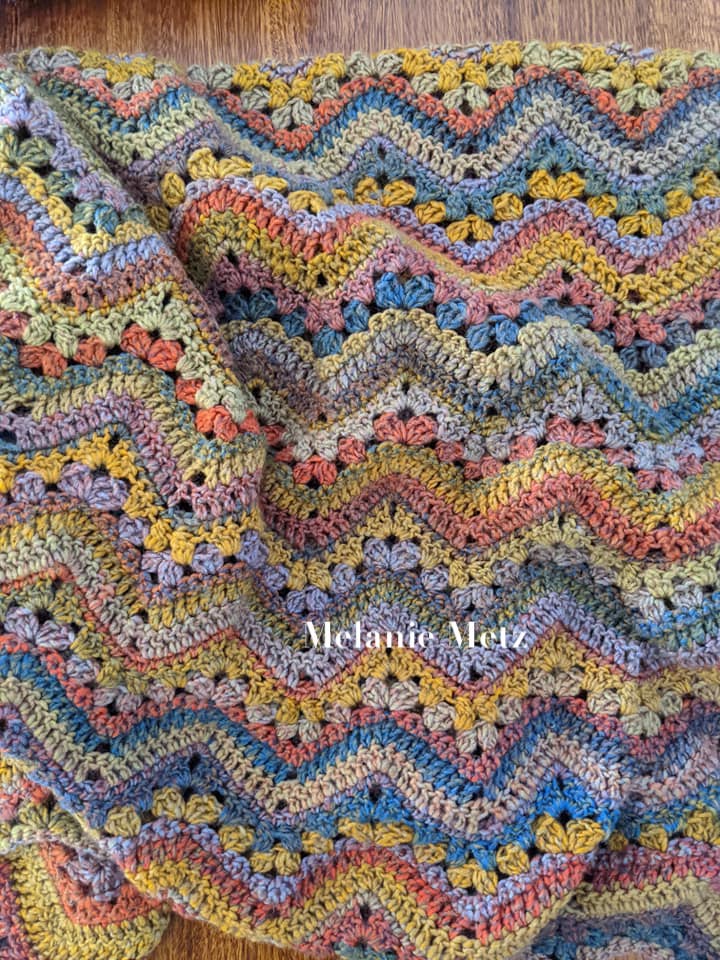
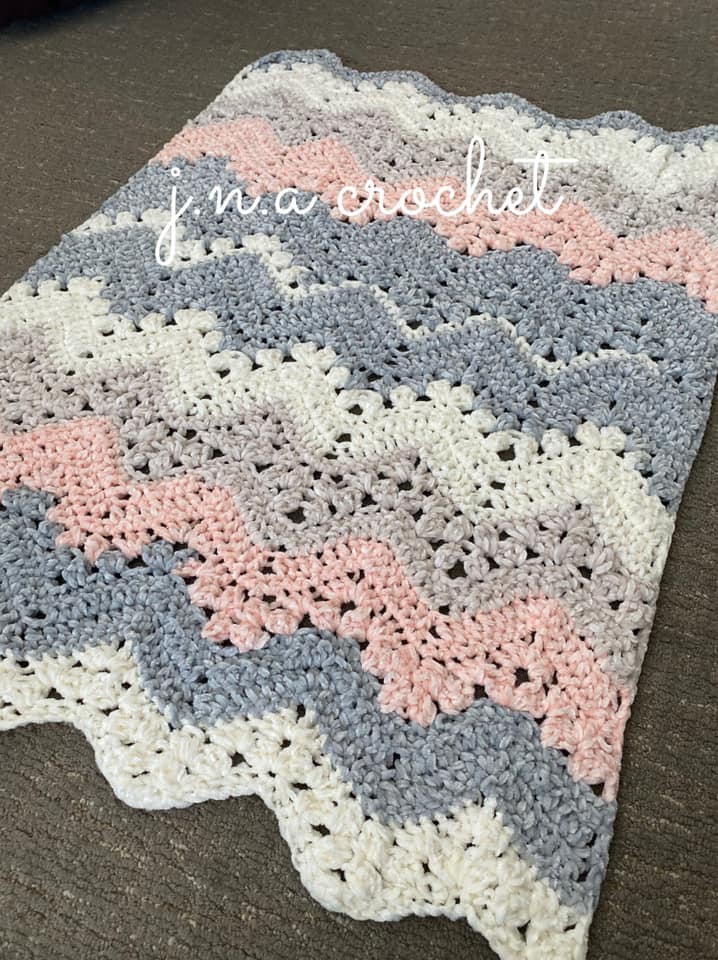
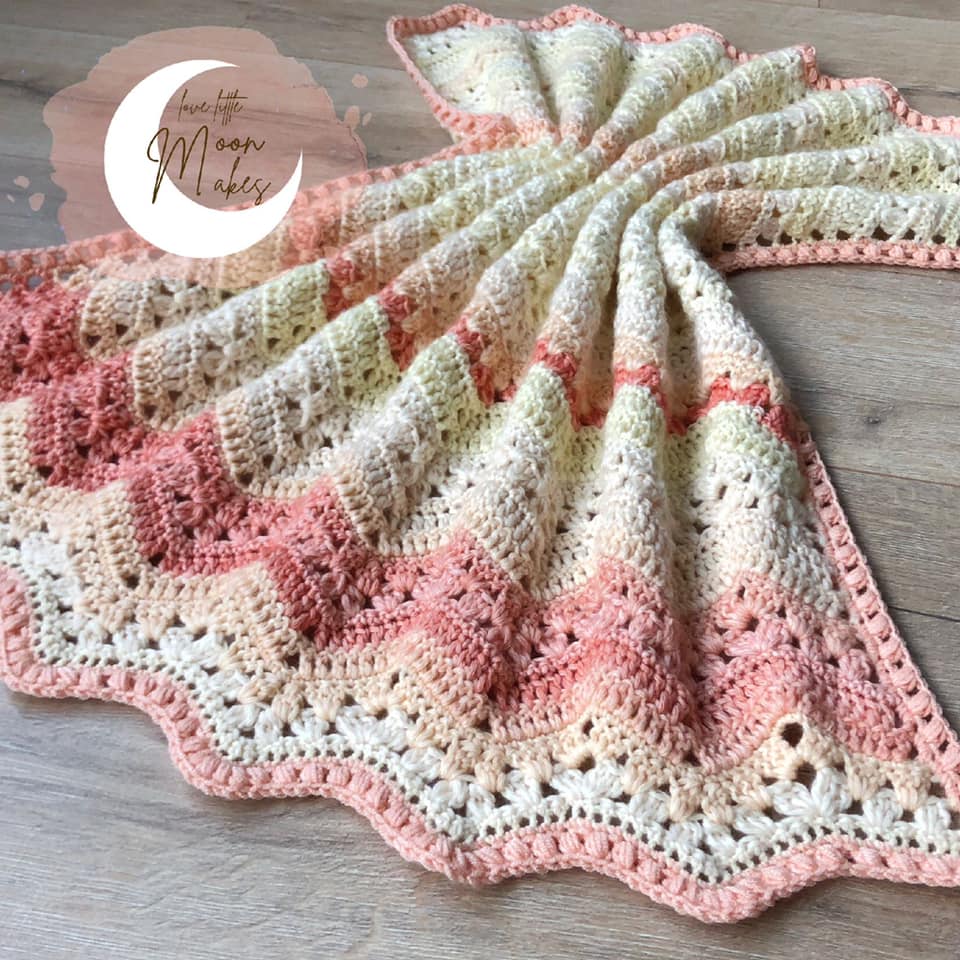
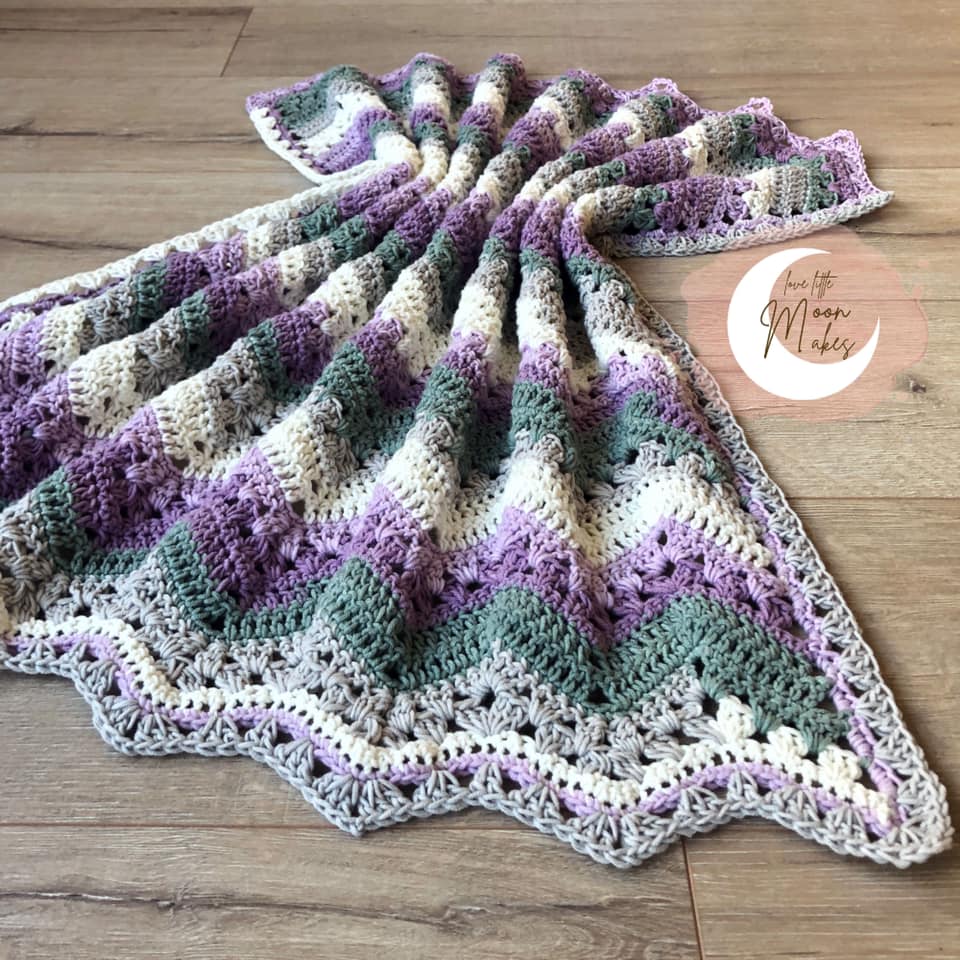
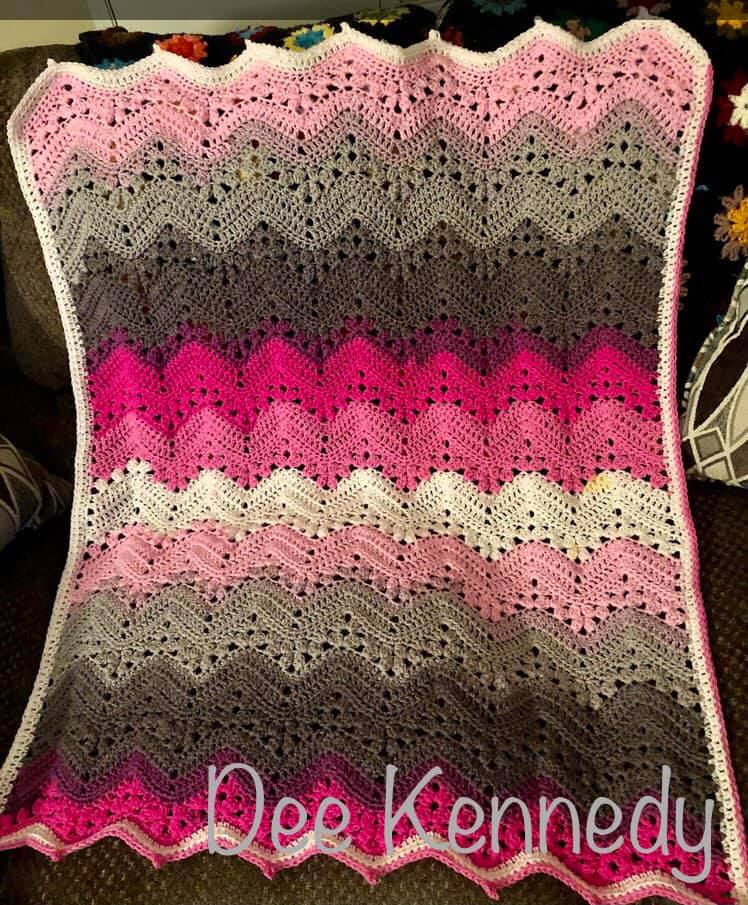
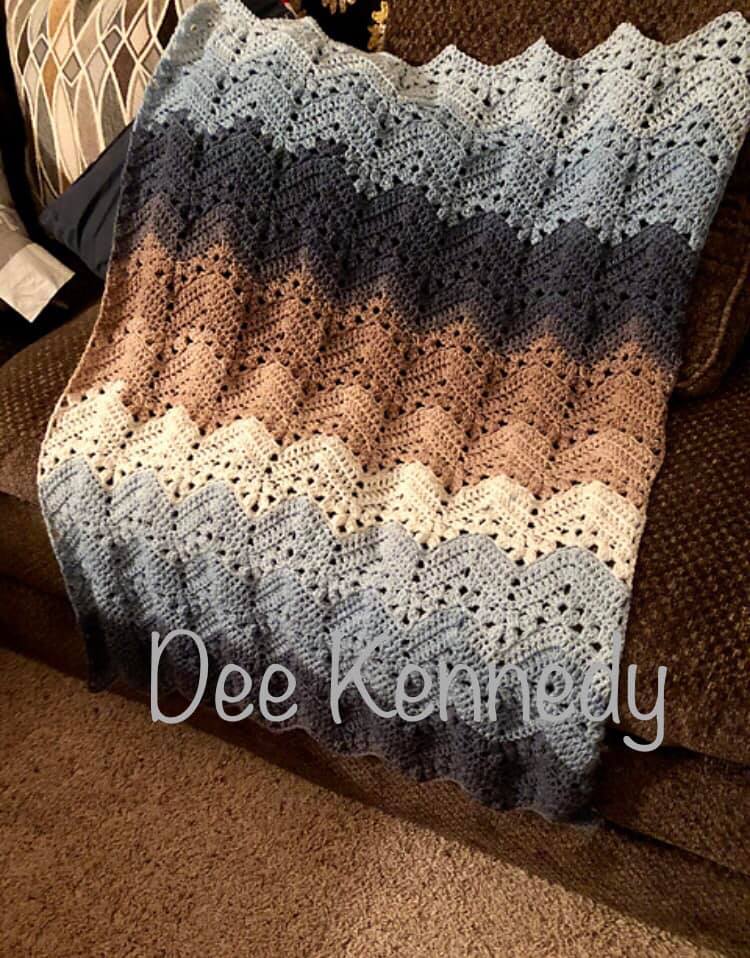
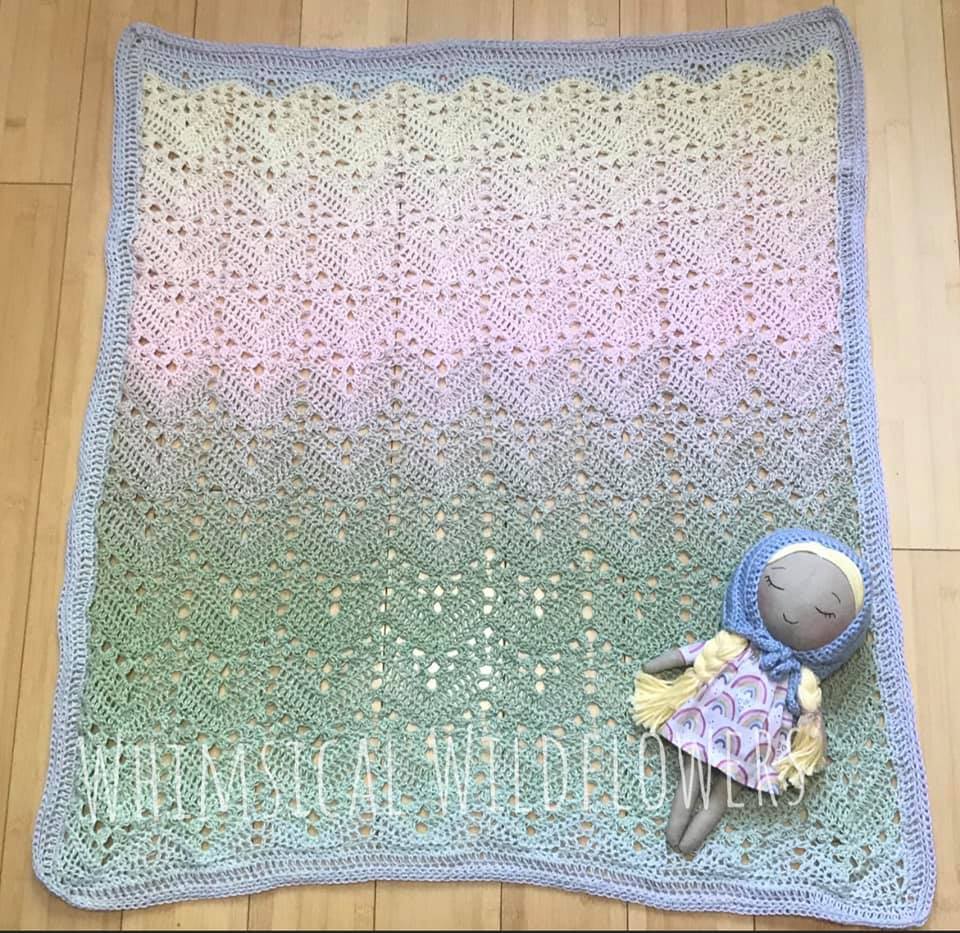
Self-striping yarn like Caron Cakes, Bernat Pop, Lion Brand Mandala are perfect for the 6-Day Kid Blanket. Sometimes I think cake yarn was made for the 6-Day!
This pattern hides mid-row color changes for crocheters who want to just “let it flow” – meaning they let the yarn change colors at will and let the color changes happen wherever. Others want a little more control so they control the color changes so that they fall on the ends of the rows. To each his own!
There is no wrong way to enjoy your yarn (except tying magic knots).
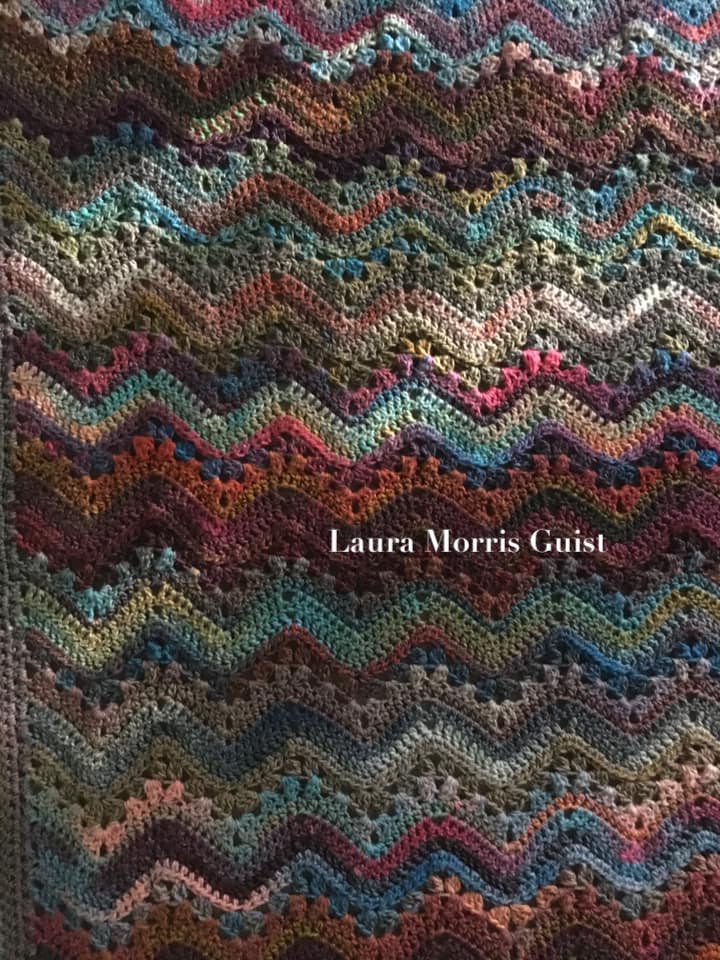
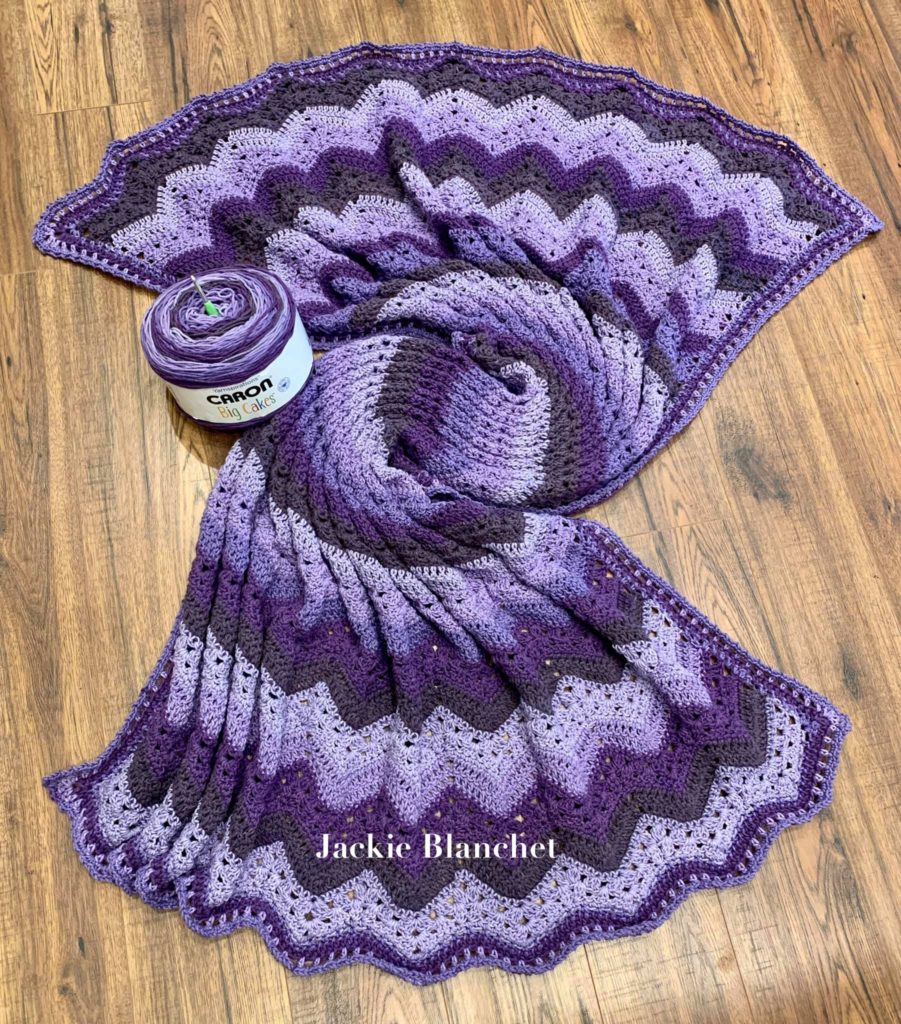
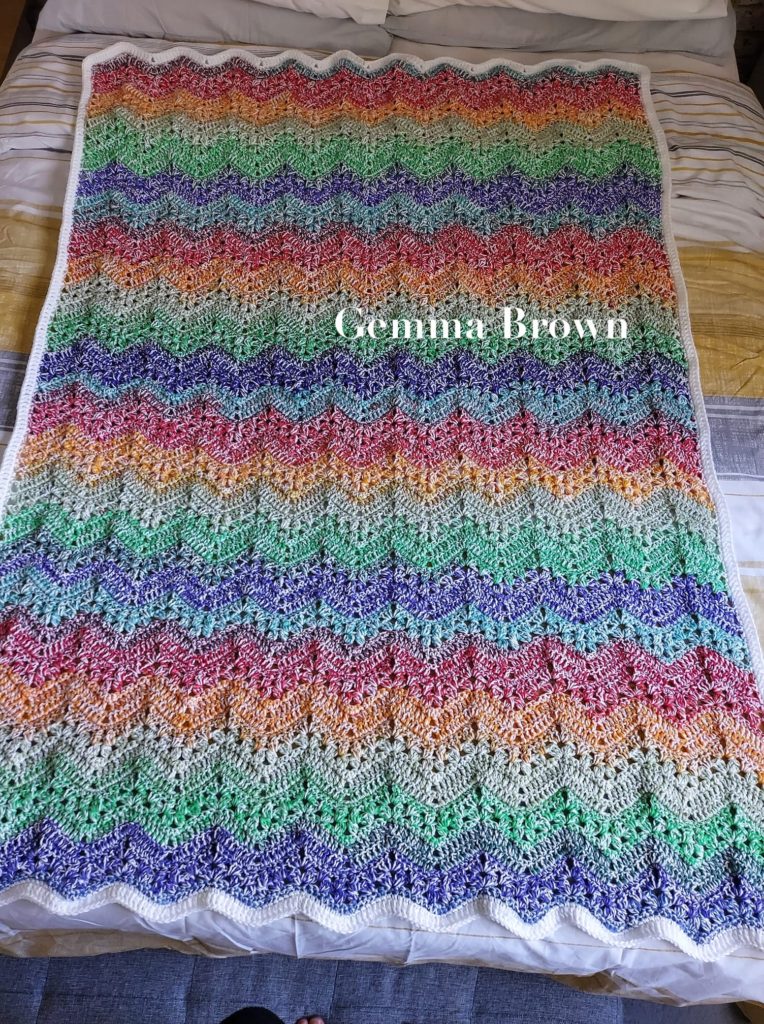
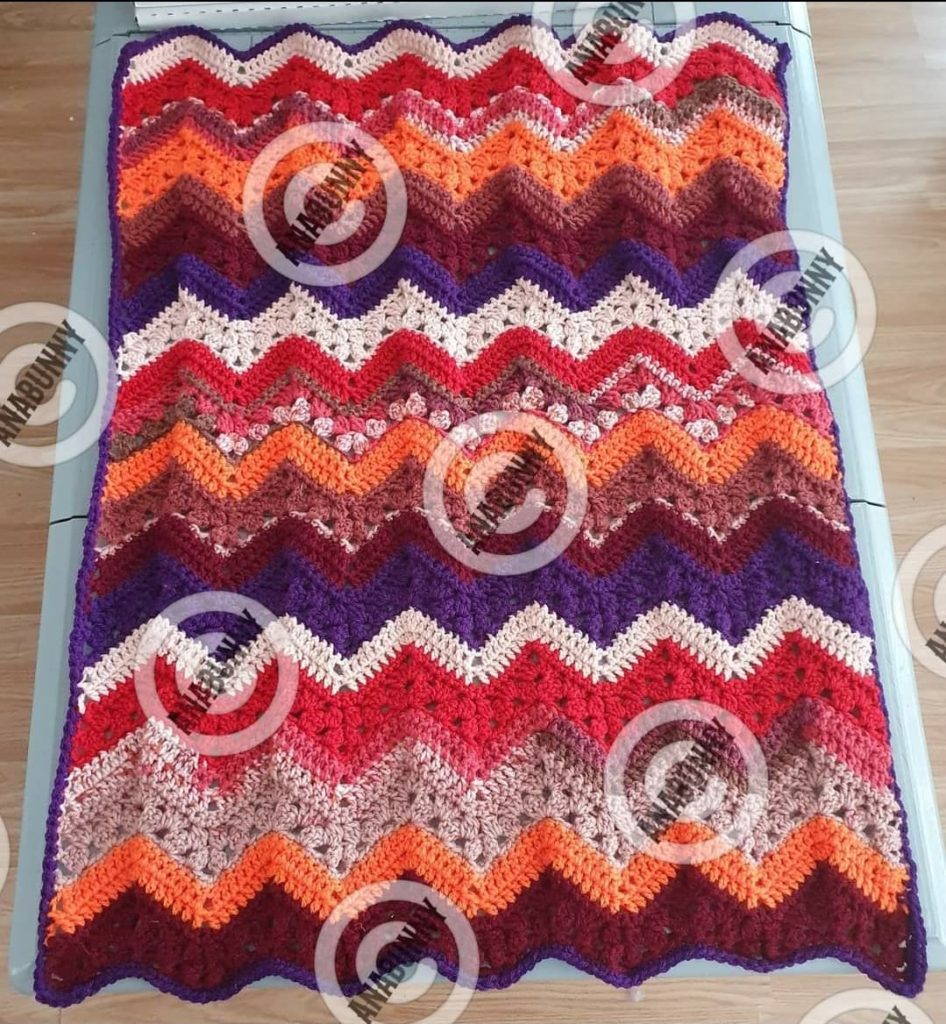




Cake Mixing
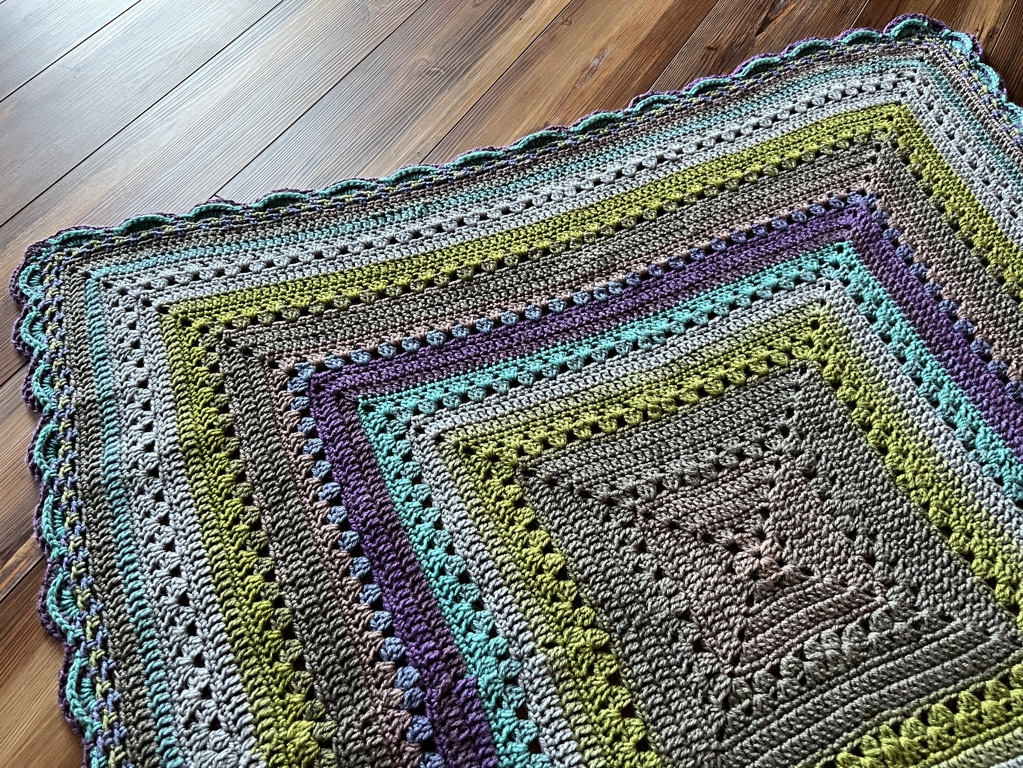
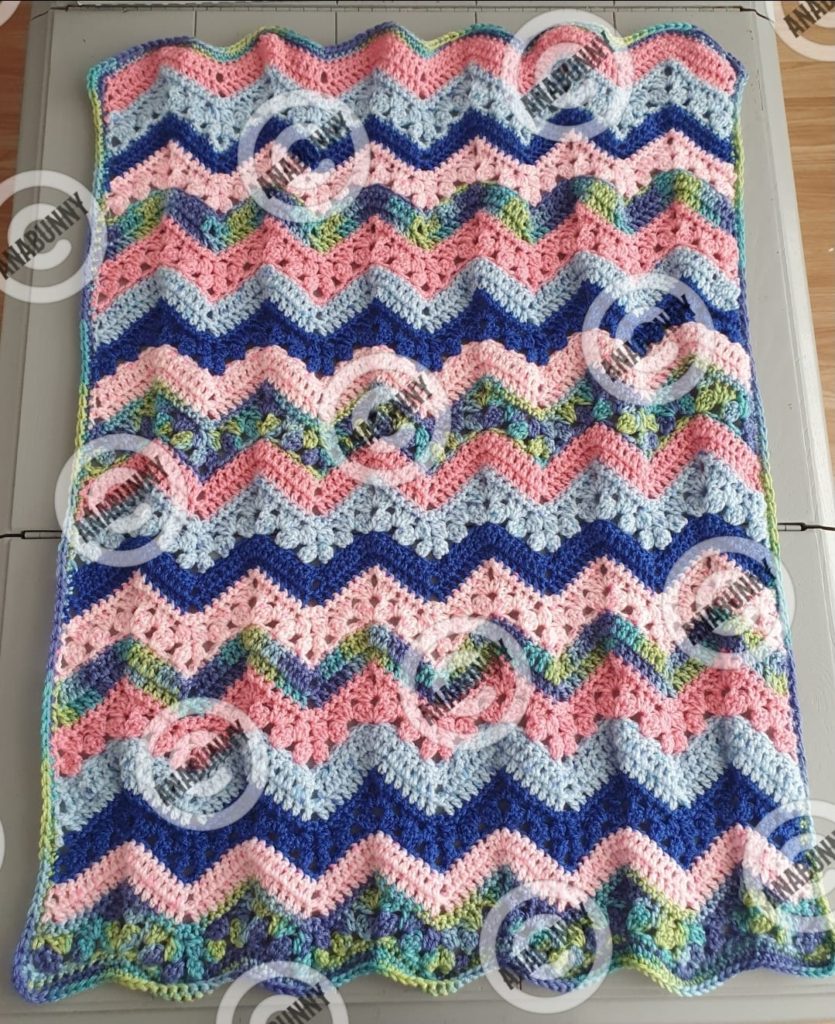
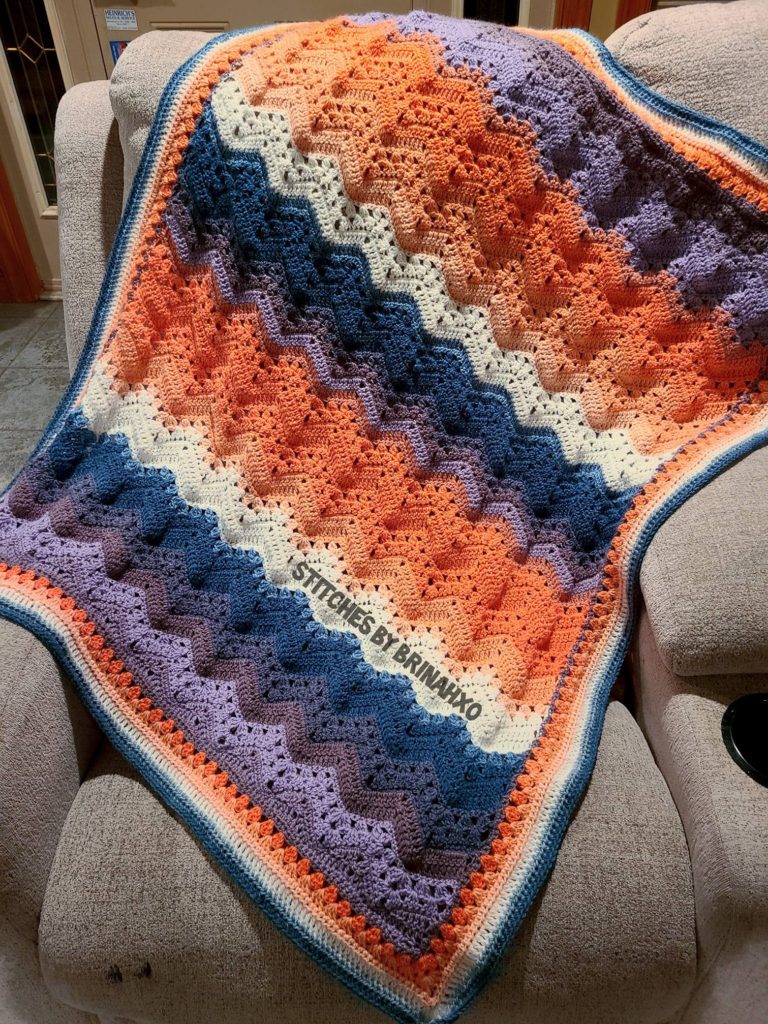
A really fun use of self-striping or “cake” yarn is to combine more than one colorway. Some crocheters achieve beautiful blankets by working one entire cake of one colorway and then changing to another color. An example of this variation is the 6-Day Boom Blanket.
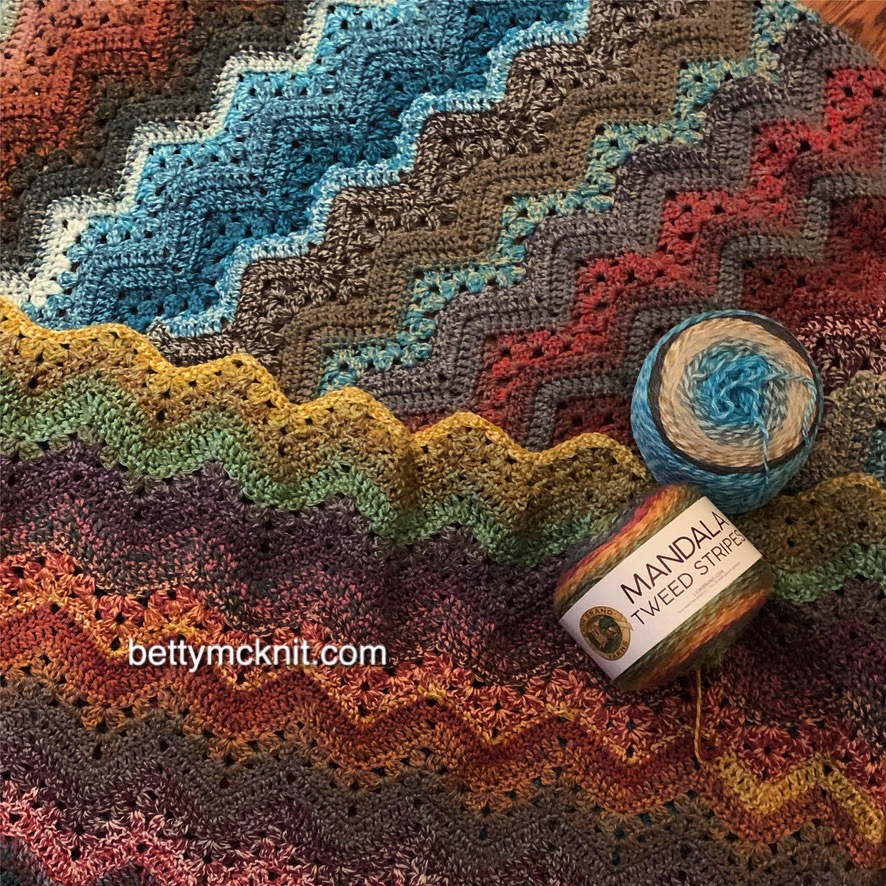
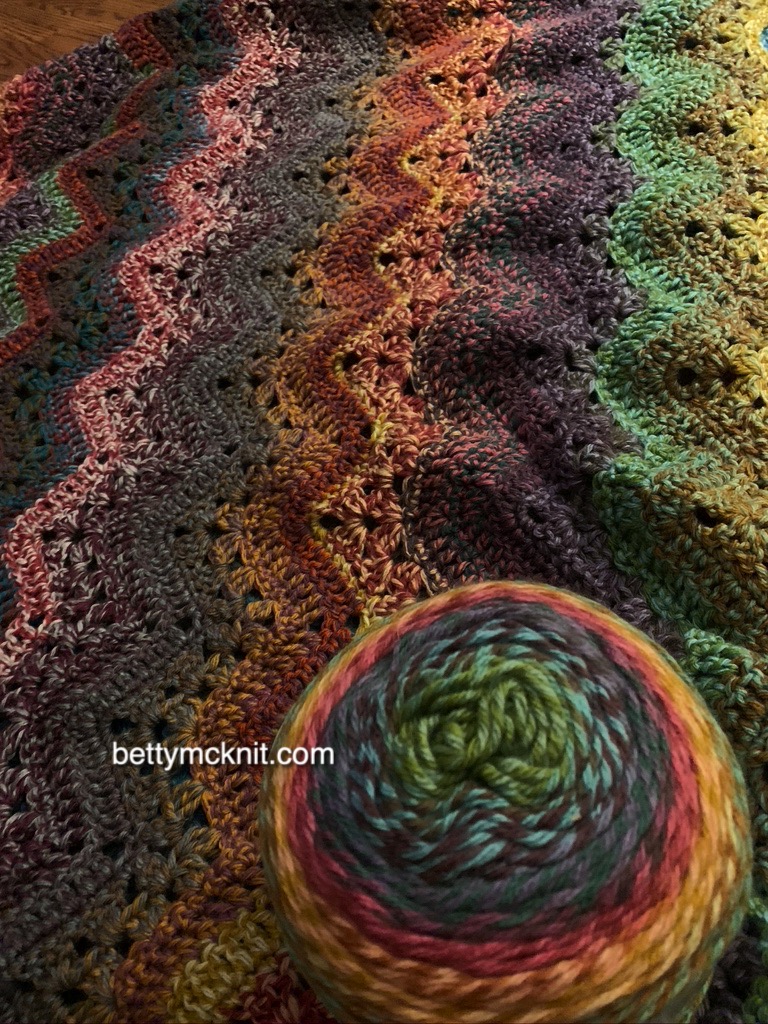
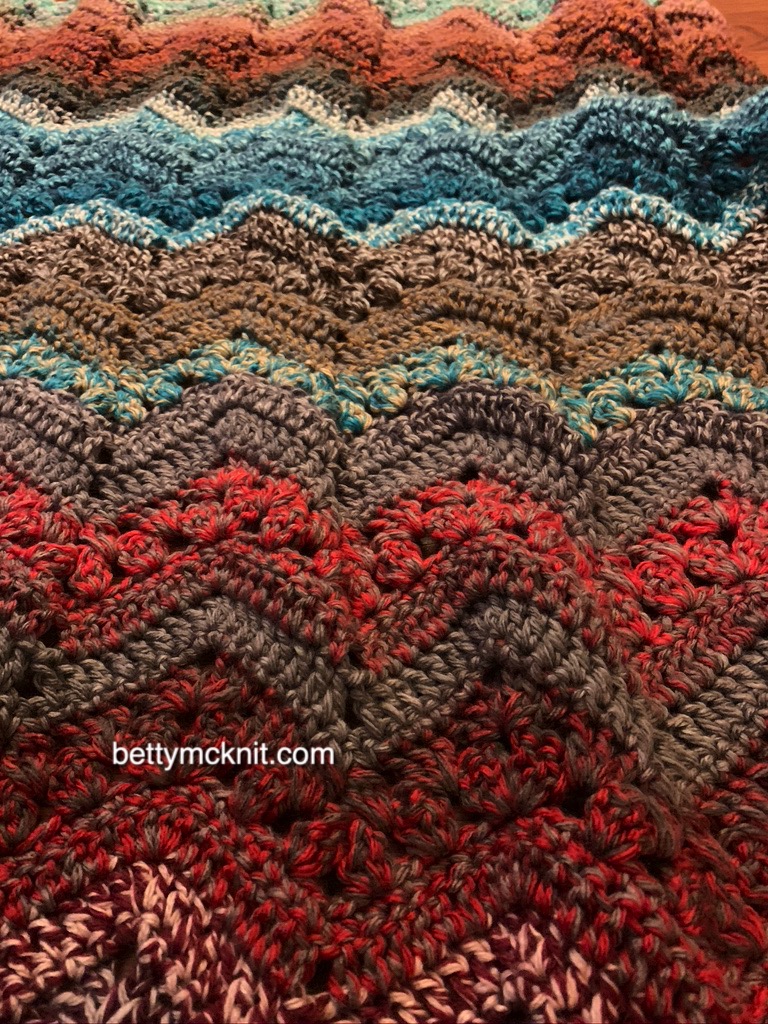
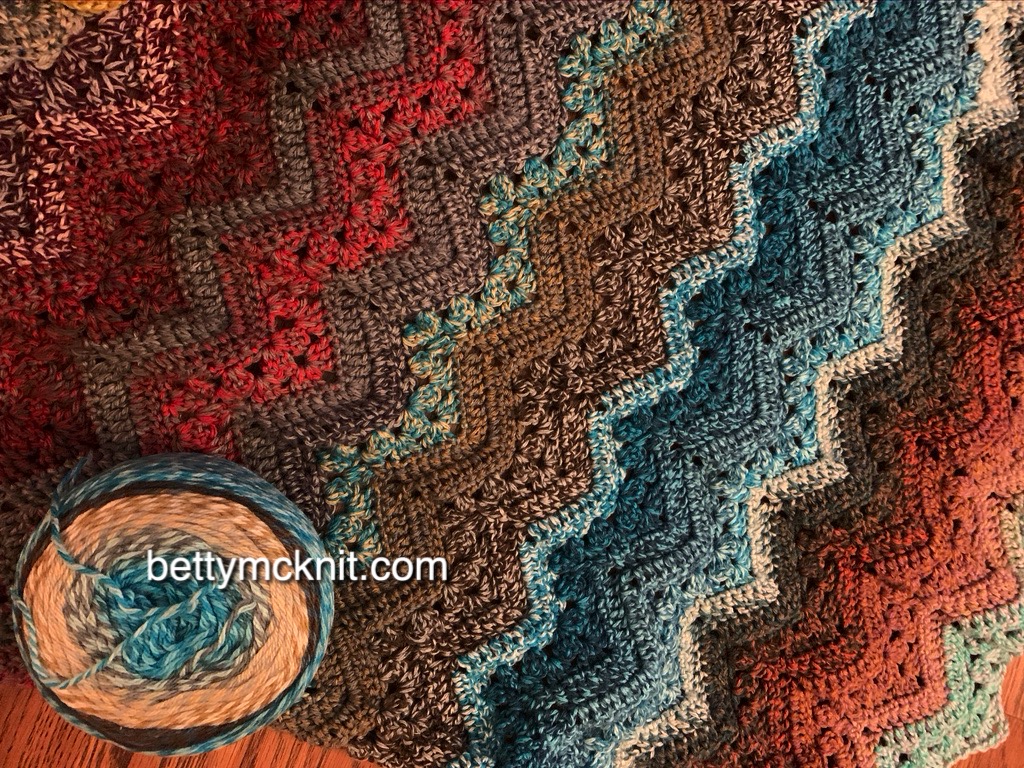
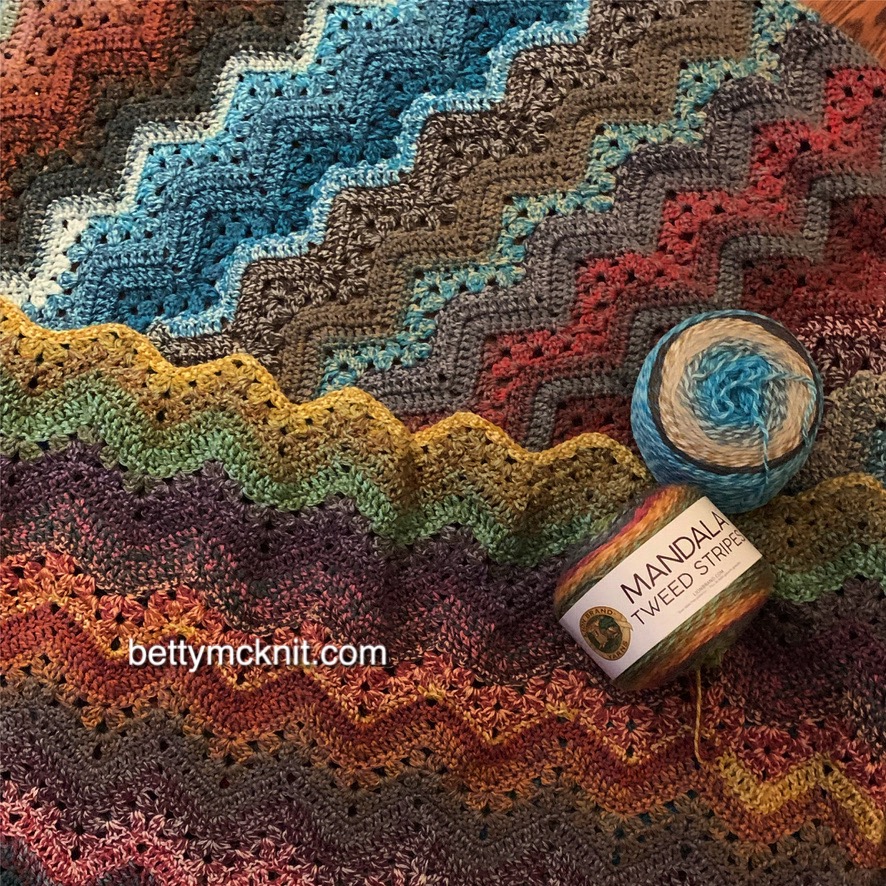
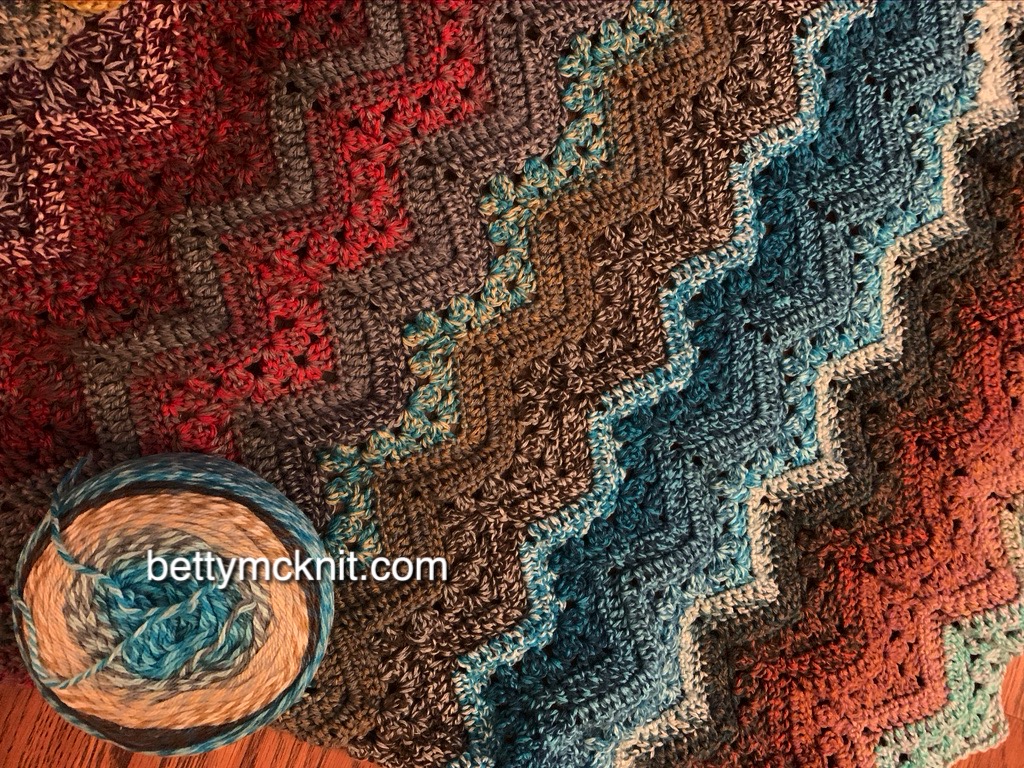
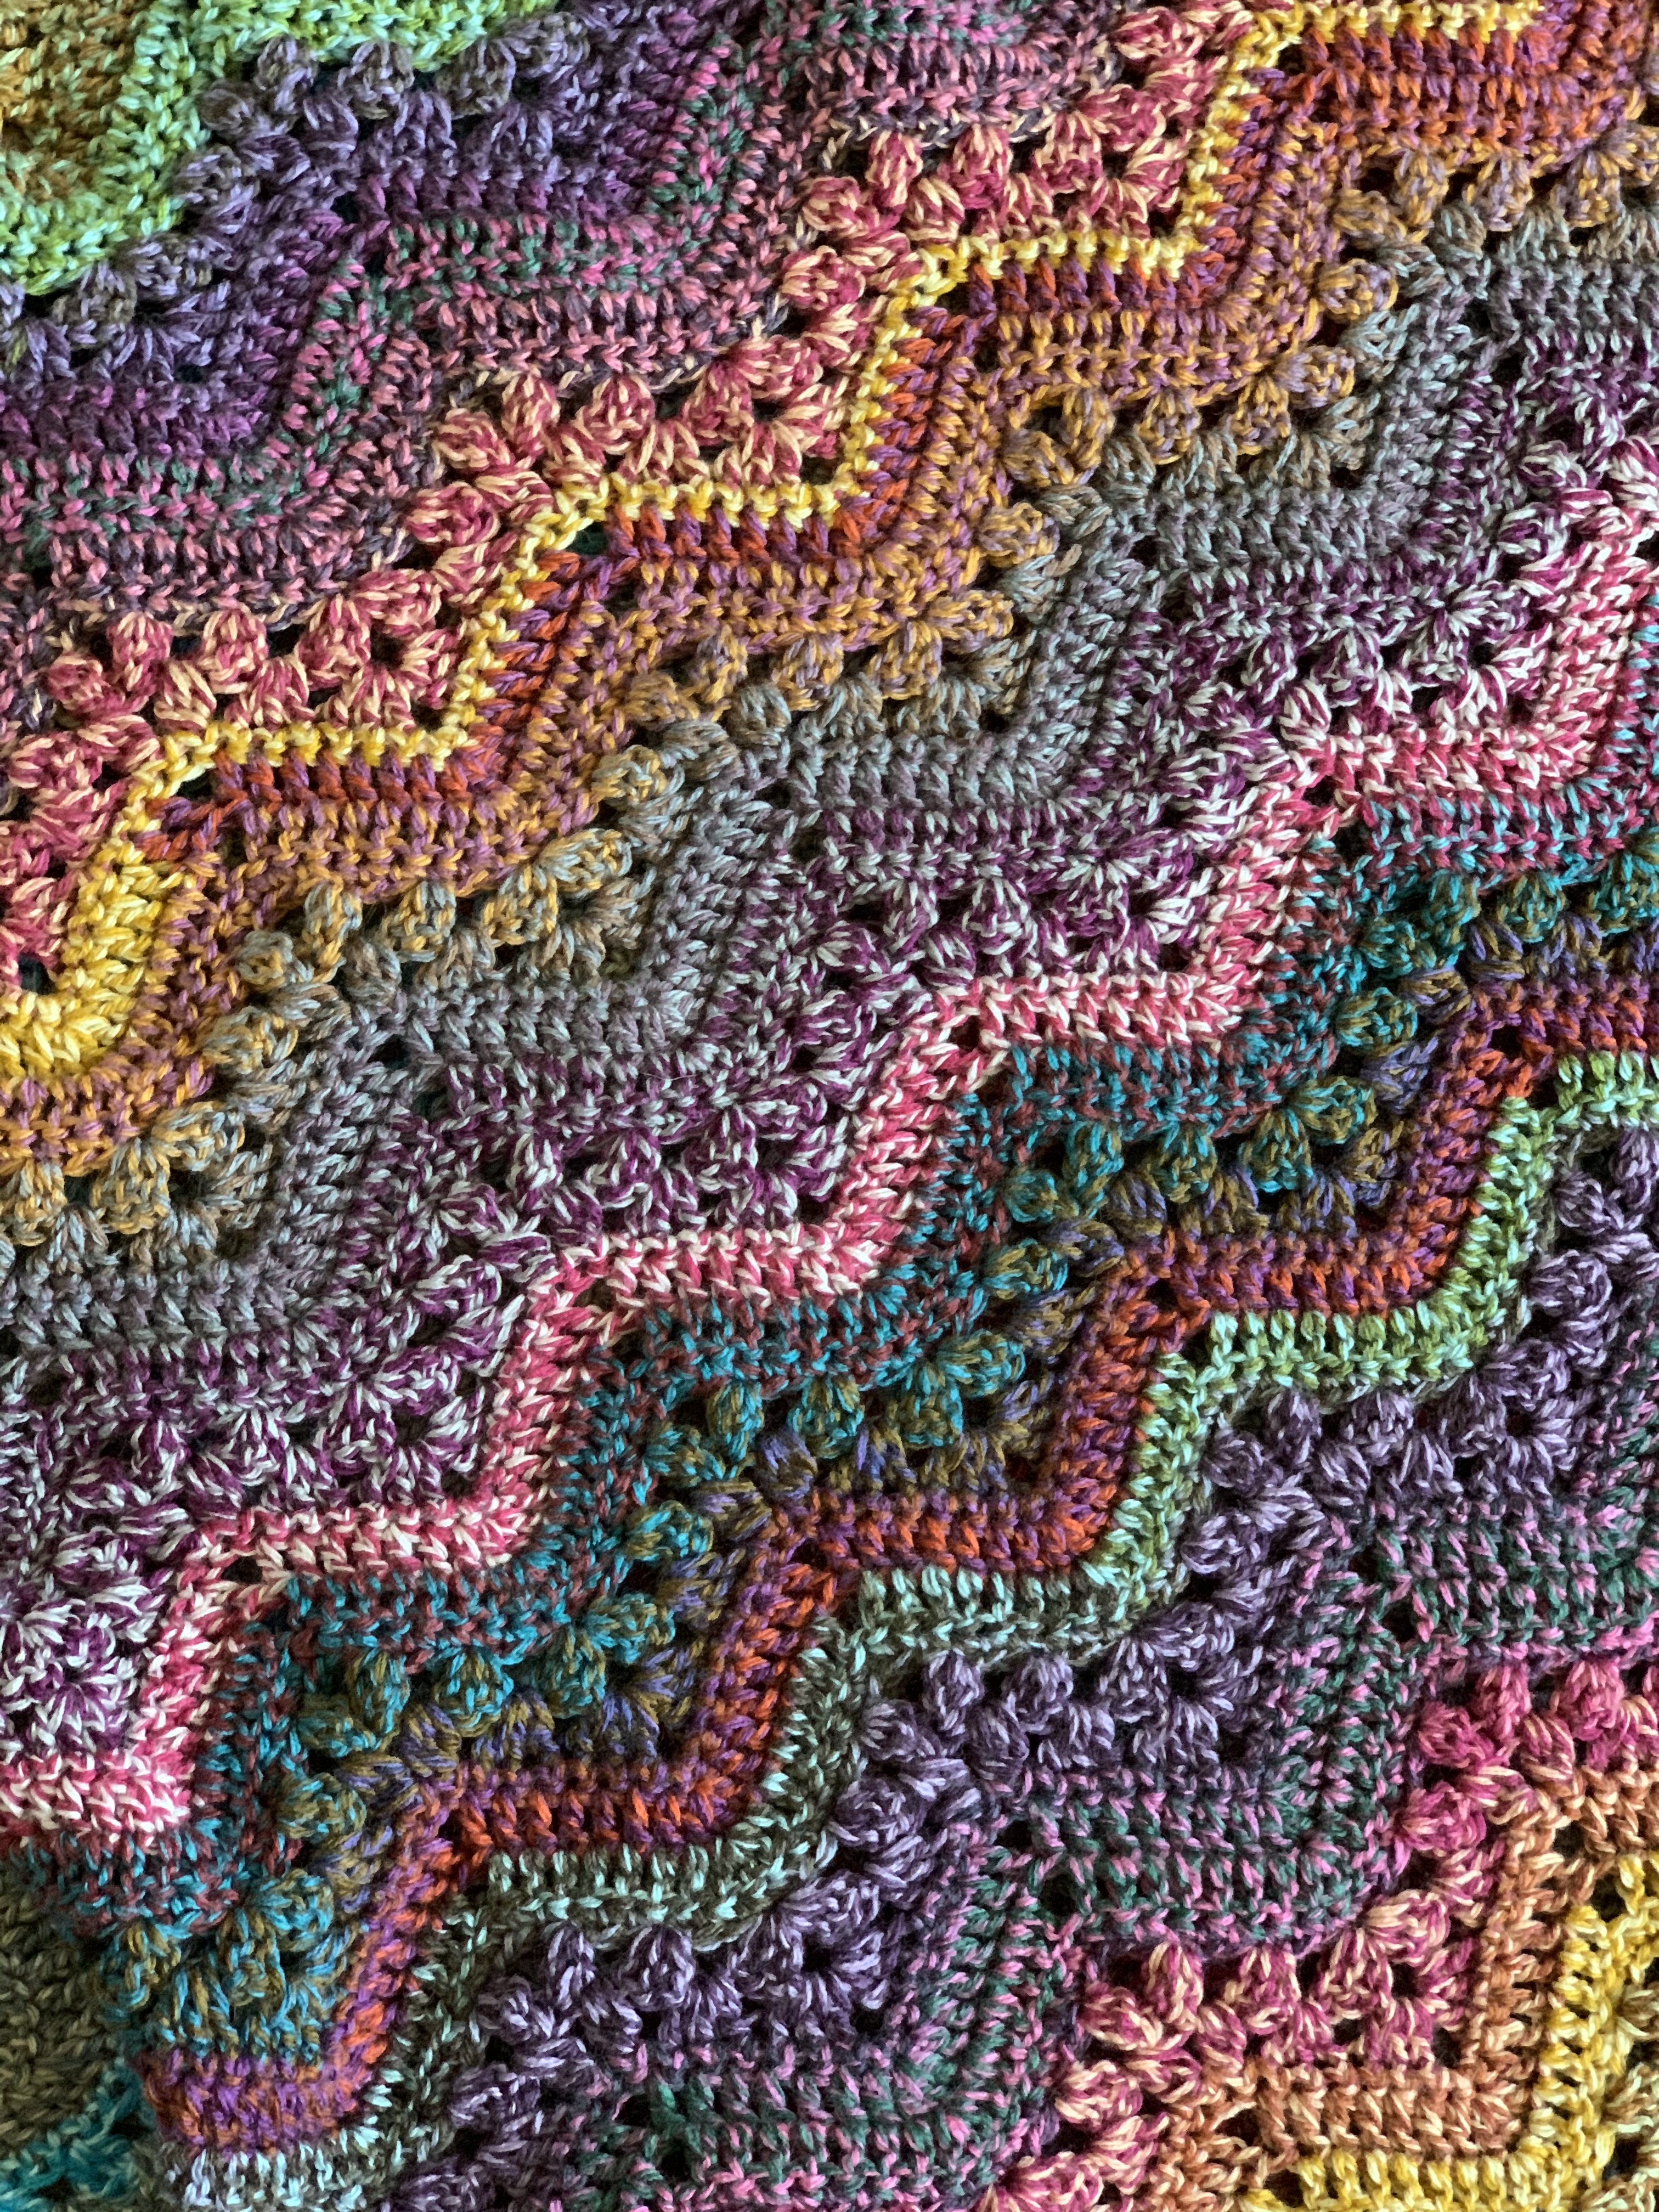

Other exciting color changes can be achieved by striping different colors of cake yarn. Betty’s favorite way to do this is to use the follow the original Vivid Chevrons 6-Day Kid Blanket pattern, using one color way for rows 5 and 6 and another colorway for the remaining rows. This is called Betty’s Lazy Mix, because I’m lazy sometimes, and I do the same thing over and over again so I don’t have to think.
There really is no wrong way to cake-mix. In fact, it requires a little letting go, rather than planning and pre-determining your look. If you like to know EXACTLY how your project is going to turn out before you make it, then cake mixing might make you a little anxious. But if you’re willing to “let it flow” and go along for the ride, you might be pleasantly surprised!
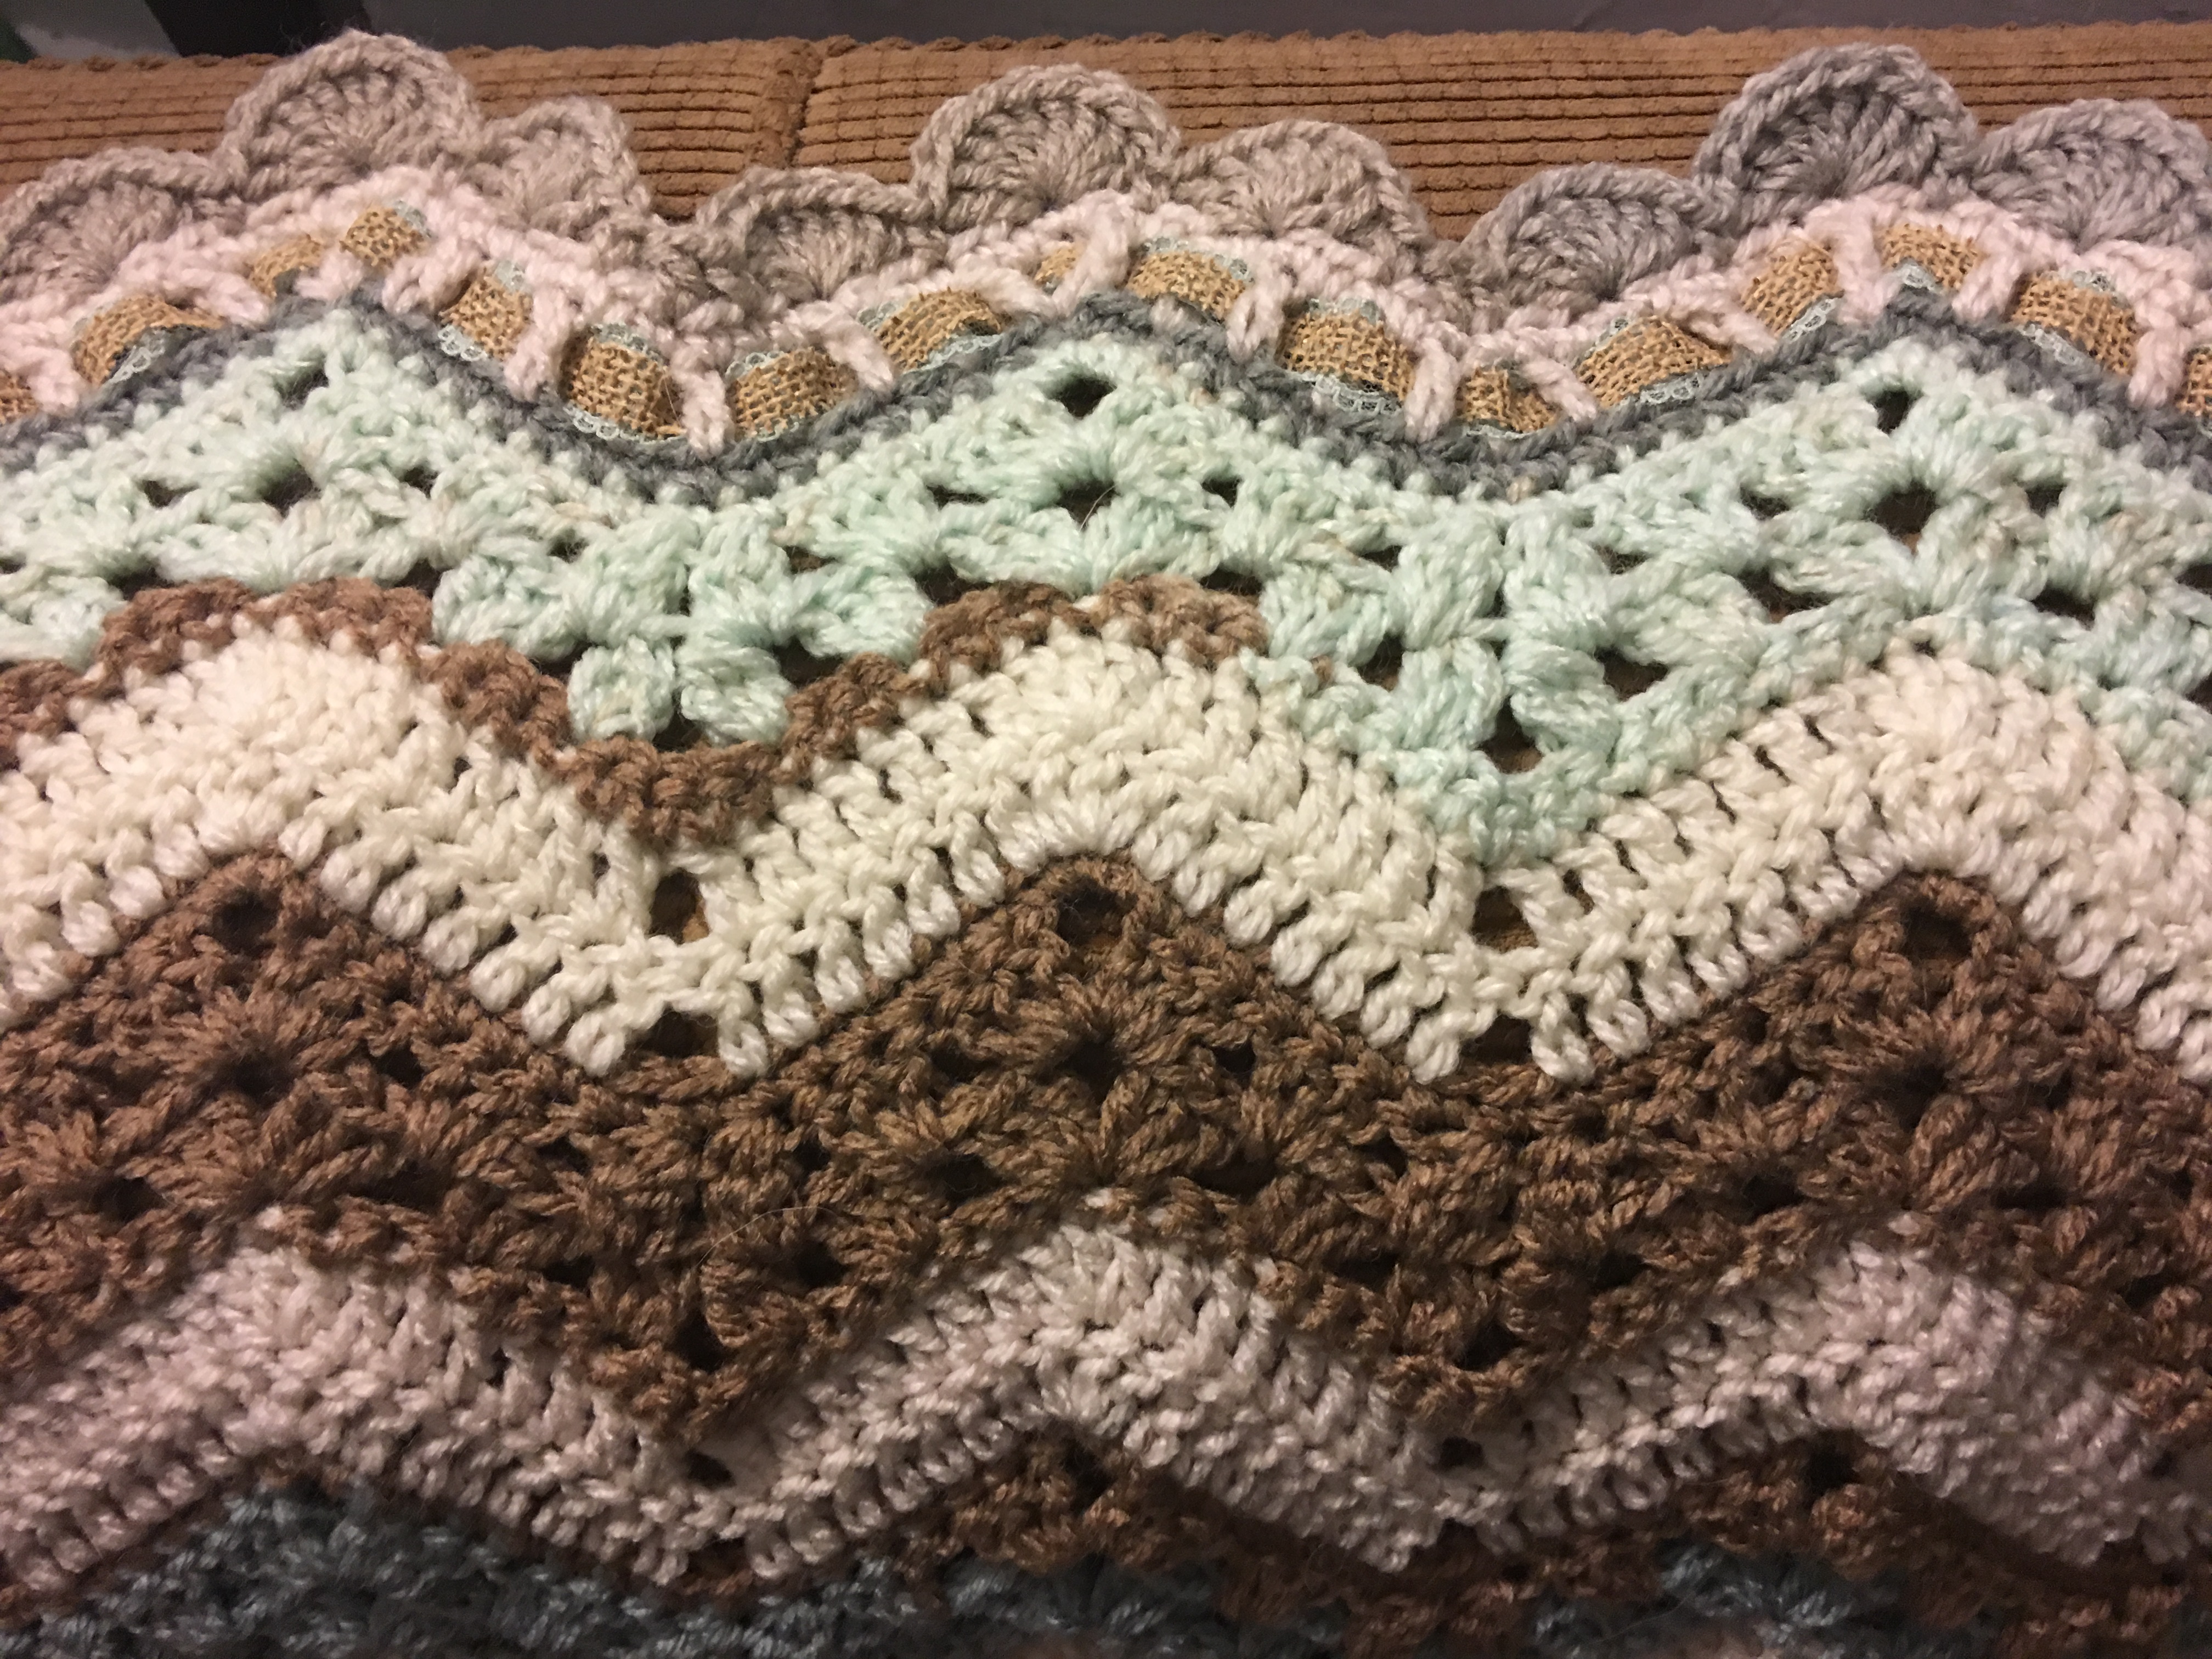
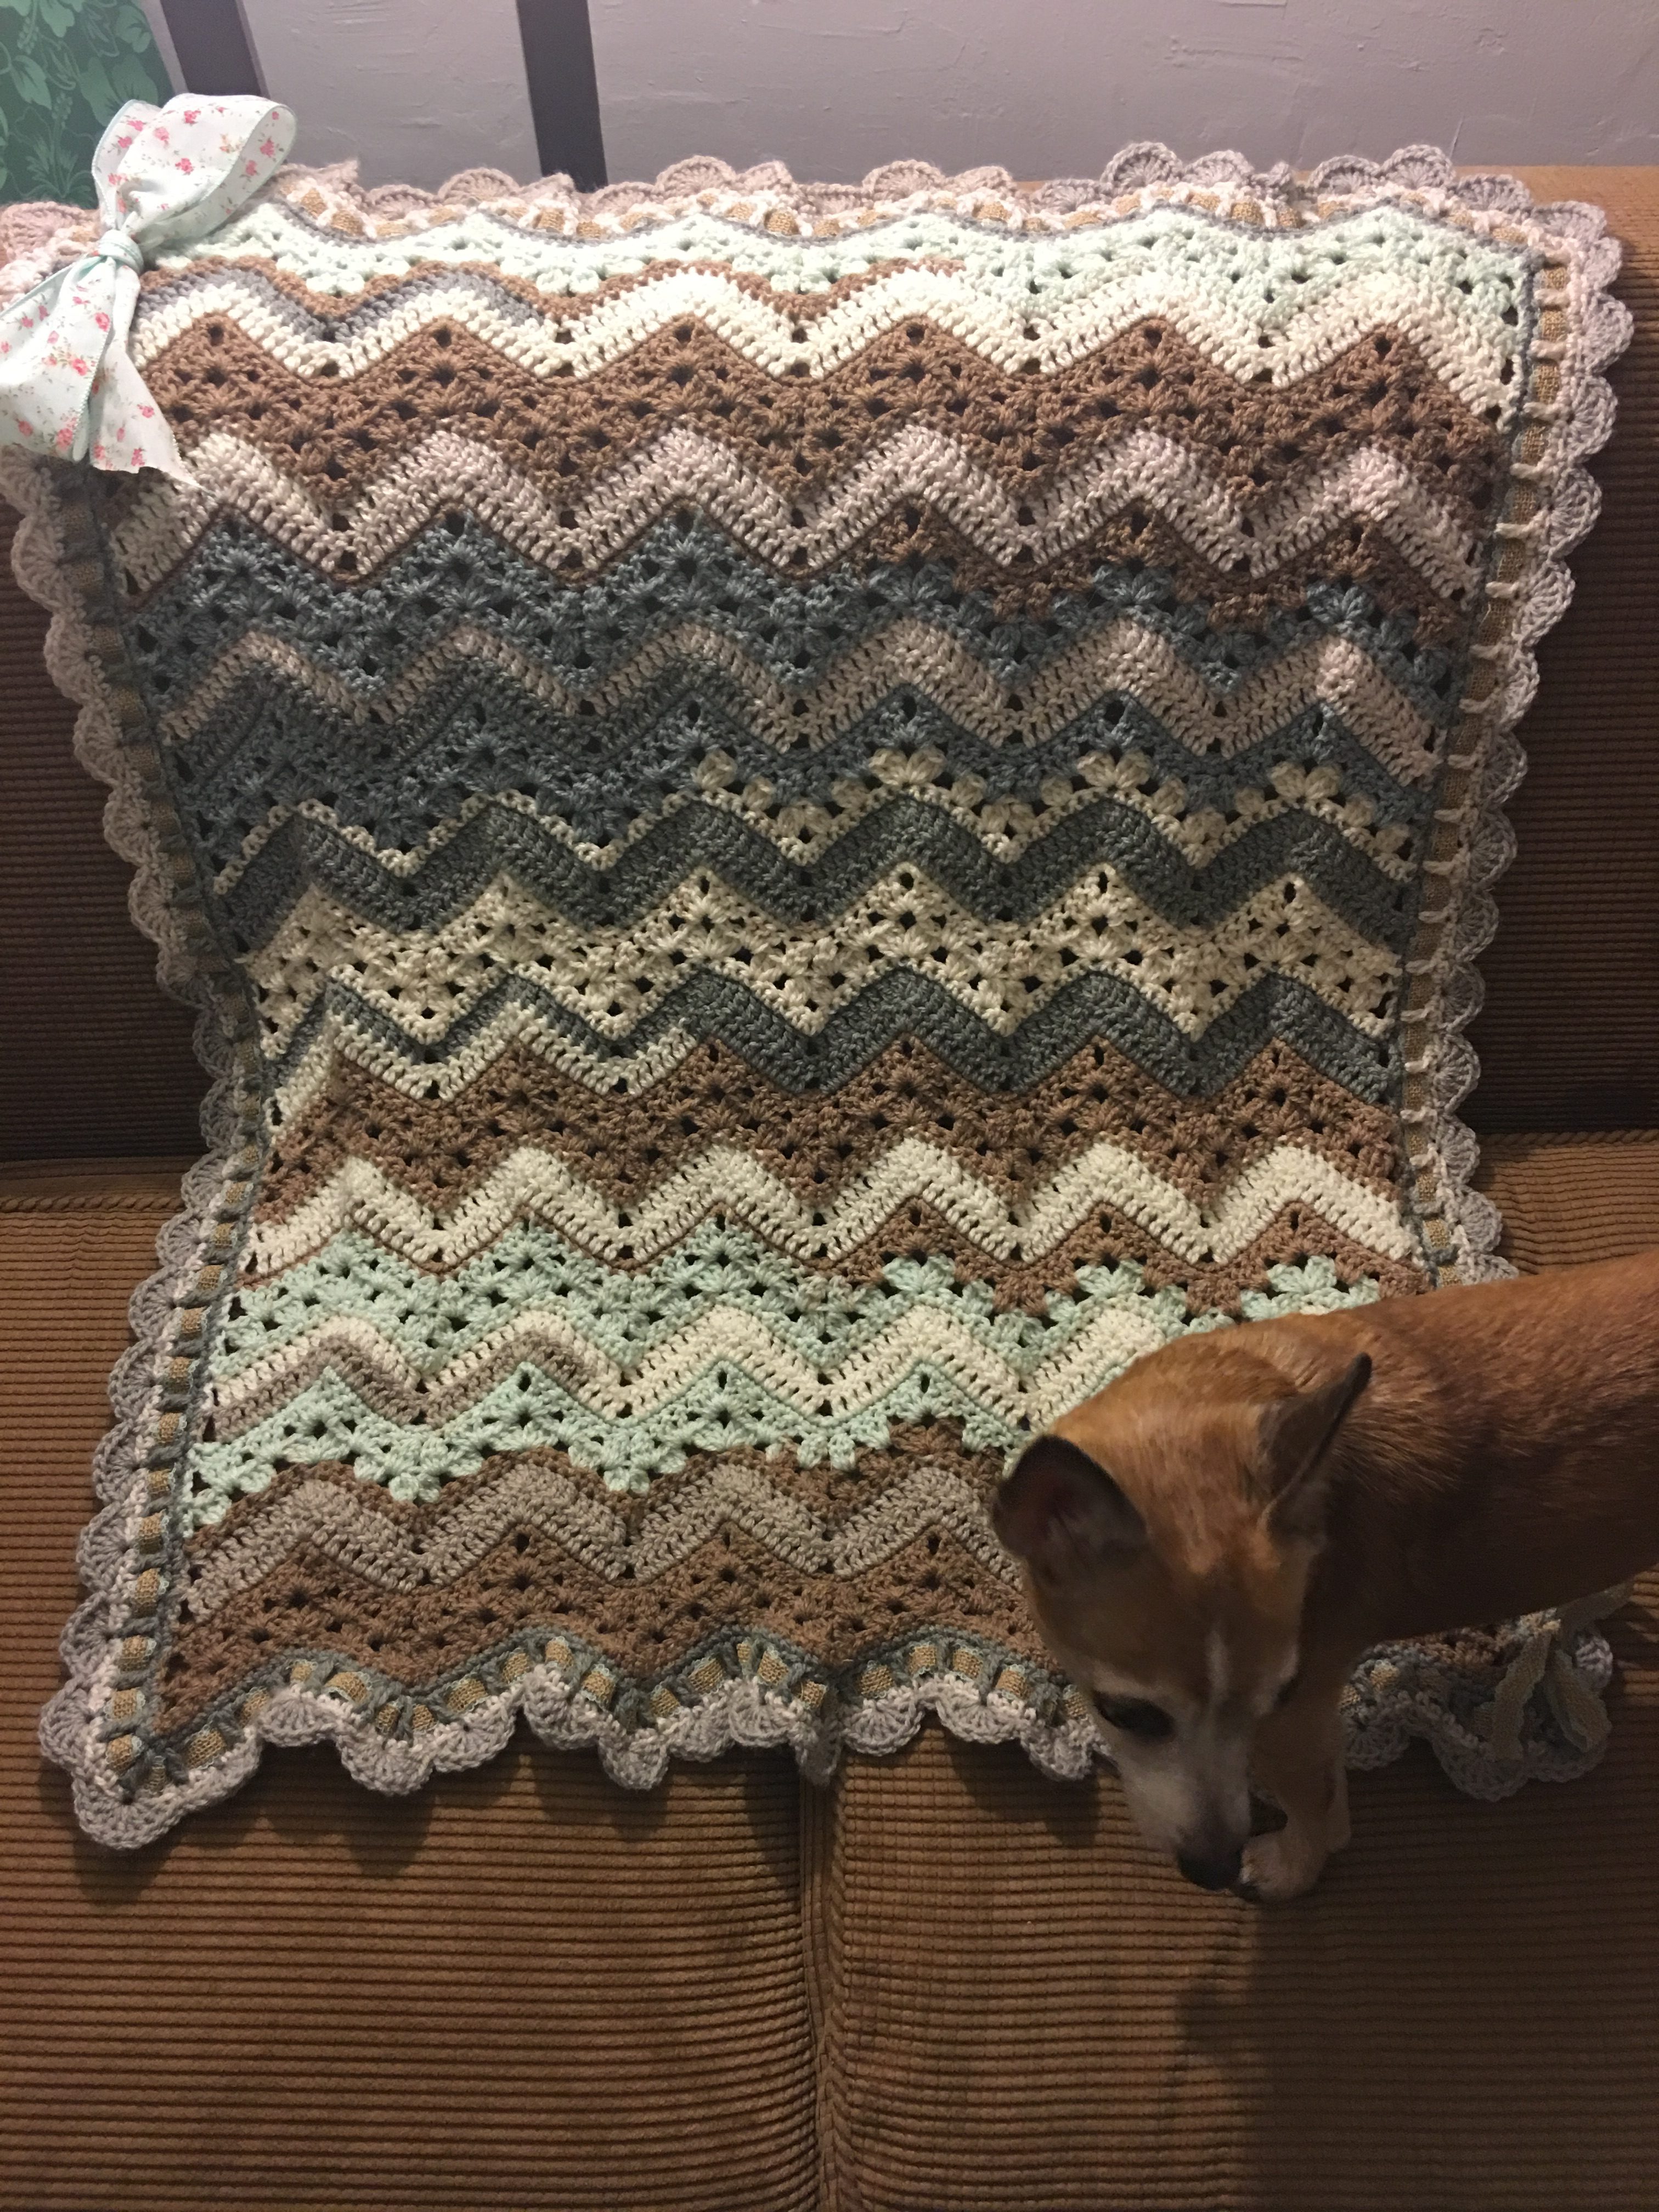
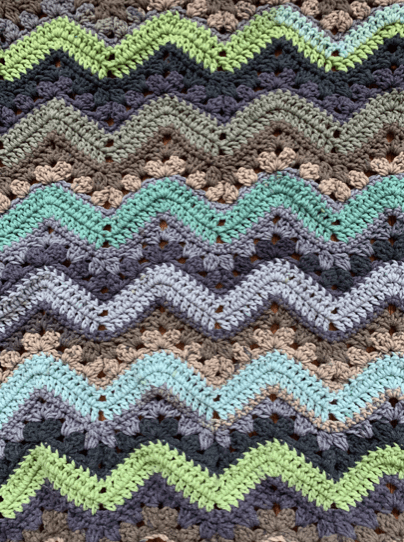
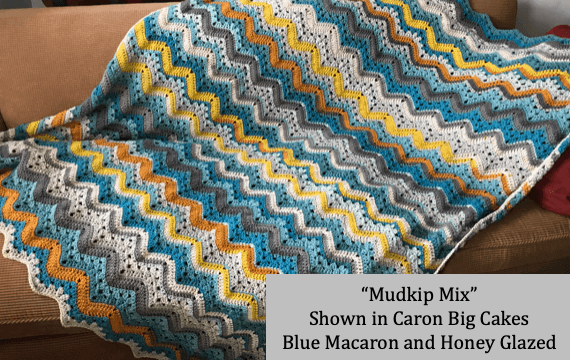
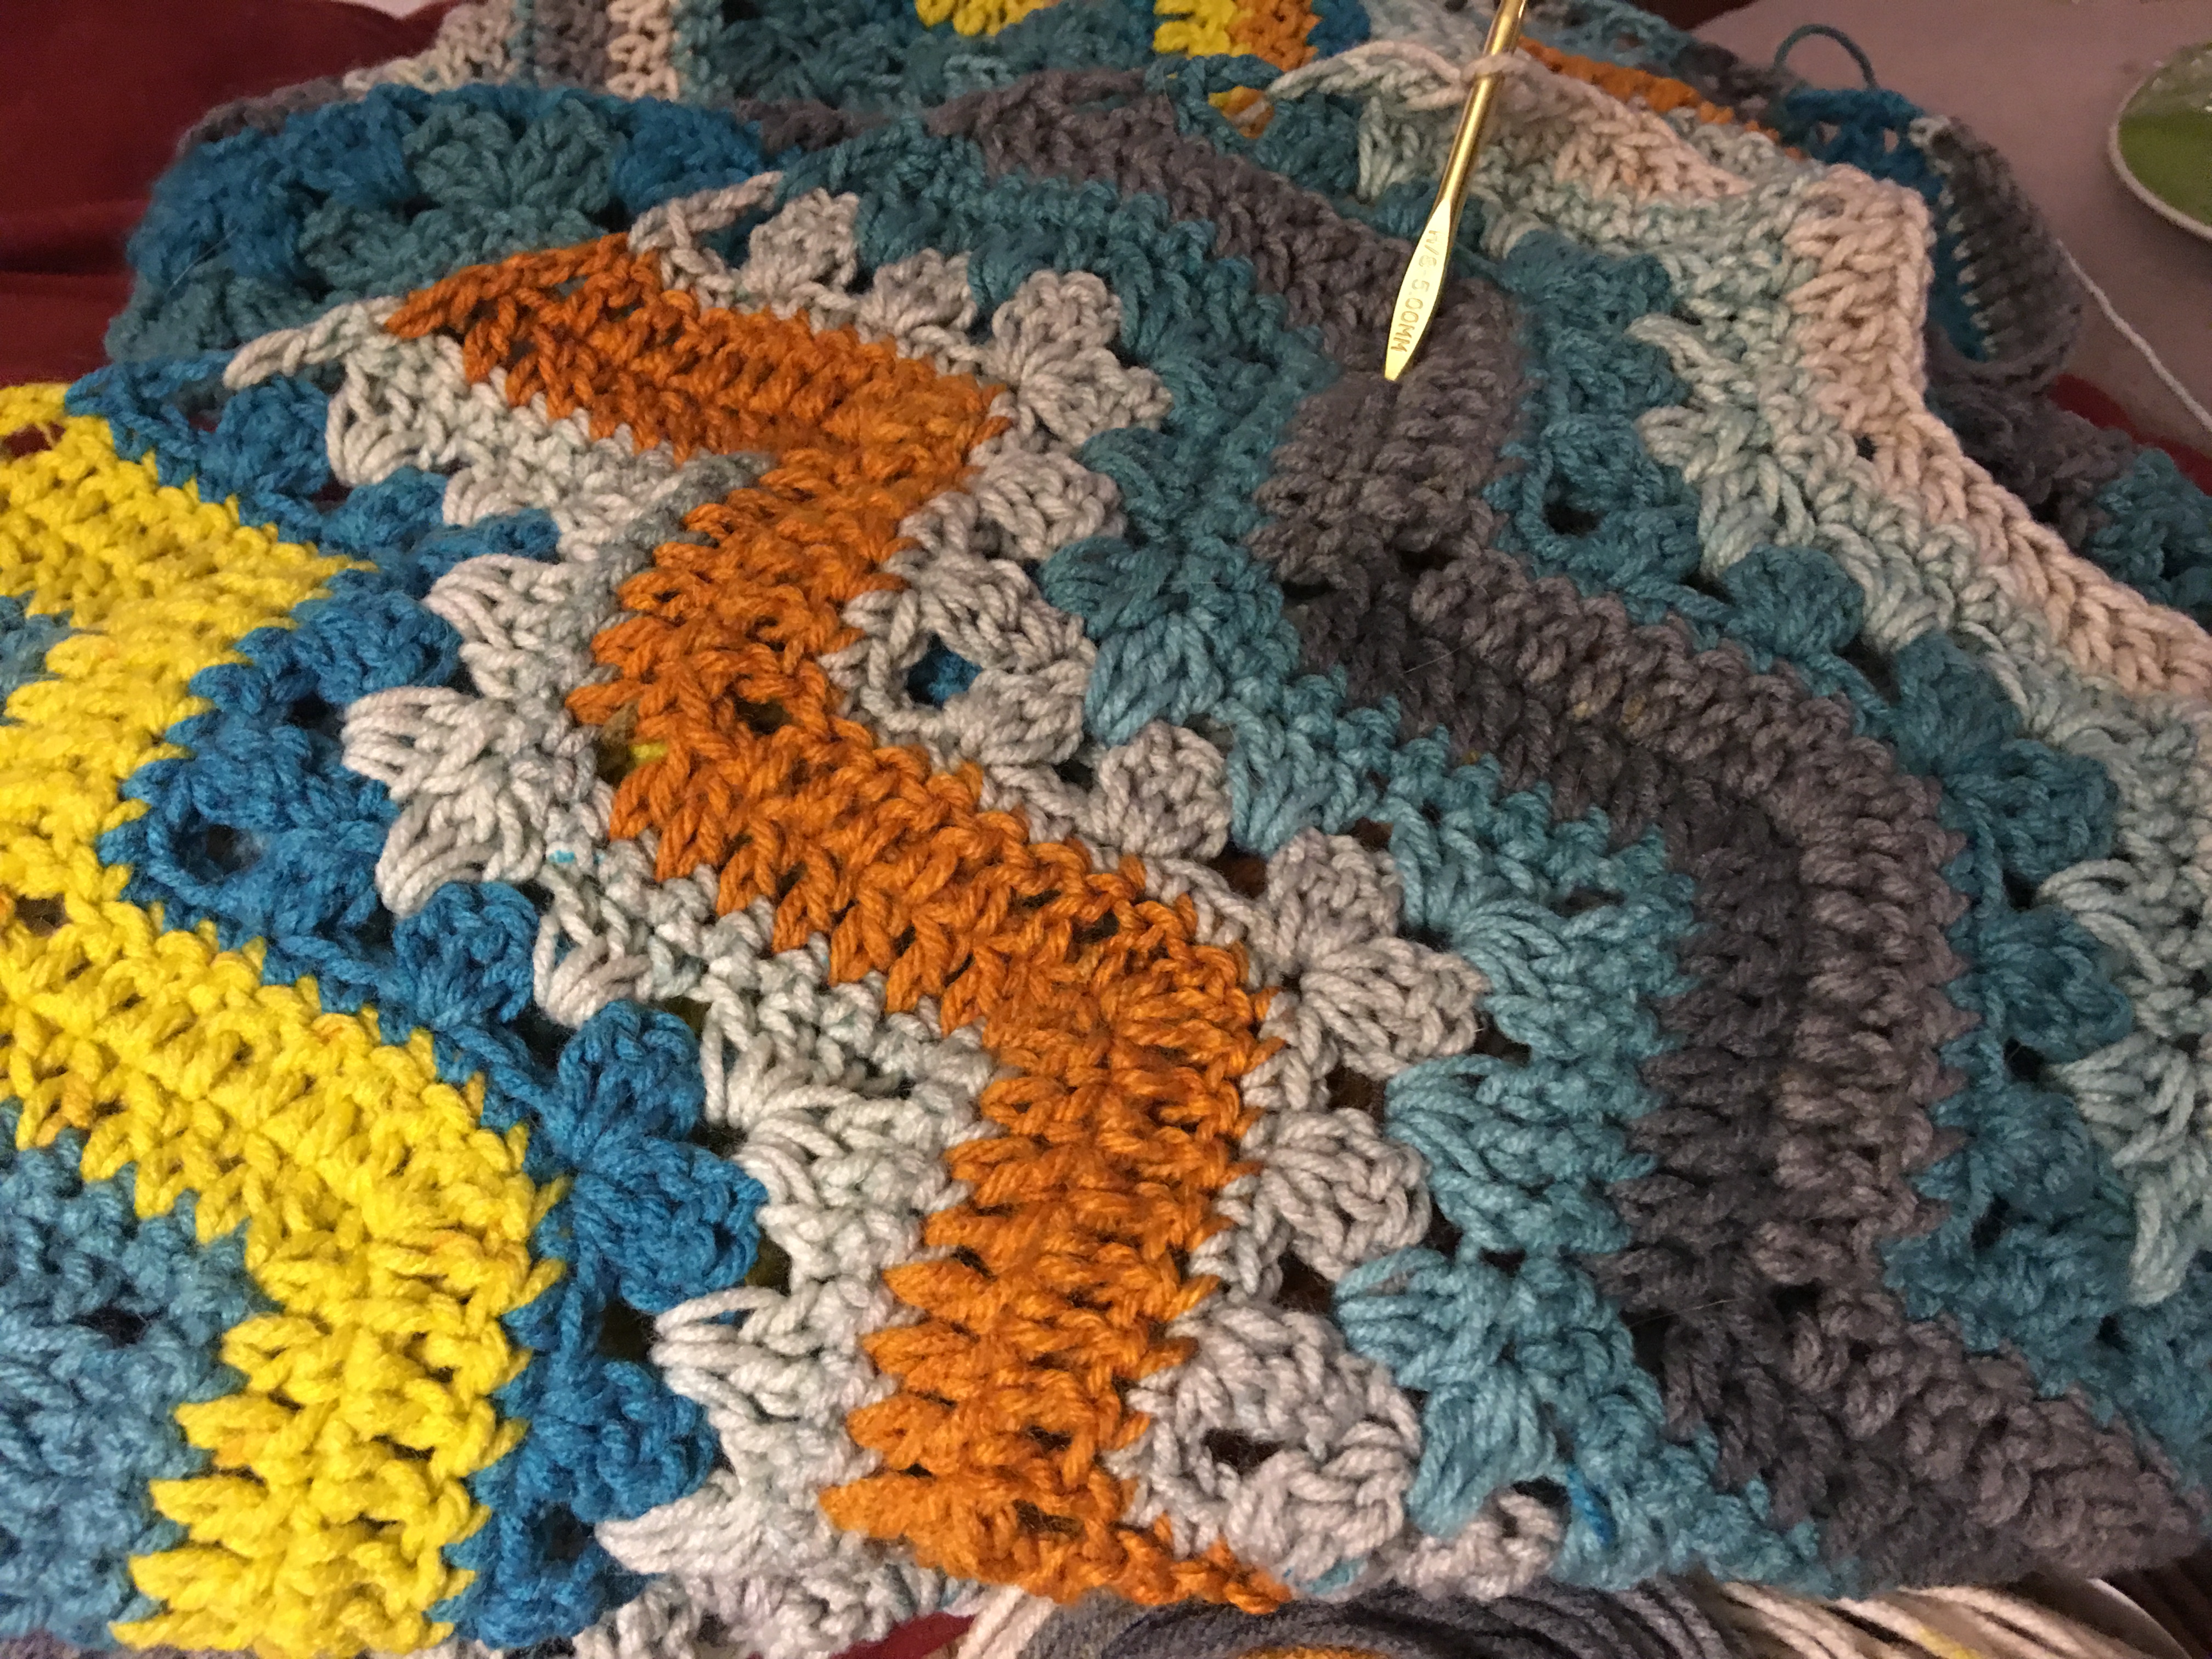

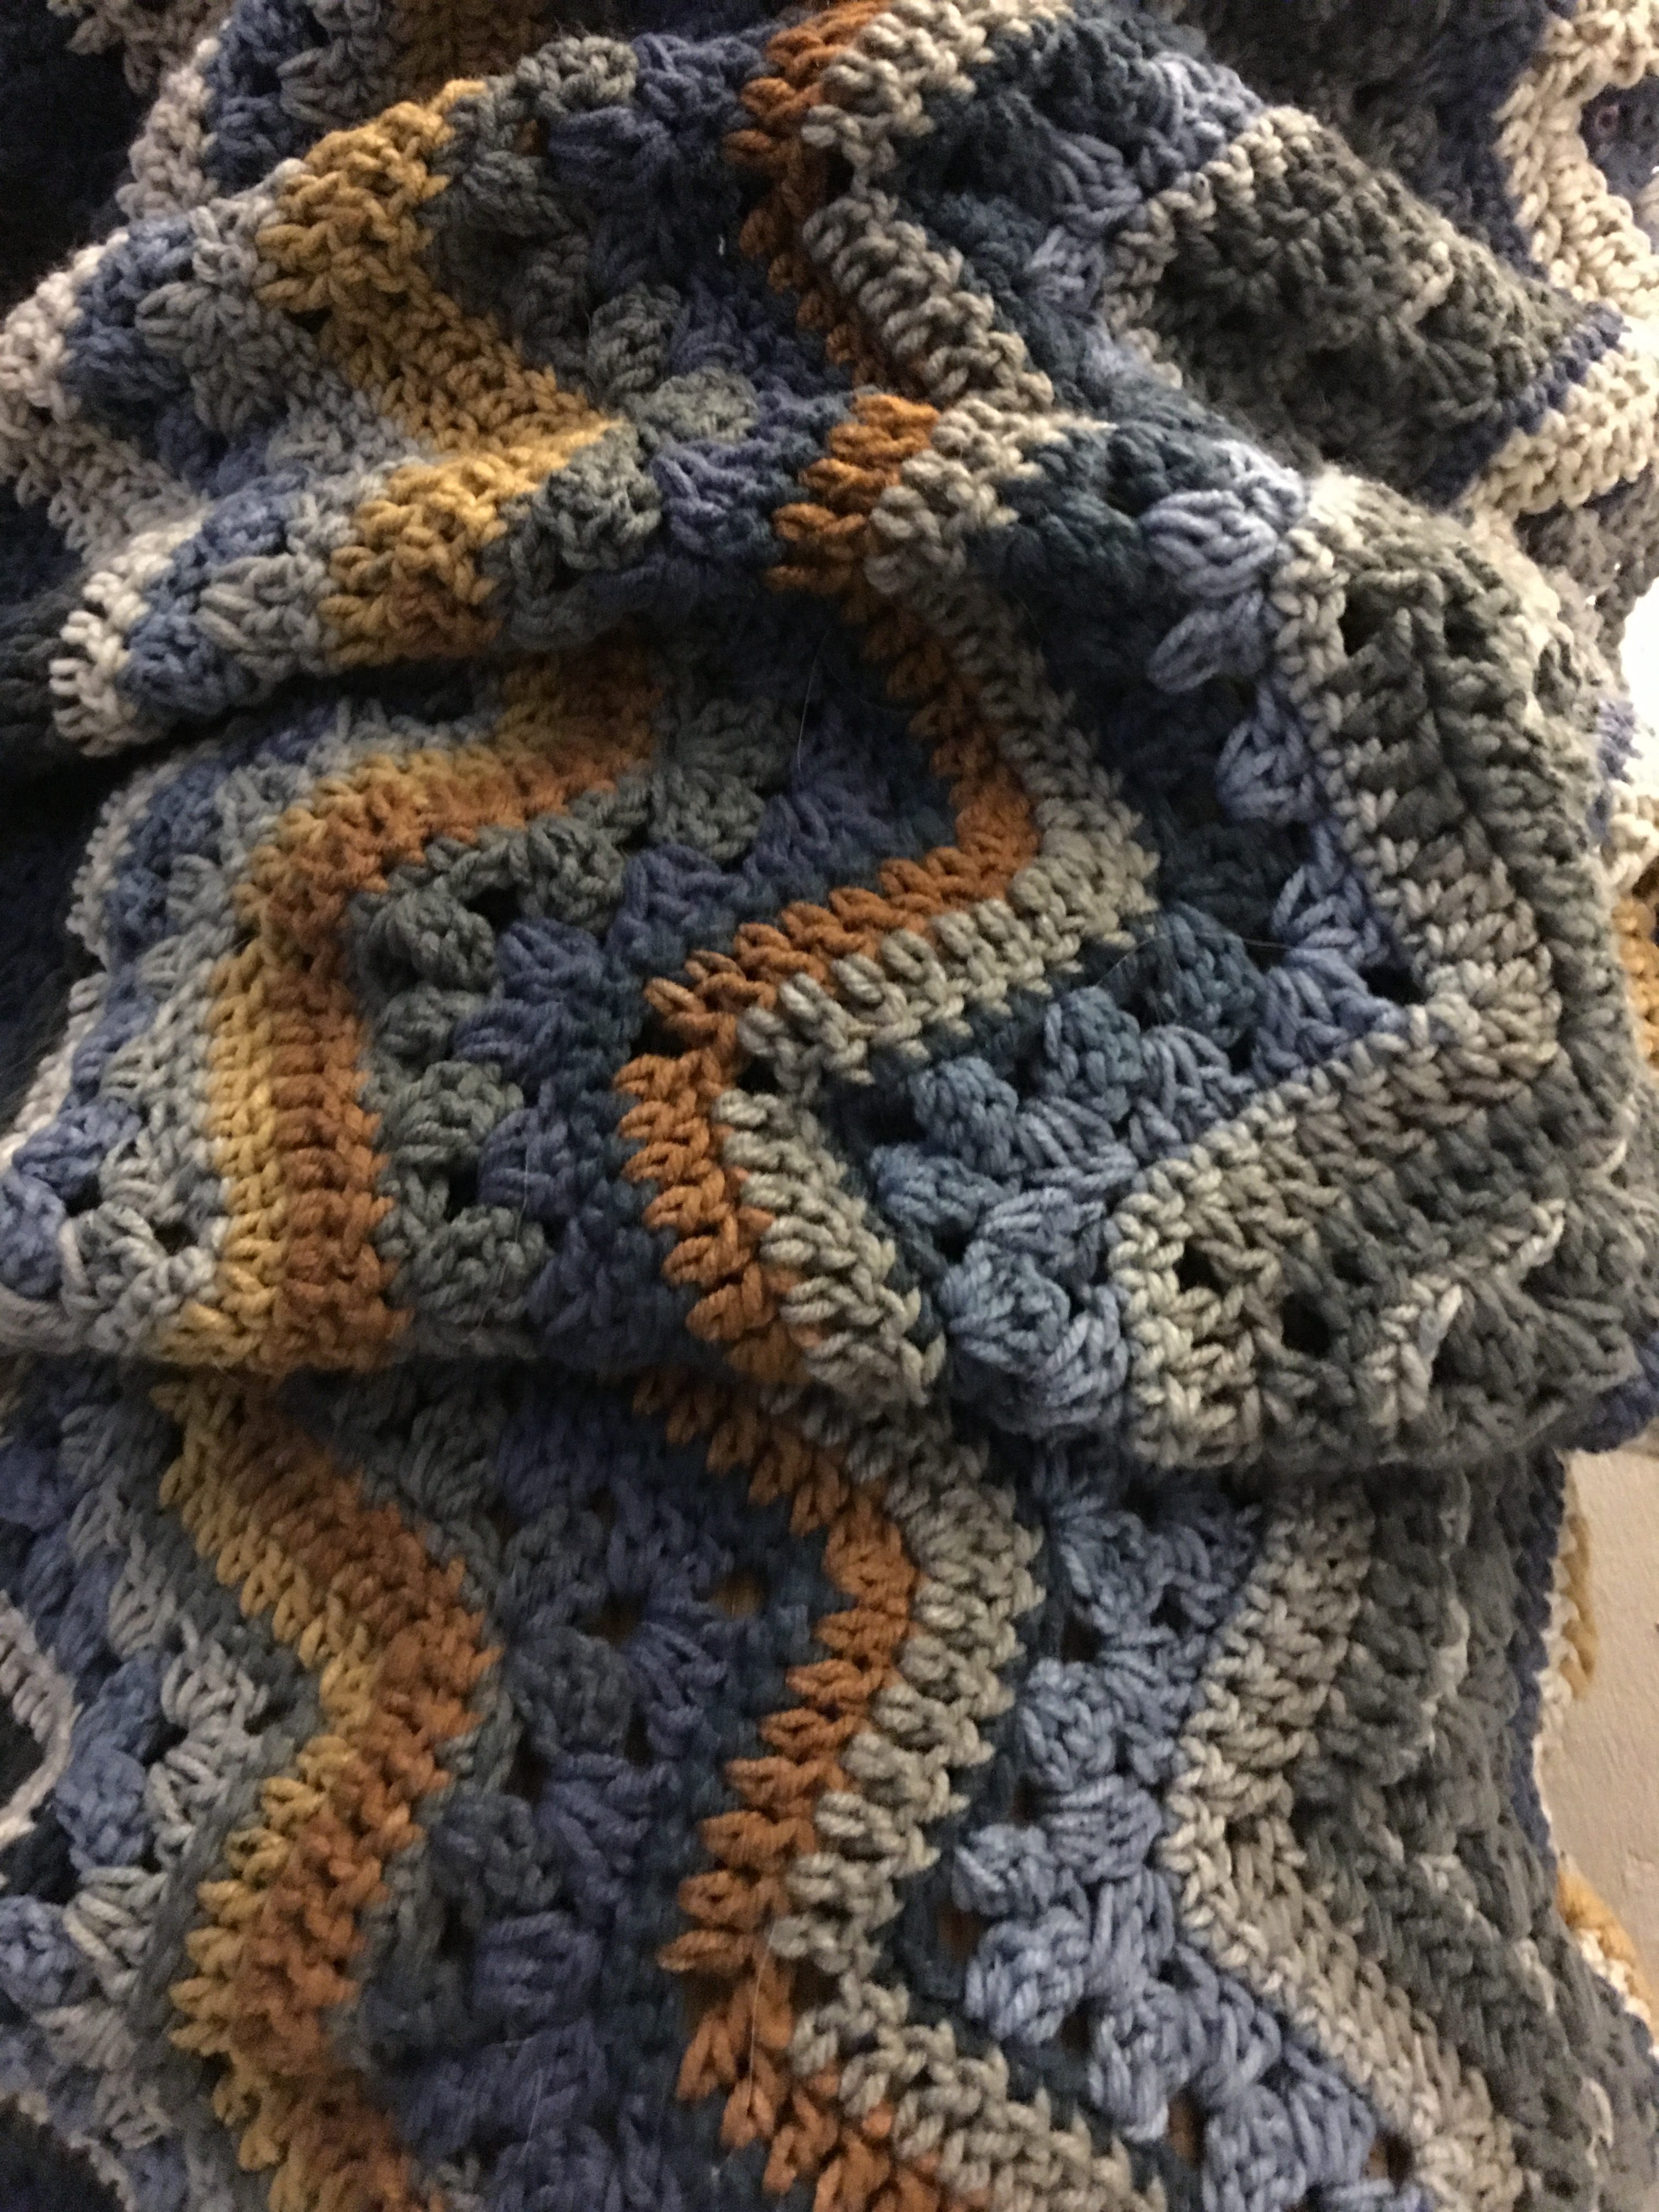

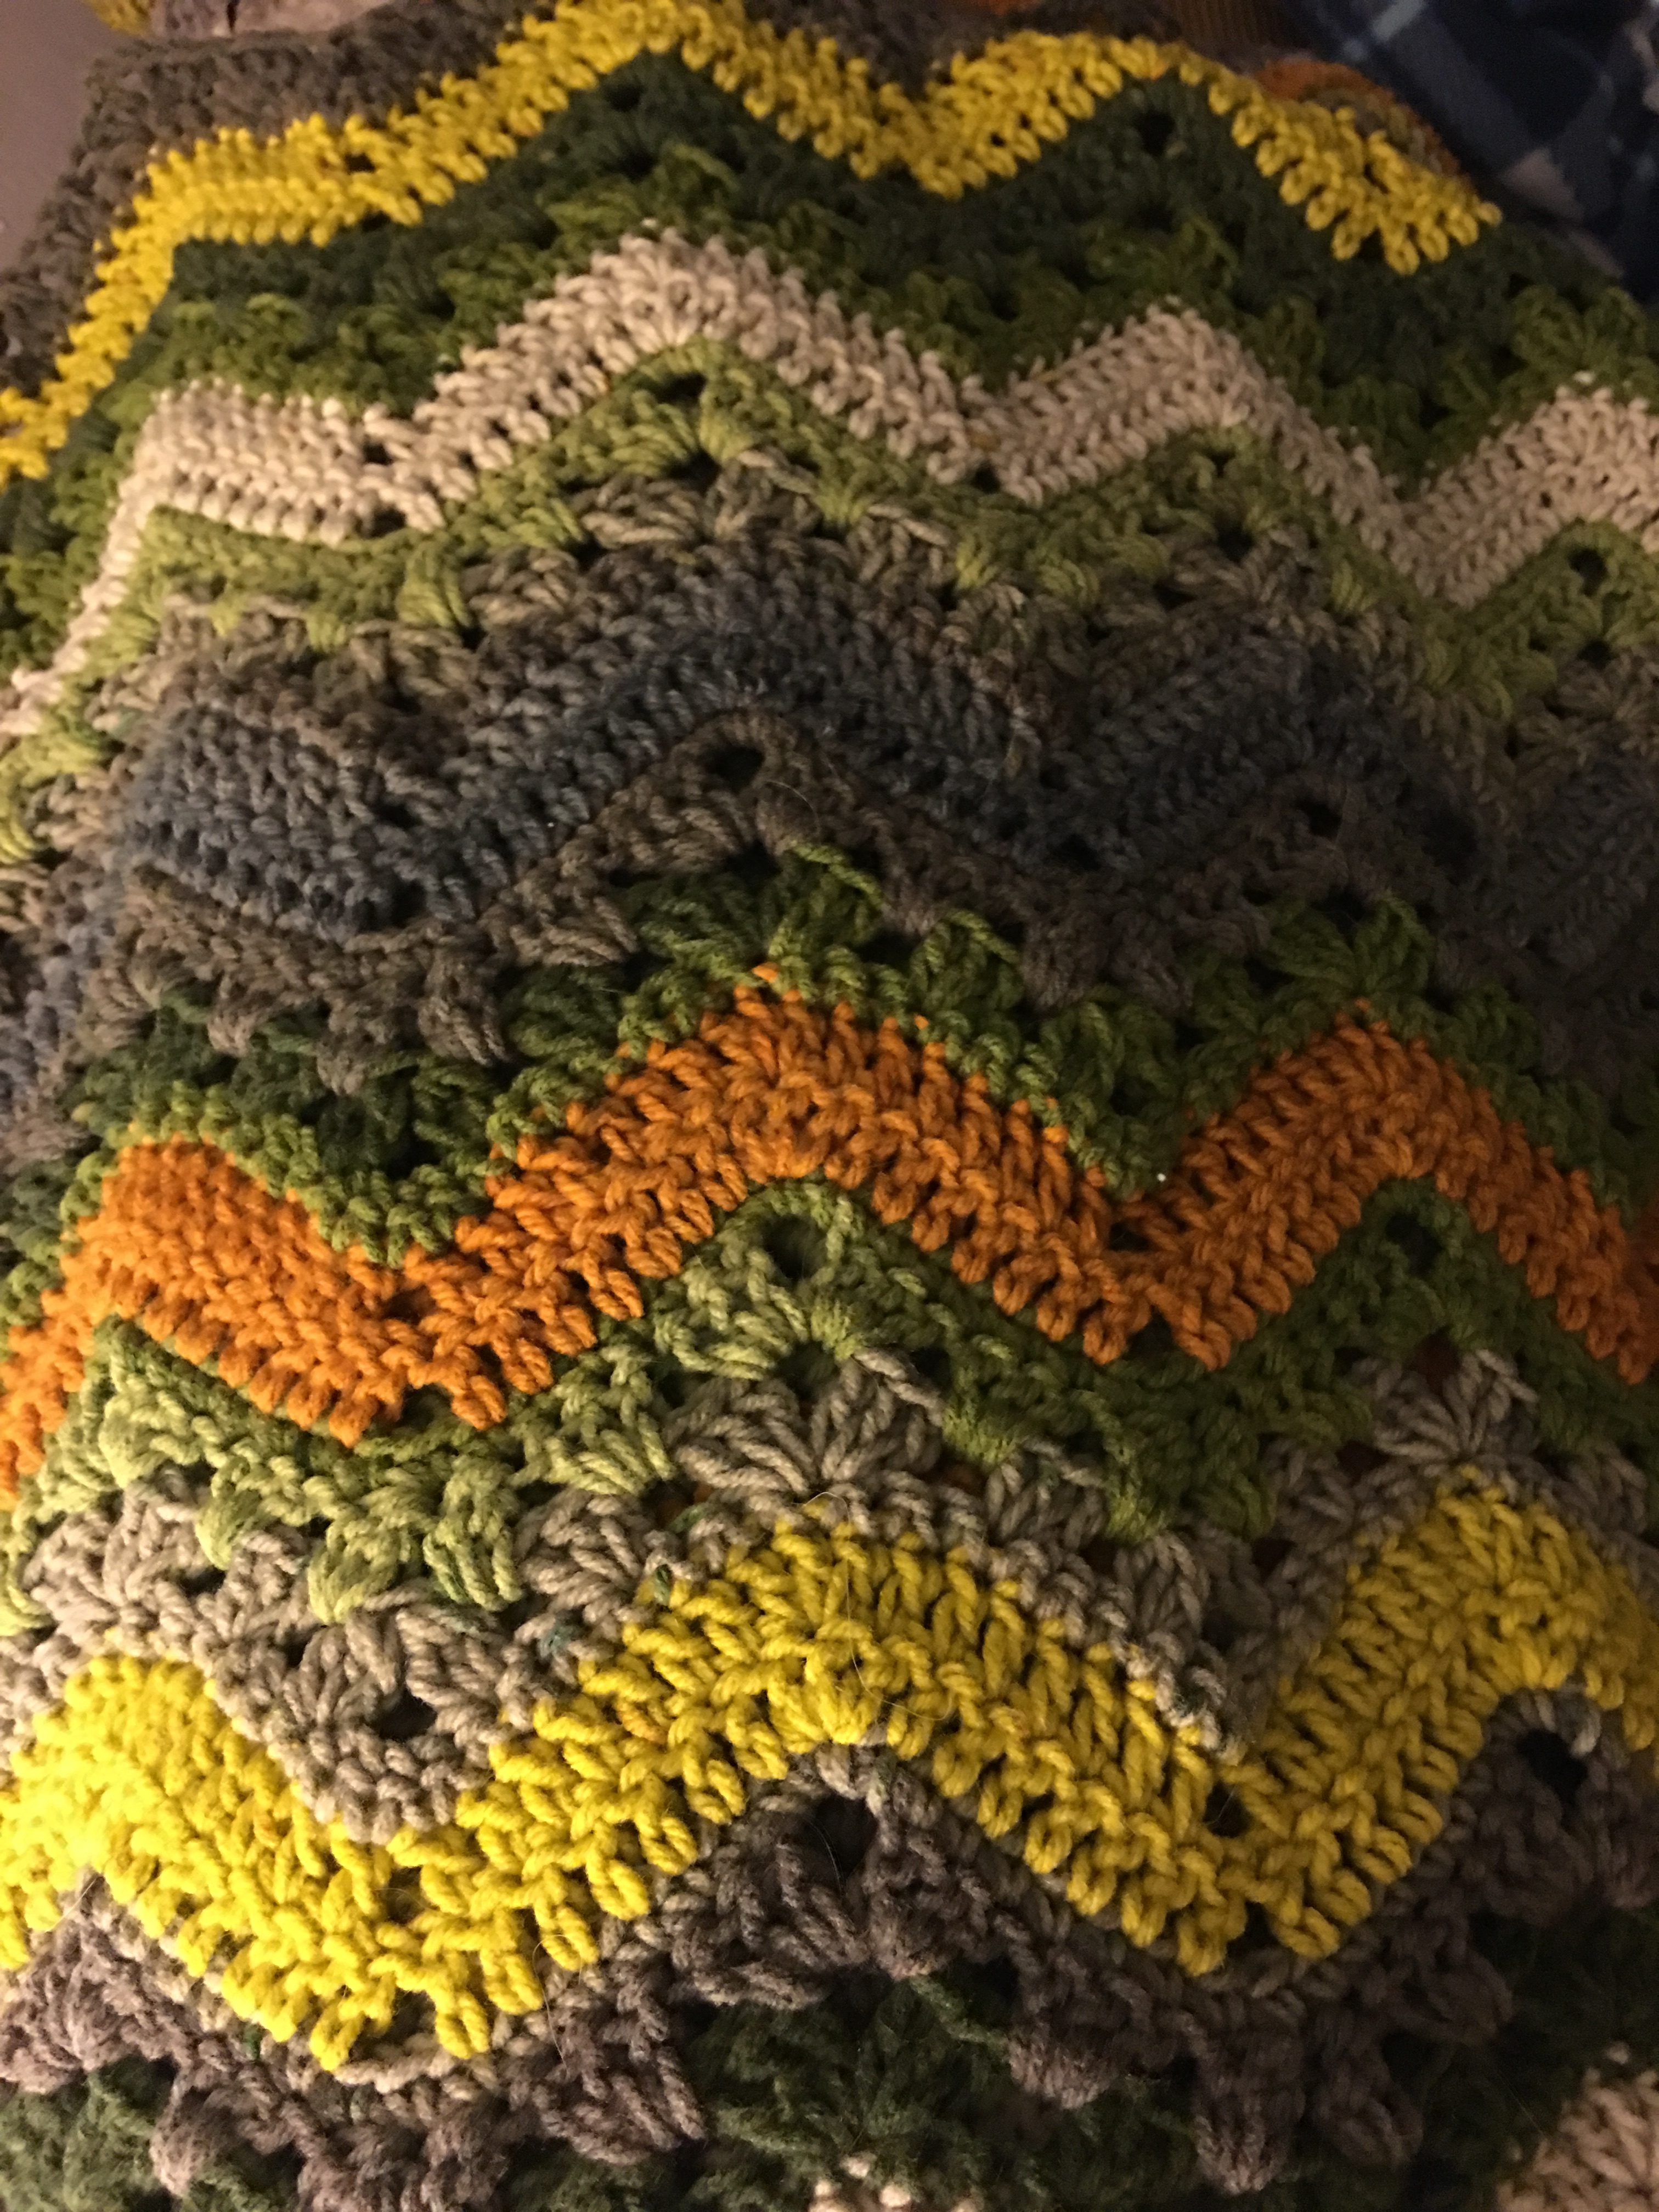


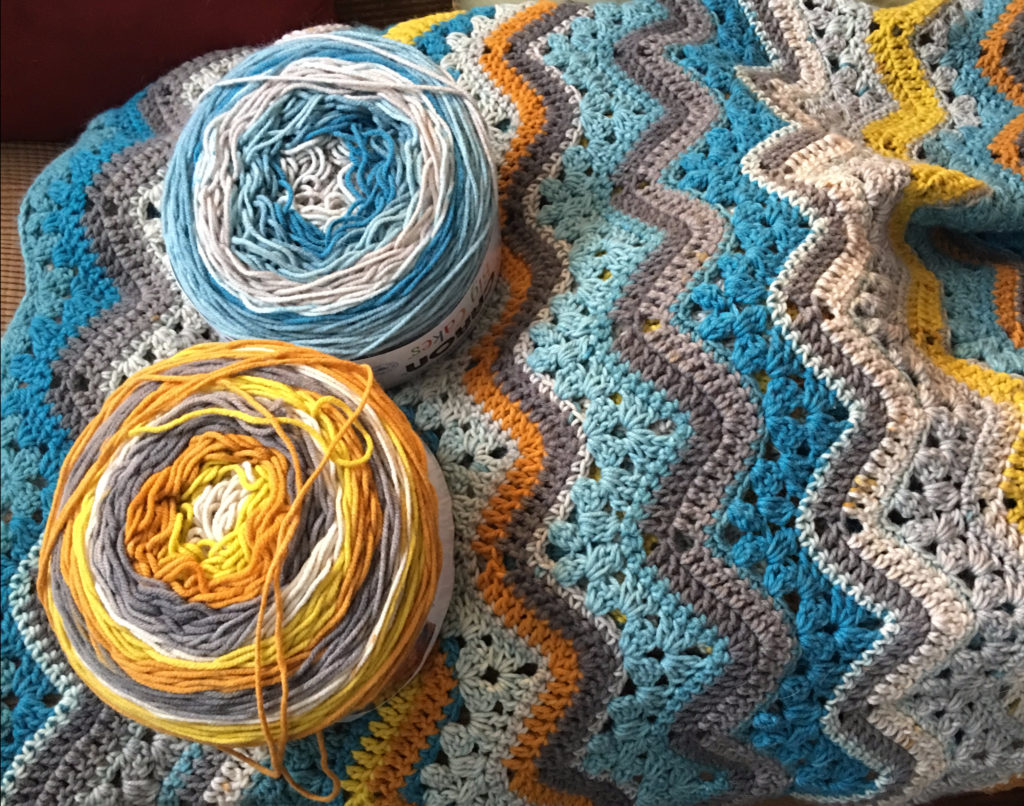
Remember that making a swatch is a great way to learn the stitches and to try out different color combinations and stripe options. There are other great reasons to swatch, so be sure you do!
Combinations
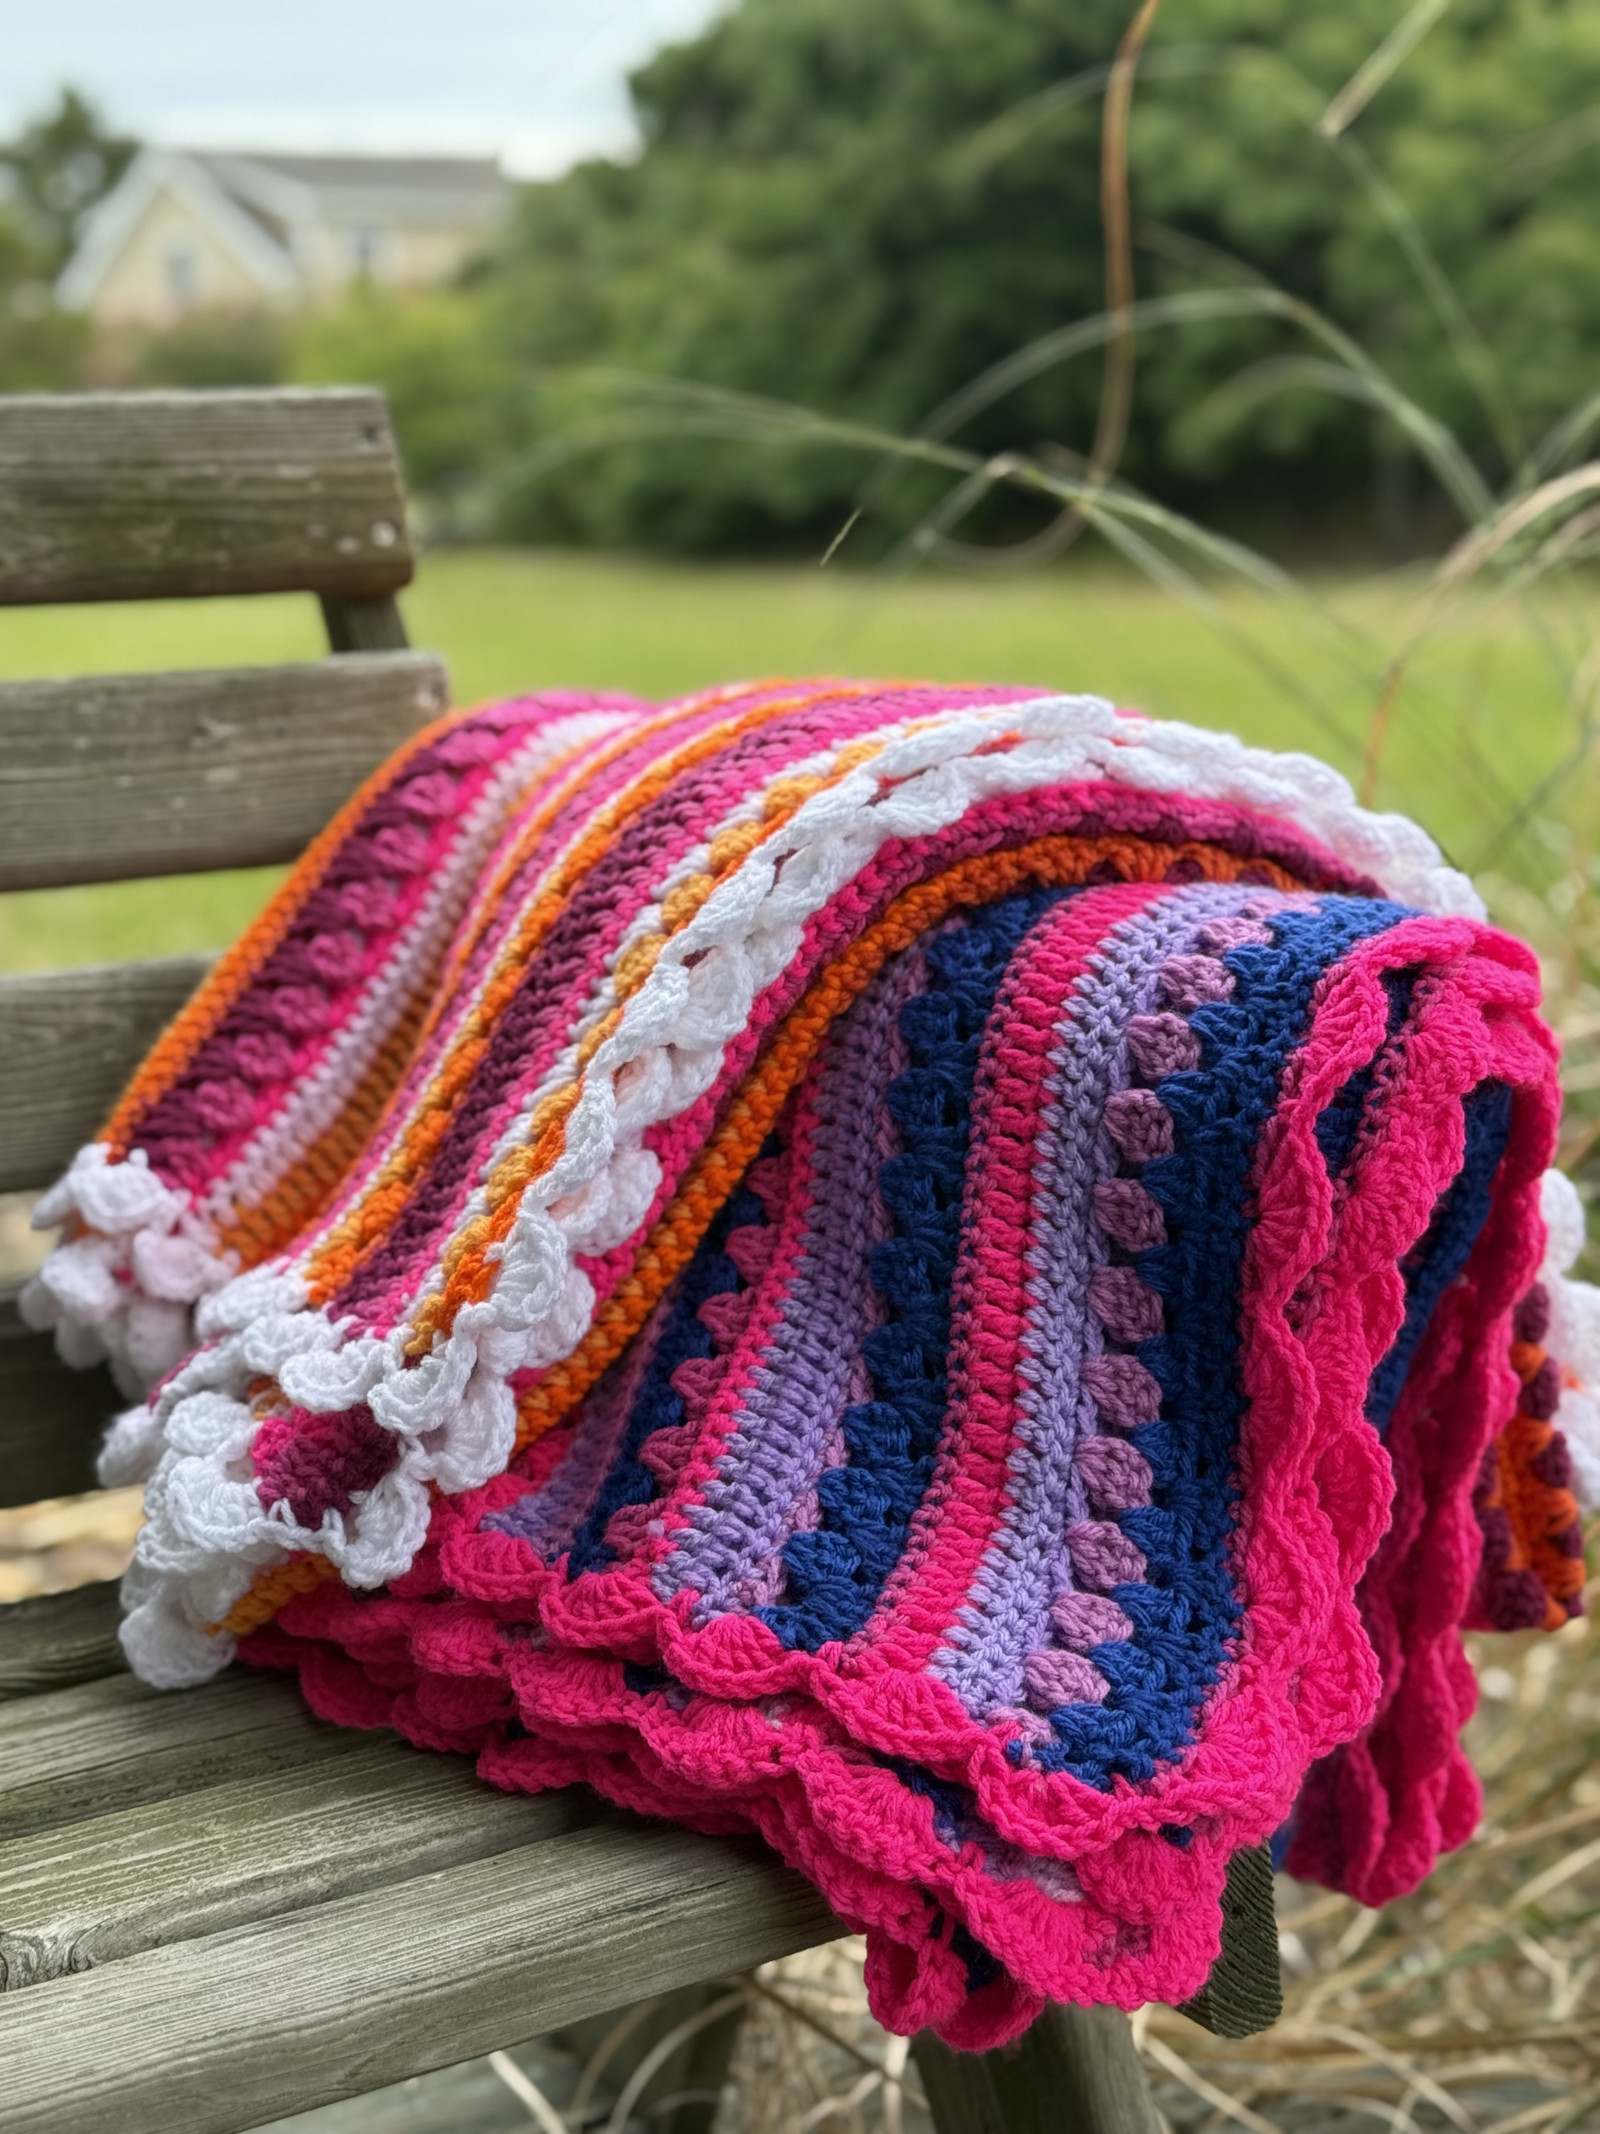
It’s possible to combine these effects… Vivid Chevrons with Snowflake effect, Aussie Confetti with Vivid Chevrons, and we haven’t even talked about what happens when you highlight the single crochet rows. Be brave, try new things! This pattern is magic.
Stripes work on every pattern
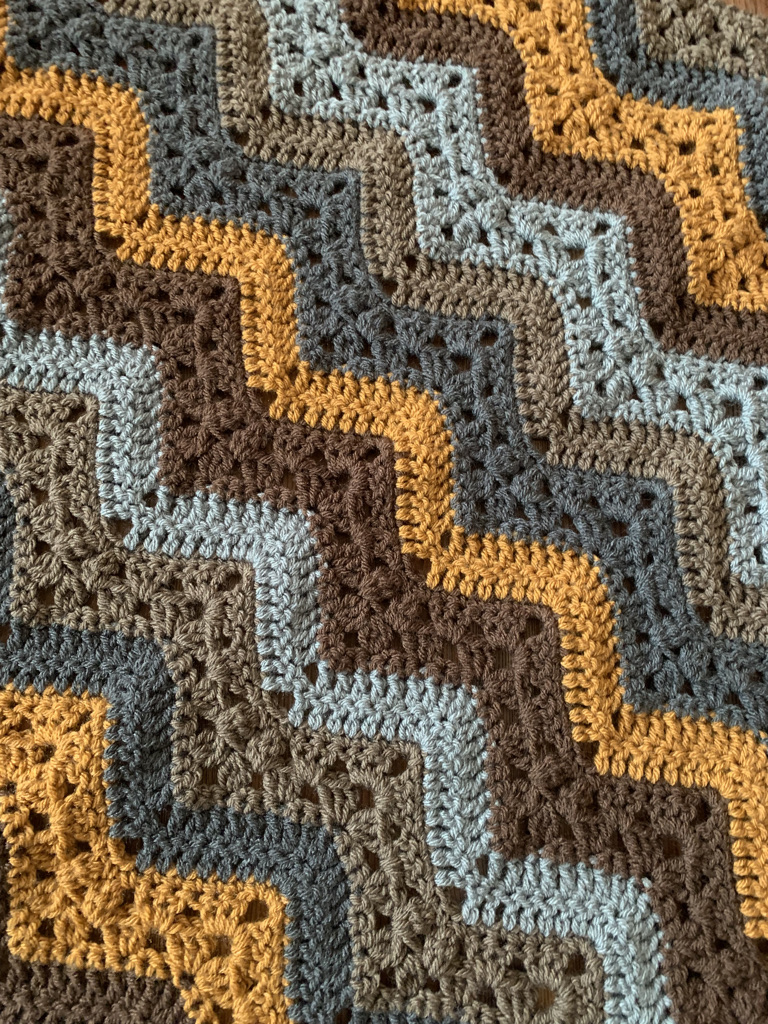
On every 6-Day inspired pattern, I keep the row numbers the same so that you can use these striping effects on everything you make with these stitches. The cluster rows are always Row or Round 2 and 3, the dc rows are always Row or Round 5 and 6, and the sc rows are always Row or Round 4 and 7. This might make my patterns a little confusing, when you suddenly go from Setup Round 9 to Round 2, but once you know how this pattern works, it makes it easy to adapt to the Snowflake Effect, Half Snowflake, Popsicle, or the original Vivid Chevrons to you Star, Superstar, Supernova, and other 6-Day Patterns.
There is no limit to what you can do with these combinations, and I can’t wait to see what you come up with.
This pattern is 100% original and the intellectual property of Betty McKnit/Beth Elliott. This pattern, The 6-Day Kid Blanket, “6DKB” and derivative works are also protected by copyright. Publishing translations, corrections, variations, or tutorials of this pattern, online or elsewhere without written permission from the owner is a violation of copyright.
The stitch pattern is “Vivid Chevrons” #110 from 200 Ripple Stitch Patterns by Jan Eaton.
Reprinted with permission from Quarto Publishing.
This page contains affiliate links. If you click these links and buy something on the page they take you to, I may, at no additional cost to you, earn a commission. I only affiliate with products and companies I feel good about. Thank you for your support!
Stay in touch! Sign up for Betty’s Newsletter.

